CRESTRON
CNRFHT-15/30 & CNIRHT-15/30
Hand-Held Wireless Transmitters
R E M O T E C O N T R O L S Y S T E M S
7
DOC. 8054C
6.
Once the frequency is located, it may be necessary to fine tune the device by slowly turning the tuning tool in
either direction, until the red LED marked SIGNAL is brightly illuminating. The LED must be at its brightest
setting to confirm the unit is tuned to the highest lobe of the frequency range.
7.
Move to a different location within the room; depress any button on the transmitter to verify proper frequency
setting.
NOTE
The red LED on the CNRFGW will not illuminate when it is approximately 10 to 15 feet from the
CNRFHT. The system is still functioning, but the threshold to illuminate the signal is too low.
However, the red LED on the CNRFHT illuminates when a button is depressed, indicating the
remote is transmitting.
8.
If "dead" spots are found within the room, insert the tuning tool into the CNRFHT and carefully make further
adjustments in either direction to fine tune the system.
PROGRAMMING:
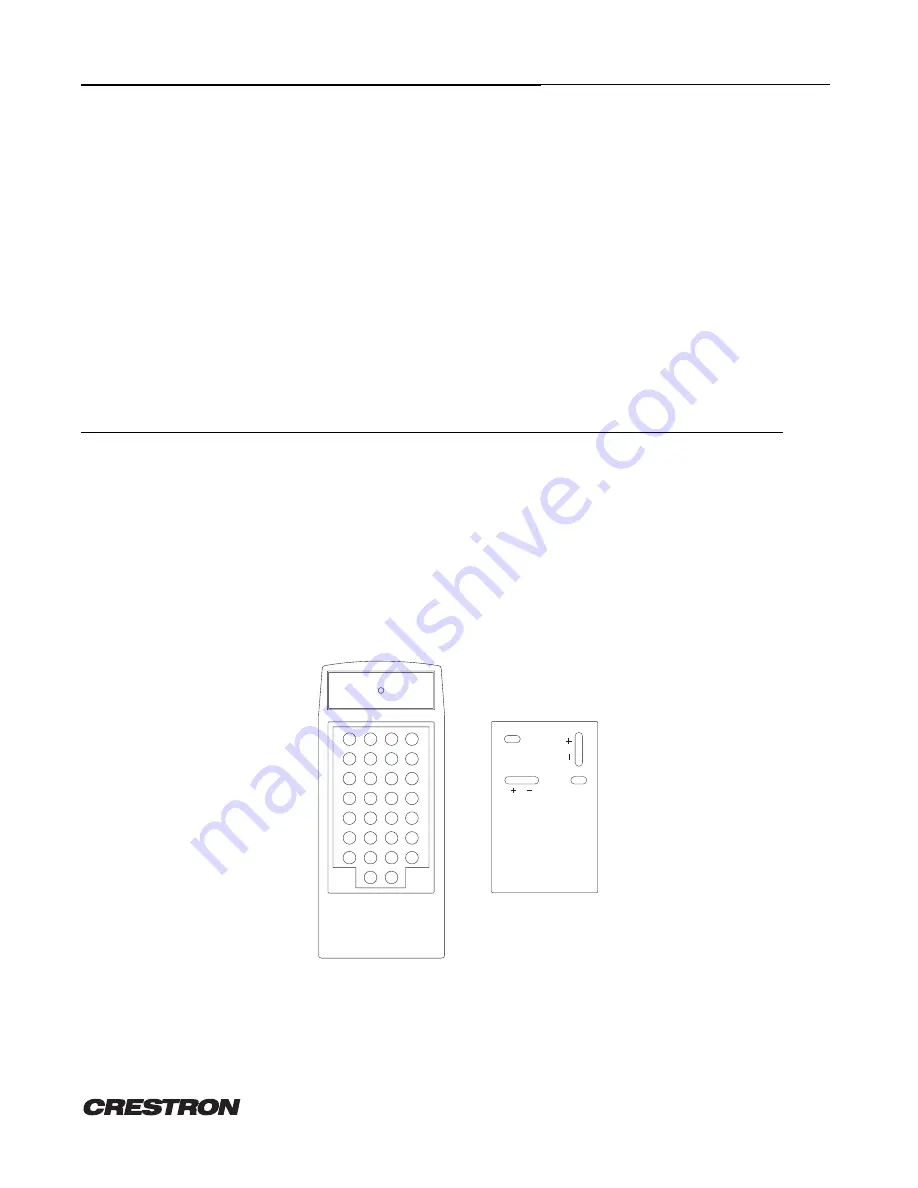
A 30-button array is located beneath the custom button panel of each CNRFHT and CNIRHT. Refer to figure 4 for an
illustrative layout of transmitter button numbers beneath a sample button panel. The numbering for each button is
constant. For each button input, a signal name must be defined in the SIMPL program. Unused buttons need not be
assigned signal names. An example following figure 4 illustrates button definition in the CRESNET II Workshop.
Access the following tables from the "Define Network" section of the SIMPL-I Menu. An example of SIMPL-C
programming for the same custom button panel design is shown in the Appendix.
CRESTRON
POWER
VOLUME
CHANNEL
MUTE
30
29
28
27
26
25
21
22
23
24
20
19
18
17
13
14
15
16
12
11
10
9
5
6
7
8
4
3
2
1
Figure 4. Button Number Layout
Customized button panel removed.
Each button is illustrated with its corresponding number.


