


CH-HREL8-D6
Product Manual
Crestron International
• 2 Oude Keerbergsebaan • 2820 Rijmenam • Belgium
Tel: +32 15 50 99 50 • [email protected] •
www.crestron-int.be
7
Cresnet ID
Every equipment and user interface within the network requires a unique identity code
(NET ID). These codes are recognized by a two-digit hexadecimal number from 03 to FE.
The NET ID of each unit must match an ID code specified in the Simpl Windows program.
Use the following method’s to change NET ID of the CH-HREL8-D6.
Method A
: (Viewport)
1. Ensure that the CH-HREL8-D6 is connected to the control system.
2. Open the Crestron viewport and connect to the control system (RS-232 or IP)
3. From the viewport menu, select
Functions -> Set network ID.
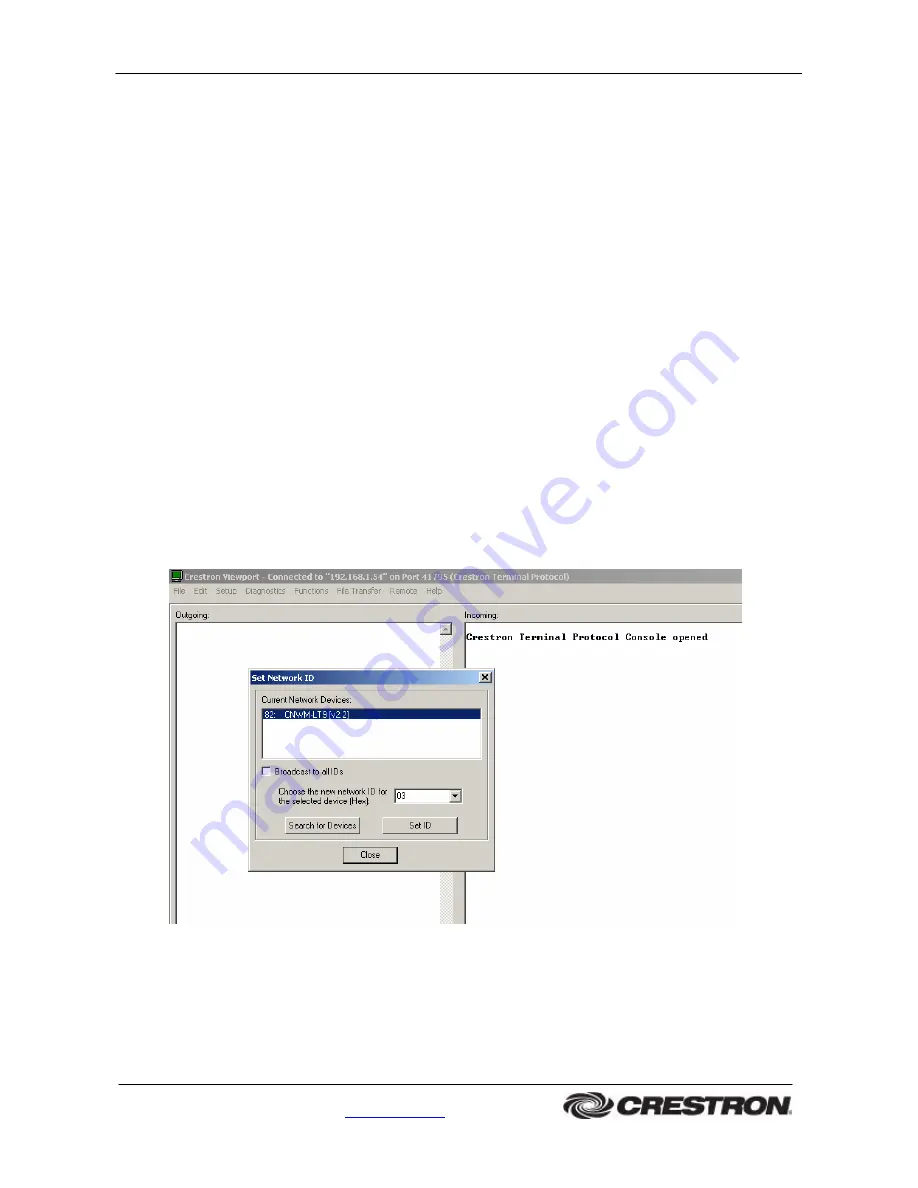
The software checks the network and then opens the “Set Network ID” window.
4.
In the “Set Network ID” window, select the CNMW-LT9 from the
current network
devices
text window (Figure 5).
5. Select the new NET ID for the CH-HREL8-D6 from the
choose the new network ID
for the selected device (HEX):
text box.
6. Click the Set ID to initiate the change. This will display the “ID command has been
set” window.
7. In the “Command complete” window, click
OK
.
8. In the current network devices text window, verify the net NET ID code.
9. In the “Set network ID” window, click close.
Figure 5: Set Network ID (viewport)


