background image

Содержание 315.115440

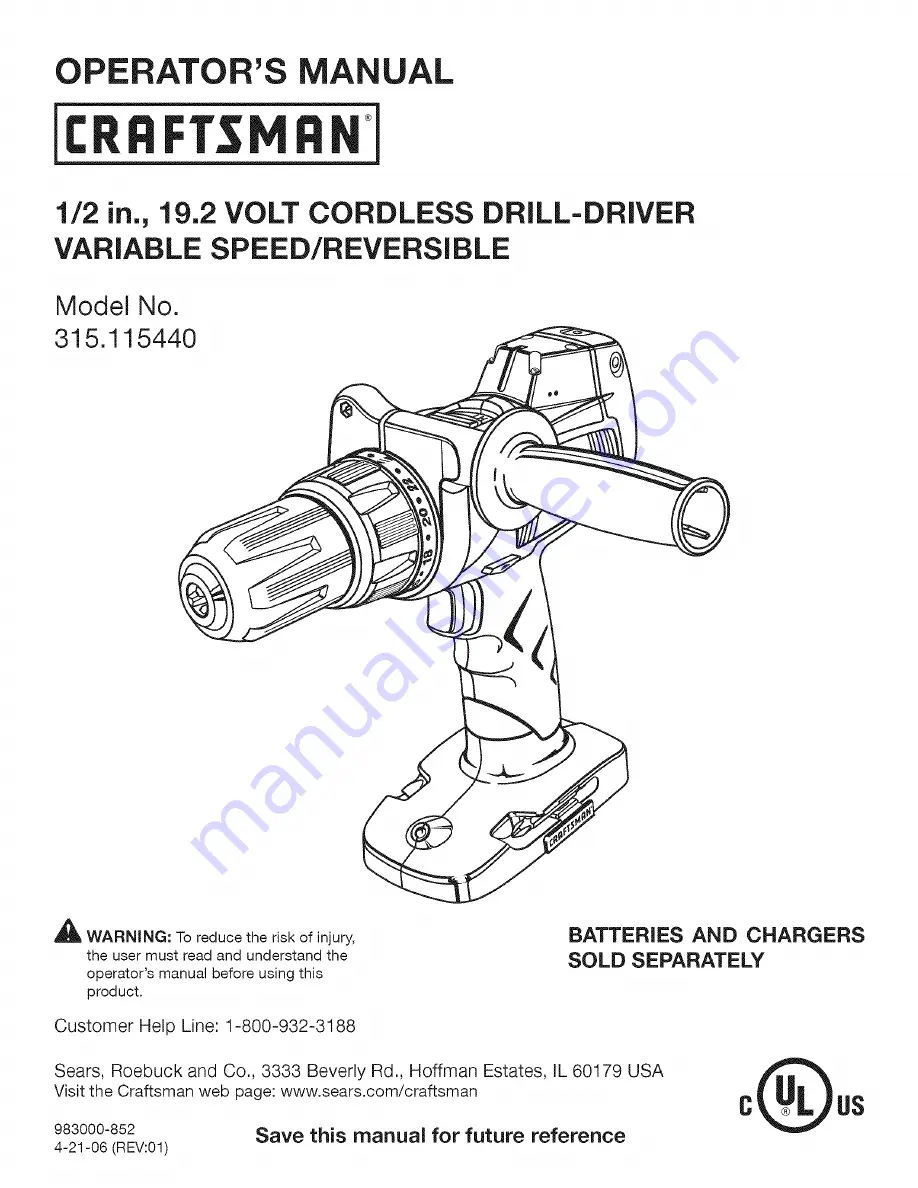
Страница 1: ...the user must read and understand the operator s manual before using this product Customer Help Line 1 800 932 3188 BATTERIES AND CHARGERS SOLD SEPARATELY Sears Roebuck and Co 3333 Beverly Rd Hoffman Estates IL 60179 USA Visit the Craftsman web page www sears com craftsman US 983000 852 Save this manual for future reference 4 21 06 REV 01 ...

Страница 2: ...e Sears Roebuck and Co Hoffman Estates IL 60179 This tool has many features for making its use more pleasant and enjoyable Safety performance and dependability have been given top priority in the design of this product making it easy to maintain and operate _1_ WARNING Some dust created by power sanding sawing grinding drilling and other construction activities contains chemicals known to cause ca...

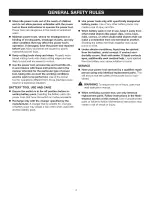
Страница 3: ...you are tired or under the influence of drugs alcohol or medication A moment of inattention while operating power tools may result in serious personal injury Use safety equipment Always wear eye protection Safety equipment such as dust mask non skid safety shoes hard hat or hearing protection used for appro priate conditions will reduce personal injuries Avoid accidental starting Ensure the switch...

Страница 4: ...on invites accidents Recharge only with the charger specified by the manufacturer A charger that is suitable for one type of battery pack may create a risk of fire when used with another battery pack Use power tools only with specifically designated battery packs Use of any other battery packs may create a risk of injury and fire When battery pack is not in use keep it away from other metal object...

Страница 5: ... dropped or damaged battery immediately Batteries vent hydrogen gas and can explode in the presence of a source of ignition such as a pilot light To reduce the risk of serious personal injury never use any cordless product in the presence of open flame An exploded battery can propel debris and chemicals If exposed flush with water immediately Do not charge battery tool in a damp or wet location Fo...

Страница 6: ...electric shock If extension cord must be used make sure a That pins on plug of extension cord are the same number size and shape as those of plug on charger b That extension cord is properly wired and in good electrical condition and c That wire size is large enough for AC ampere rating of charger as specified below Cord Length Feet 25 50 100 Cord Size AWG 16 16 16 NOTE AWG American Wire Gauge Do ...

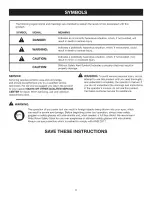
Страница 7: ...oad Double insulated construction Revolutions strokes surface speed orbits etc per minute Do not expose to rain or use in damp locations To reduce the risk of injury user must read and understand operator s manual before using this product Always wear safety goggles or safety glasses with side shields and as necessary a full face shield when operating this product Precautions that involve your saf...

Страница 8: ...return the product to your nearest SEARS OR OTHER QUALRED SERVICE CENTER for repair When servicing use only identical replacement parts _ WARNING To avoid serious personal injury do not attempt to use this product until you read thoroughly and understand completely the operator s manual If you do not understand the warnings and instructions in the operator s manual do not use this product Call Sea...

Страница 9: ... 400 0 1 400 r rain RPM Clutch 24 Position Torque 420 in lb Charger Input 120 V 60 Hz AC only Charge Rate 1 hour DUAL LASERS i TORQUE ADJUSTMENTRING TWO SPEED GEARTRAIN HI O LEVEL LASER SWITCH REARViEW LEVELS KEYLESS CHUCK AUXILIARYHANDLE ASSEMBLY DIRECTIONOFROTATIONSELECTOR FORWARD REVERSE CENTER LOCK LED WORKLIGHT BiT STORAGE Fig 1 ...

Страница 10: ...4 position clutch The torque adjustment ring can be turned to select the right amount of torque for your application TWO SPEED GEAR TRAIN The two speed gear train is designed for drilling or driving at LO 1 or HI 2 speeds A slide switch is located on top of your drill for selecting either LO 1 or HI 2 speed VARIABLE SPEED The variable speed switch trigger delivers higher speed with increased trigg...

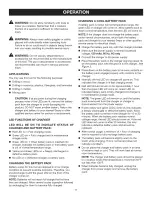
Страница 11: ... range the green LED on charger will come on Allow battery pack to reach normal temperature then the red LED will come on NOTE If the charger does not charge the battery pack under normal circumstances return both the battery pack and charger to your nearest Sears or other qualified service center for electrical check Charge the battery pack only with the charger provided Make sure the power suppl...

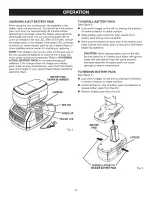
Страница 12: ... pack and charger to your nearest Sears Repair Center for electrical check BATTERY PACK SHOWNIN CHARGER TO INSTALL BATTERY PACK See Figure 3 Lock switch trigger on the drill by placing the direction of rotation selector in center position Place battery pack in the drill Align raised rib on battery pack with groove inside drill Make sure the latches on each side of the battery pack snap in place an...

Страница 13: ...able speed switch delivers higher speed and torque with increased trigger pressure and lower speed with decreased trigger pressure NOTE You might hear a whistling or ringing noise from the switch during use Do not be concerned this is a normal part of the switch function DIRECTION OF ROTATION SELECTOR FORWARD REVERSE CENTER LOCK See Figure 4 The direction of bit rotation is reversible and is contr...

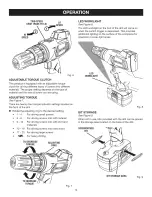
Страница 14: ...the type of material and the size of screw you are using ADJUSTING TORQUE See Figure 7 There are twenty four torque indicator settings located on the front of the drill Rotate the adjusting ring to the desired setting 1 4 5 8 9 12 13 16 17 23 _11 For driving small screws For driving screws into soft material For driving screws into soft and hard materials For driving screws into hard wood For driv...

Страница 15: ...njury or damage to the chuck Tighten the chuck jaws on the drill bit Rotate the chuck clockwise to tighten the chuck jaws securely on the bit NOTE Rotate the chuck body in the direction of the arrow marked LOCK to tighten the chuck jaws Do not use a wrench to tighten or loosen the chuck jaws UNLOCK DRILLBIT RELEASE CHUCK BODY WRONG Fig ll REMOVING BITS See Figure 10 Lock the switch trigger by plac...

Страница 16: ...USING THE AUXILIARY HANDLE ASSEMBLY See Figure 13 Your drill is equipped with an auxiliary handle assembly For ease of operation use the handle with either the left or right hand The handle can be rotated 360 To adjust the auxiliary handle assembly Loosen the handle assembly by turning the handle counterclockwise Rotate the handle assembly to the desired operating position Securely tighten by turn...

Страница 17: ...ation This will prevent the drill bit from slipping off center as the hole is started When drilling metals use a light oil on the drill bit to keep it from overheating The oil will prolong the life of the bit and increase the drilling action If the bit jams in the workpiece or if the drill stalls stop the tool immediately Remove the bit from the workpiece and determine the reason for jamming LEVEL...

Страница 18: ...e the laser line to the right The rear screw moves the laser line right to left Turn ing the screw clockwise moves the laser line right Counterclockwise moves the laser line left along the horizontal axis Use a level and a framing square to take measure ments of the laser lines on the wall to determine what adjustments are needed NOTE Use a level to check the horizontal and vertical laser lines A ...

Страница 19: ...The batteries in this tool have been designed to provide maximum trouble free life However like all batteries they will eventually wear out Do not disassemble battery pack and attempt to replace the batteries Handling of these batteries especially when wearing rings and jewelry could result in a serious burn To obtain the longest possible battery life we suggest the following Remove the battery pa...

Страница 20: ...hreads Insert the hex key into the chuck and tighten the chuck jaws securely Tap sharply with a mallet in a counterclockwise direction This will loosen the chuck on the spindle It can now be unscrewed by hand MALLET Fig 21 TO RETIGHTEN A LOOSE CHUCK The chuck may become loose on the spindle and develop a wobble Also the chuck screw may become loose causing the chuck jaws to bind and prevent them f...

Страница 21: ...repair parts w SEE BACK PAGE FOR PARTS ORDERING iNSTRUCTiONS 3 4 5 6 PARTS LiST Key Part No Number Description Qty 1 300188028 Auxiliary Handle Assembly 1 2 6613402 Screw Special 1 3 690033066 Chuck 1 4 940114128 Logo Label 1 5 940237108 Data Label A 1 6 940237109 Data Label B 1 7 6782102 Double Ended Bit PH 2 3 1 8 671842001 Hey Key 1 16 in 1 9 670824003 Double Ended Bit SLOT 6 7 1 983000852 Oper...

Страница 22: ...nd electronics call or go on line for the location of your nearest Sears Parts Repair Center 1 800 488 1222 Call anytime day or night U S A only www sears com To purchase a protection agreement U S A or maintenance agreement Canada on a product serviced by Sears 1 800 827 6655 U S A 1 800 361 6665 Canada Para pedir servicio de reparaci6n a domicilio y para ordenar piezas 1 888 SU HOGAR sM 1 888 78...

Отзывы: