background image

page 13

12. Smart Ceiling Fan Wi-Fi Control 

(Optional)

.

Without Wi-Fi activation, you will not enjoy the expanded features and functionality 


of your ceiling fan: Breeze speed setting, Creating Schedules and Voice Activation.

To enjoy all the potential of your new device, refer 
to the following steps to complete Smart setup. 

1

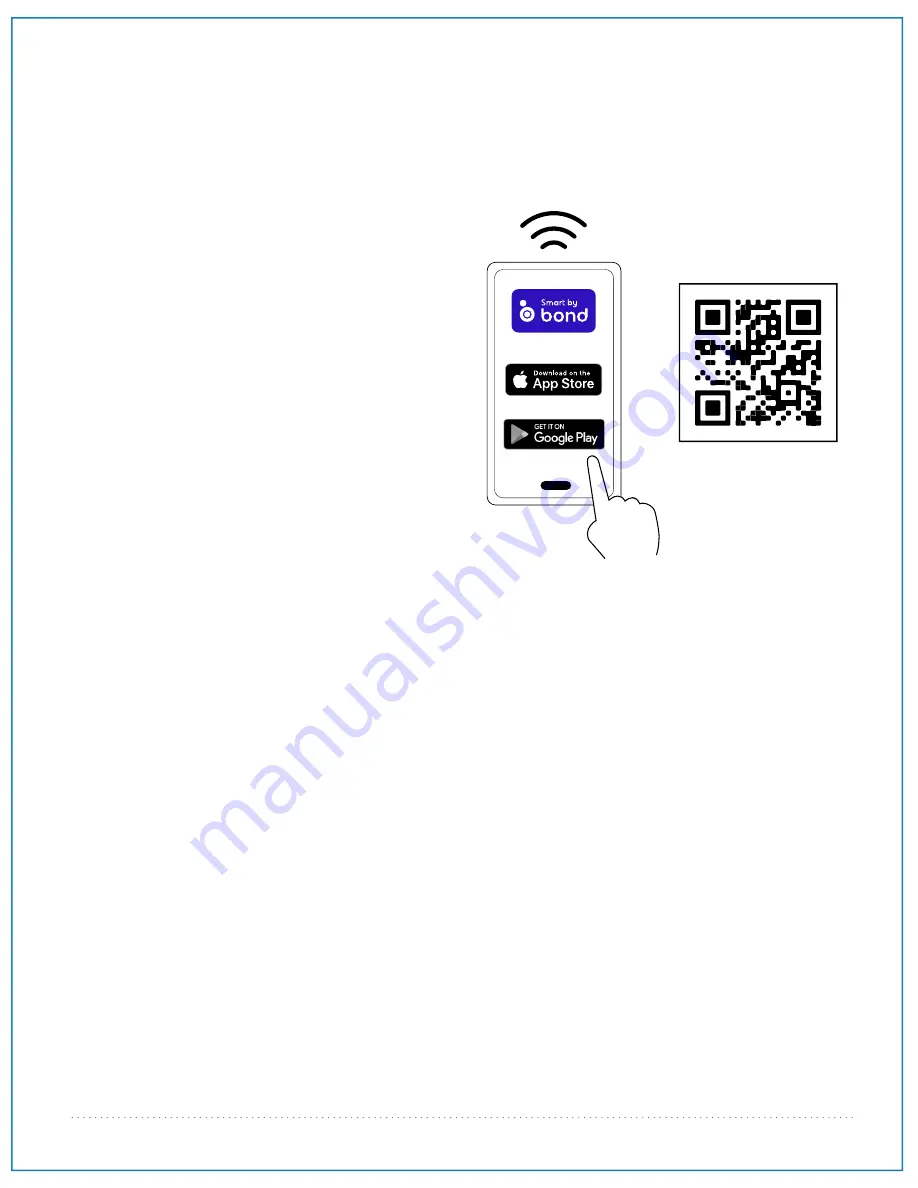
. Download the 

Bond Home App

, available on 

the Google Play Store and Apple App Store, or 
use the QR code to download the app.

2

. Open the 

Bond

 application.

3

. If you already have a 

Bond

 account, simply log 

in and continue to Step 4. If you do not have a 

Bond

 account, press “

Create Account

” and 

enter your name, email and create a password. 

4

. Select “

+

” to add a device.

5

. Select “

Smart By Bond

” (SBB).

6

. Select this smart ceiling fan.

7

. Once the 

Bond

 application connects to the fan, 

select “

CONTINUE

” to proceed. 

8

. Test the fan functions:

     - You have the option to disable the light 

function if your fan does not have a light. 

9

. Select “

YES, IT WORKS

.”

10

. Specific information about your fan:

        -Select “

Location

” and choose from one of the predefined entries or add your own by selecting 

OTHER

”. When finished, select “

Save

”.

       - Select device name and enter the name for your device. When finished, select “

OK

” to save. 

          PLEASE NOTE

: This name will be used for integrations so a simple, easy-to-remember name is best. 

11

. Select “

Continue

”. 

12

. Select the Wi-Fi network you would like to connect the SBB to.

13

. Enter the Wi-Fi password and select “

OK

”.

14

. If there is an issue with the connection or wrong password is entered, you will receive an error message. 

Select “

OK, I’ve Got It

”. 

15

. Once the connection is made, select “

DONE

”. 

16

. If the SBB fan is not displayed in the Bond application, swipe down to refresh. 

For assistance at any time during this process, go to the “

Help

” section of the app: 

- Tap on “

Settings

- Tap on “

Help Center

- Choose “

Open a Ticket

” or “

Live Chat

Содержание Delaney DLY60

Страница 1: ...ssembly Optional pg 10 Automated Learning Process Activating Code pg 11 Remote Control Operation pg 12 Smart Ceiling Fan Wi Fi Control pg 13 Testing Your Fan pg 14 Troubleshooting pg 15 Warranty pg 15 Parts Replacements pg 15 net weight of fan 18 52 lb 8 4 kg READ THESE INSTRUCTIONS AND SAVE THEM FOR FUTURE USE For Model DLY60 Delaney page 1 Installation Guide For Wet Location WARNING DC Motor wil...

Страница 2: ... Home app and create account Ensure the fan and receiver are receiving power from the house by supply using the remote control to turn the fan and light ON and OFF Open the Bond Home App on your smart device and follow step by step instructions included in the app to add your fan Enjoy fan features and functionality that you can only get from activating the fan through the app ...

Страница 3: ... control fan speed with a full range dimmer switch Using a full range dimmer switch to control fan speed will cause a loud humming noise from fan 8 Do not operate the reverse switch until fan has come to a complete stop Note If using remote control with reverse capability reverse fan blade direction only when on LOW speed 9 Do not insert anything between the fan blades while they are rotating WARN...

Страница 4: ...PORTANT REMINDER You must use the parts provided with this fan for proper installation and safety a canopy 1 piece b hanging bracket 1 piece c downrod and hanging ball with pin and clip 1 piece d motor housing 1 piece e remote control 1 piece f remote control receiver 1 piece g canopy cover pre attached to canopy 1 piece h yoke cover 1 piece i blade 5 pieces j fitter plate 1 piece k LED light kit ...

Страница 5: ...rom breaker panel and be sure operating light switch is turned to the OFF position WARNING Failure to disconnect power supply prior to installation may result in serious injury Remove existing fixture WARNING When using an existing outlet box be sure the outlet box is securely attached to the building structure and can support the full weight of the fan Ensure outlet box is clearly marked Suitable...

Страница 6: ...when threading them through the downrod Refer to diagram 2 Determine the length of downrod you wish to use Thread safety cable and electrical wires through threaded end of downrod and pull extra wire slack from the upper end of the downrod Refer to diagram 2 Thread downrod into the motor housing yoke until holes for pin and clip in downrod align with holes in yoke make sure wires do not get twiste...

Страница 7: ...e a heavy duty wood screw washer and lock washer not supplied with the safety cable loop If necessary adjust the loop at the end of the safety cable The loop at the end of the safety cable should just fit over the threads on the wood screw Test safety cable by pulling on loose end with pliers If the safety cable slips the loop must be adjusted tighter Extra cable slack can be left in ceiling area ...

Страница 8: ...as an extra safety measure Gently insert receiver flat side up into hanging bracket and carefully push taped wire connectors into outlet box Allow antenna from remote control receiver to hang outside of hanging bracket wiring for receiver ground green or bare white supply wire black supply wire from receiver black AC IN L AC IN N white white ground green or bare ground green yellow antenna from ce...

Страница 9: ...ment screws washers in hardware pack Align blade holes with motor screw holes located on the underside of the motor housing refer to drawing at right IMPORTANT Turn blade so imprint indicating THIS SIDE UP faces motor housing Insert 3 blade attachment screws washers with fingers first and then tighten screws securely with a Phillips screwdriver Repeat procedure for each remaining blades Note Tight...

Страница 10: ...that molex connections snap together completely Carefully arrange wiring within fitter plate Align slotted holes in LED light kit with loosened screws in fitter plate Twist LED light kit to lock Re insert screw that was previously removed and tighten all 3 screws securely Locate slots on shade and align with nodules on inside of fitter plate Gently push up on shade and turn to the RIGHT clockwise ...

Страница 11: ...E OF BATTERIES IN FIRE BATTERIES MAY EXPLODE OR LEAK When disposing of household alkaline batteries it is best to check with your local and state recycling or household hazardous waste coordinators concerning the specifics of the program in your area You may also locate a recycling center by calling 1 800 8 BATTERY or 1 877 2 RECYCLE or visit www epa gov epawaste index htm or www earth911 org for ...

Страница 12: ...inutes to complete Please leave the fan ON for the duration of the 5 minute programming and do NOT use the remote control or turn off the power during this time The fan will cycle through ALL SIX 6 speeds in forward and reverse and will then stop automatically after the learning process is complete Remote Control Bracket Wall Bracket Screws If you wish to use the remote control bracket install scr...

Страница 13: ...d 8 Test the fan functions You have the option to disable the light function if your fan does not have a light 9 Select YES IT WORKS 10 Specific information about your fan Select Location and choose from one of the predefined entries or add your own by selecting OTHER When finished select Save Select device name and enter the name for your device When finished select OK to save PLEASE NOTE This na...

Страница 14: ...e fan functions refer to Troubleshooting section to solve any issues before contacting Customer Service Fan must be on LOW before setting the fan in reverse Use button to recirculate air depending on the season A ceiling fan will allow you to raise your thermostat setting in summer and lower your thermostat setting in winter without feeling a difference in your comfort NOTE If the remote control i...

Страница 15: ...Deterioration of finishes or other parts due to time or exposure to salt air is specifically exempted under this warranty Neither Craftmade nor the manufacturer will assume any liability resulting from improper installation or use of this product In no case shall the company be liable for any consequential damages for breach of this or any other warranty expressed or implied whatsoever This limita...

Страница 16: ... del ventilador Pags 6 7 Instalación eléctrica Pág 8 Colocación de la cubierta decorativa Pág 8 Colocación de las aspas Pág 9 Instalación del juego de luz LED opcional Pág 10 Proceso de aprendizaje automático Activar el código Pág 11 Funcionamiento del control remoto Pág 12 Control Wi Fi para ventilador de techo inteligente Pág 13 Verificación del funcionamiento del ventilador Pág 14 Localización ...

Страница 17: ...ador y el receptor estén recibiendo la corriente del suministro de fuerza eléctrica de la casa usando el control remoto para ENCENDER y APAGAR el ventilador y la luz Abrir la aplicación Bond Home en su dispositivo inteligente y siga las instrucciones paso a paso incluidas en la aplicación que se aplican para agregar su ventilador Disfrutar de las características y funcionalidades del ventilador qu...

Страница 18: ...a ensamblar las piezas del ventilador incluso las aspas ADVERTENCIA para reducir el riesgo de incendio o un choque eléctrico no usar el ventilador con ningún control de velocidad de estado sólido ni controlar la velocidad del ventilador con un interruptor con reductor de luz de gama completa El usar un interruptor con reductor de luz de gama completa para controlar la velocidad del ventilador caus...

Страница 19: ...alla 1 unidad n cubierta de metal 1 unidad o paquetes de artículos de ferretería página 4 1 Desempaquetado del ventilador Abrir el empaque cuidadosamente Sacar los artículos del embalaje Sacar el motor y ponerlo en una alfombra o en el embalaje para evitar rayar el acabado Guardar la caja de cartón o el empaquetamiento original en caso de que tenga que mandar el ventilador para alguna reparación C...

Страница 20: ...ra dirigida hacia la parte alta del techo Arreglar el alambrado eléctrico los cables en la parte de atrás del soporte y lejos de la abertura del soporte Nota es muy importante usar los artículos de ferretería correctos al instalar el soporte de montaje puesto que sirve para sostener el ventilador 3 Preparación para la instalación El ángulo de inclinación de un techo abovedado no puede exceder los ...

Страница 21: ...os cables del ventilador y el cable de seguridad a través del extremo del tubo que tenga rosca y con cuidado jalar el cableado en exceso por la parte de arriba del tubo Referirse al diagrama 2 Enroscar el tubo en el cuello del bastidor del motor hasta alinearse los agujeros para el perno y la clavija en el tubo con los del cuello asegurarse de que no se tuerzan los cables Volver a introducir el pe...

Страница 22: ...ntrar un punto de acoplamiento seguro se recomienda la viga de madera en el techo y asegurar el cable de seguridad Utilizar tornillo para madera para trabajos pesados arandela y arandela de seguridad no provistos en el bucle del cable de seguridad Si es necesario ajuste el bucle en el extremo del cable de seguridad El bucle en el extremo del cable de seguridad debe ser de tal tamaño que pase justo...

Страница 23: ...ble que tienen cinta dentro de la caja de salida Dejar que la antena se quede fuera del soporte de montaje 6 Instalación eléctrica cableado para el receptor del receptor negro blanco blanco antena receptor negro negro azul blanco blanco rojo rojo amarillo amarillo gris gris alambre conductor negro alambre conductor blanco del receptor del ventilador Entrada CA L Entrada CA N toma de tierra verde t...

Страница 24: ... de los paquetes de artículos de ferretería Alinear los agujeros de una de las aspas con los agujeros en el motor localizado en el lado inferior del bastidor del motor referirse al dibujo al lado IMPORTANTE Voltear el aspa para que la estampa que indica ESTE LADO HACIA ARRIBA esté orientada hacia el bastidor del motor Introducir 3 tornillos arandelas para fijar el aspa con los dedos primero y lueg...

Страница 25: ...r del motor Asegurarse de que las conexiones tipo molex se cierren bien con un clic Con cuidado arreglar el cableado dentro de la placa de conexión Alinear los agujeros con ranura en el juego de luz LED con los tornillos aflojados en la placa de conexión Girar el juego de luz LED para cerrarlo Volver a introducir el tornillo que se quitó anteriormente y apretar bien los 3 tornillos Localizar las r...

Страница 26: ...stá descargada o tiene poca carga y deséchela de manera apropiada PRECAUCIÓN NO ARROJAR LAS BATERÍAS AL FUEGO PUEDEN EXPLOTAR O CHORREAR Antes de desechar baterías alcalinas domésticas se recomienda consultar a los coordinadores de residuos domésticos peligrosos o de reciclaje locales y estatales para solicitarles información específica sobre el programa vigente en su zona A su vez puede localizar...

Страница 27: ...r dejar el ventilador ENCENDIDO durante estos 5 minutos que demora la programación y NO proceder a usar el control remoto ni a cortar el suministro de fuerza eléctrica durante este tiempo El ventilador entrará en un ciclo de marcha de avance y marcha atrás pasando por LAS SEIS 6 velocidades y luego se detendrá automáticamente después de haberse terminado el proceso de aprendizaje Si desea usar el ...

Страница 28: ...ccionando OTHER otro Cuando termine seleccionar Save guardar Seleccionar el nombre del aparato y registrar un nombre para dicho aparato Cuando termine seleccionar OK para guardar POR FAVOR TOMAR EN CUENTA este nombre se utilizará para integraciones por lo que es mejor un nombre simple y fácil de recordar 11 Seleccionar Continue continuar 12 Seleccionar la red Wi Fi a la cual le gustaría conectar e...

Страница 29: ...calización de fallas para resolver cualquier asunto antes de comunicarse con el Servicio al cliente Hay que poner el ventilador en posición BAJA antes de poner el ventilador en reversa Usar el botón para que circule bien el aire dependiendo de las estaciones del año Un ventilador de techo le permitirá subir el termostato en verano y bajarlo en invierno sin notar una diferencia en su comodidad NOTA...

Страница 30: ...rantía Ni Craftmade ni el fabricante se harán responsables por lo que pasa por una instalación inadecuada o el uso impropio de este producto La compañía no se hará responsable en ningún caso de ningún daño emergente por incumplimiento de esta o cualquier otra garantía expresada o implicada en absoluto Esta limitación de daños emergentes no se aplicará en estados donde es prohibido página 15 Proble...

Отзывы: