background image

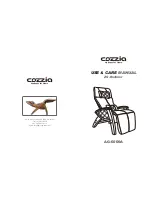
Use and Care Manual

Wellness for Home

09/10

PREPARATION PRIOR TO USE

1. Check the cloth of the chair

Prior to use, be sure to check that the cover cloth or the cloth of other parts is not torn. If a tear is found, 

stop using the chair immediately, unplug the power source,and obtain service. If the chair is used with 

torn cloth, it may result in injury or electric shock.

2. Check the power cord

Check that there is neither breakage or damage to the power adaptor.

Check that the cords are not caught or placed beneath the chair.

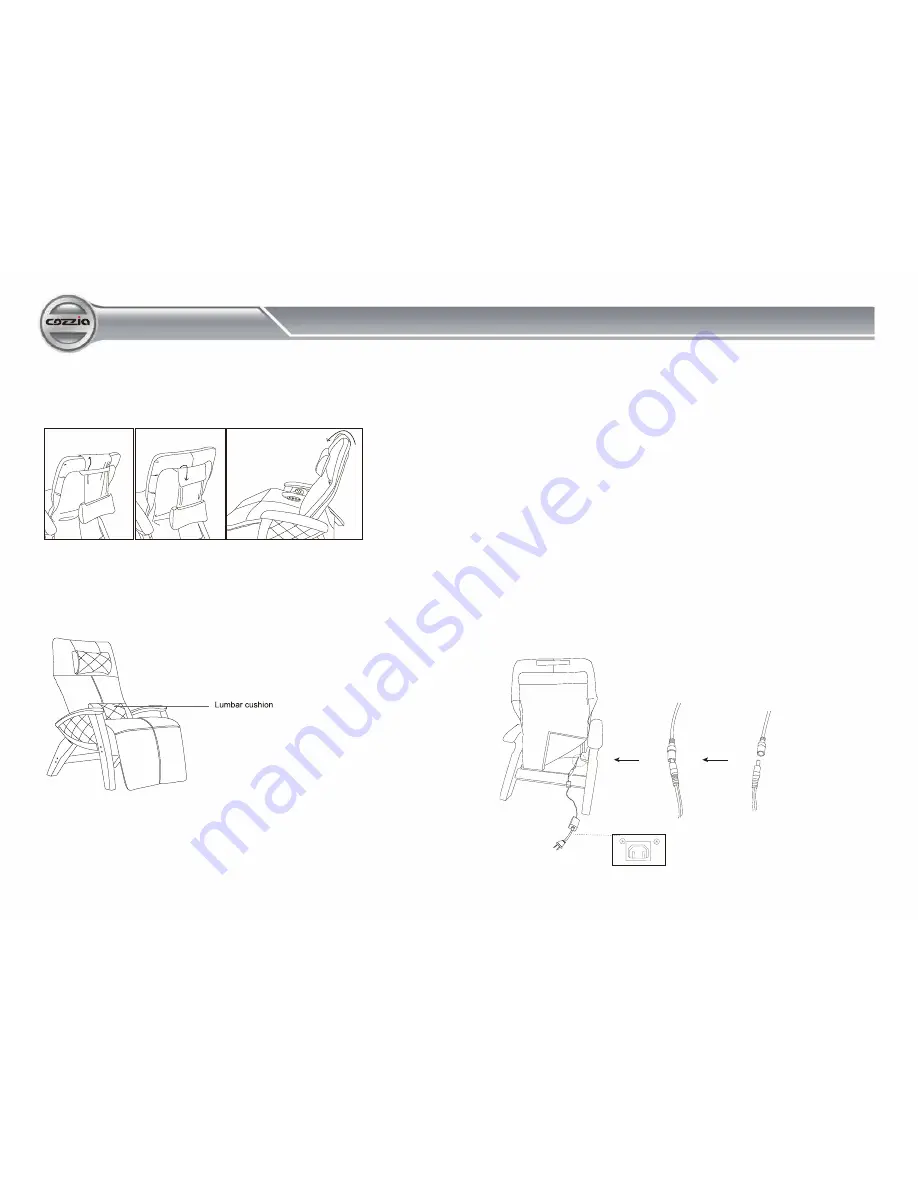
3. How to connect the power source.

1) Connect the power adaptor with the chair.

2) Insert the power plug into an outlet.

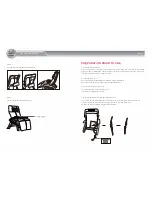
Step 6:

 Attach the pillow the head rest by the Velcro.

Step 7:

 Place the lumbar cushion on the seat.

4. Important information for attaching the remote control

To avoid any chance of damage to the remote control cord, make sure that after you attach the 

remote control to the chair connection lead, you run the cord outside of the chair. 

DO NOT run the cord between the Armrest and Backrest.

Содержание AG-6000A

Страница 1: ...861 S Oak Park Road Covina CA 91724 Tel 1 877 977 0656 Fax 1 800 521 4712 Email service cozziausa com USE CARE MANUAL ZG Recliner AG 6000A Wellness for Home Wellness for Home ...

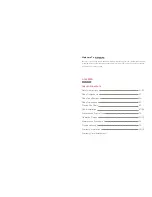
Страница 2: ... please continue to use same as a reference guide AG 6000A ZG Recliner TABLE OF CONTENTS Safety Instructions 01 02 04 07 09 11 13 14 16 18 Chair Specifications Chair Installation Operation Guides Maintenance Procedure Warranty Information Warranty Card Attachment 10 Preparations Prior to Use 15 Troubleshooting 05 Chair Dimensions 06 Placing The Chair 03 Chair Components Welcome To ...

Страница 3: ... or where temperatures may reach high levels or where there is high humidity and water vapor such as bathroom Do not attempt to insert any foreign objects into any part of the chair s structure Any tampering with the internal components of this chair may result in electric shock or malfunction Should any liquids be spilt on the chair while in operation please terminate functioning immediately to p...

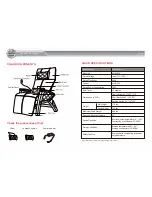
Страница 4: ...r Consumption Auto Timer Dimensions L W H Weight Maximum Load Weight Required Recline Clearance Usage Condition Storage Condition Safety Feature Environmental temperature 10 40 Contrasting humidity level 30 85RH Storage temperature 20 60 Storage humidity level 30 85RH Equipped with overheating and power surge detectors AG 6000A In put 110 120V 60Hz 24VDC 3A 72W 15 minutes Chair Upright 43 3 30 7 4...

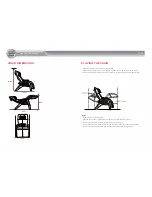
Страница 5: ...he chair to recline and the footrest to be extended CHAIR DIMENSIONS H 47 5 H 30 L 43 3 L 63 Notes Place the chair on a level surface Keep the chair at least 1 meter 3ft away from AV machines like a TV or radio Do not keep the chair in a place with high humidity like a bathroom Do not keep the chair in a place where it will be exposed to direct sunshine for an extended period or in a place near a ...

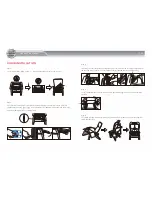
Страница 6: ...o disconnect the power plug after insert the legrest cushion to the leg frame Step 3 Pull the air hoses in the back pad through the fabric cover pocket on the seat Please align hoses in the back pad at the connectors Connect to the connectors and the heat coils and then zip up Step 4 Tidy pull the seat pad to the seat frame as much as possible align the Velcro and then attach the seat pad Step 5 A...

Страница 7: ...neither breakage or damage to the power adaptor Check that the cords are not caught or placed beneath the chair 3 How to connect the power source 1 Connect the power adaptor with the chair 2 Insert the power plug into an outlet Step 6 Attach the pillow the head rest by the Velcro Step 7 Place the lumbar cushion on the seat 4 Important information for attaching the remote control To avoid any chanc...

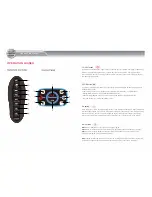
Страница 8: ...ngle of the back or leg rest the program will pause and resume automatically once the back or leg rest action is completed 4 Air Stretch Press this button to commence the heating function for the lumbar and seat region A light will indicate that the heating function is in operation Press the button again to cease the function With the heating function in operation should you wish to change the ang...

Страница 9: ... function button Automatic Timer Be sure to disconnect the power plug from the outlet prior to maintenance MAINTENANCE PROCEDURE WARNING NOTE Do not attempt to use benzene Thinner alcohol alkaline detergent or bleaching agent for cleaning as this may result in deformation discoloration or cracking Perform daily maintenance by wiping with a soft dry cloth When parts are badly soiled adopt the follo...

Страница 10: ...arranty and a two year parts warranty COZZIA customer service will not issue Return Material Authorizations RMAs for products This chair will be either repaired by the consumer or by an in home technician COZZIA will not issue Return Material Authorizations RMAs for buyer s remorse WARRANTY INFORMATION Consumers may contact Cozzia s Customer Service Department at 1 877 977 0656 between 9 00am and ...

Страница 11: ... part from failure to implement the manufacturer s recommended maintenance transportation damage theft abuse misuse neglect vandalism or environmental conditions fire flood rust corrosion sand dirt windstorm hail earthquake or exposure to weather conditions loss of use during any period that the product is at a repair facility or is otherwise awaiting parts or repair Damage due to shipping and han...

Страница 12: ...el No AG 6000A WARRANTY REGISTRATION FORM Product Serial No located on product Purchase price Model No First Name Last Name Address City State Zip Phone Email Please mail to COZZIA USA LLC 861 S Oak Park Road Covina CA 91724 Tel 1 877 977 0656 Fax 1 800 521 4712 ...

Отзывы: