Corning Restricted and Confidential Proprietary - Controlled content
SCRN-510 Hardware Installation Guide | DOC-SCRN-510-HIG_i4 | 16 October, 2020 | Page 13
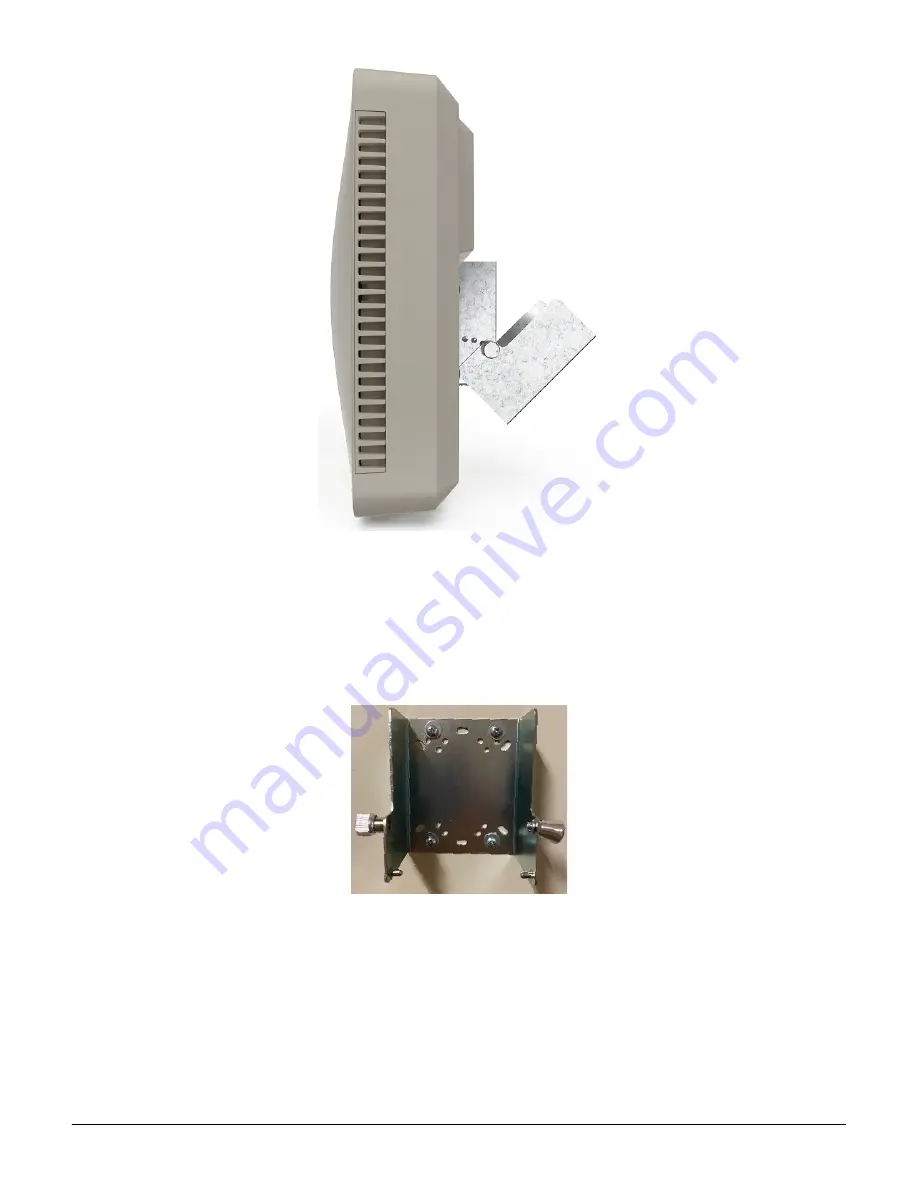
Figure 9
Wall-Mount Bracket Attached to the Ceiling-Mount Bracket
Step 1
Using a spirit level, use the wall-mount bracket as a template to mark securing hole locations.
Step 2
If required, install sheet rock plugs.
Step 3
Attach the wall-mount bracket to the wall.
shows the SCRN-510 wall-mount bracket
attached to a wall.
Figure 10 Wall-Mount Bracket Attached to a Wall
NOTE:
Production wall-mount brackets will have a large hole in the back for routing cables.
Step 4
Seat the ceiling-mount bracket on wall-mount bracket:
-
First, slide the ceiling-mount bracket onto the wall-mount bracket hinge pins.
-
Then, set the SCRN-510 to the required tilt, and tighten the wall-mount bracket
captive securing screw to lock the radio node tilt angle.
NOTE:
Put pressure on the SCRN-510 when tightening the captive securing screw.


