background image

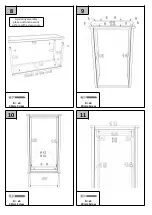
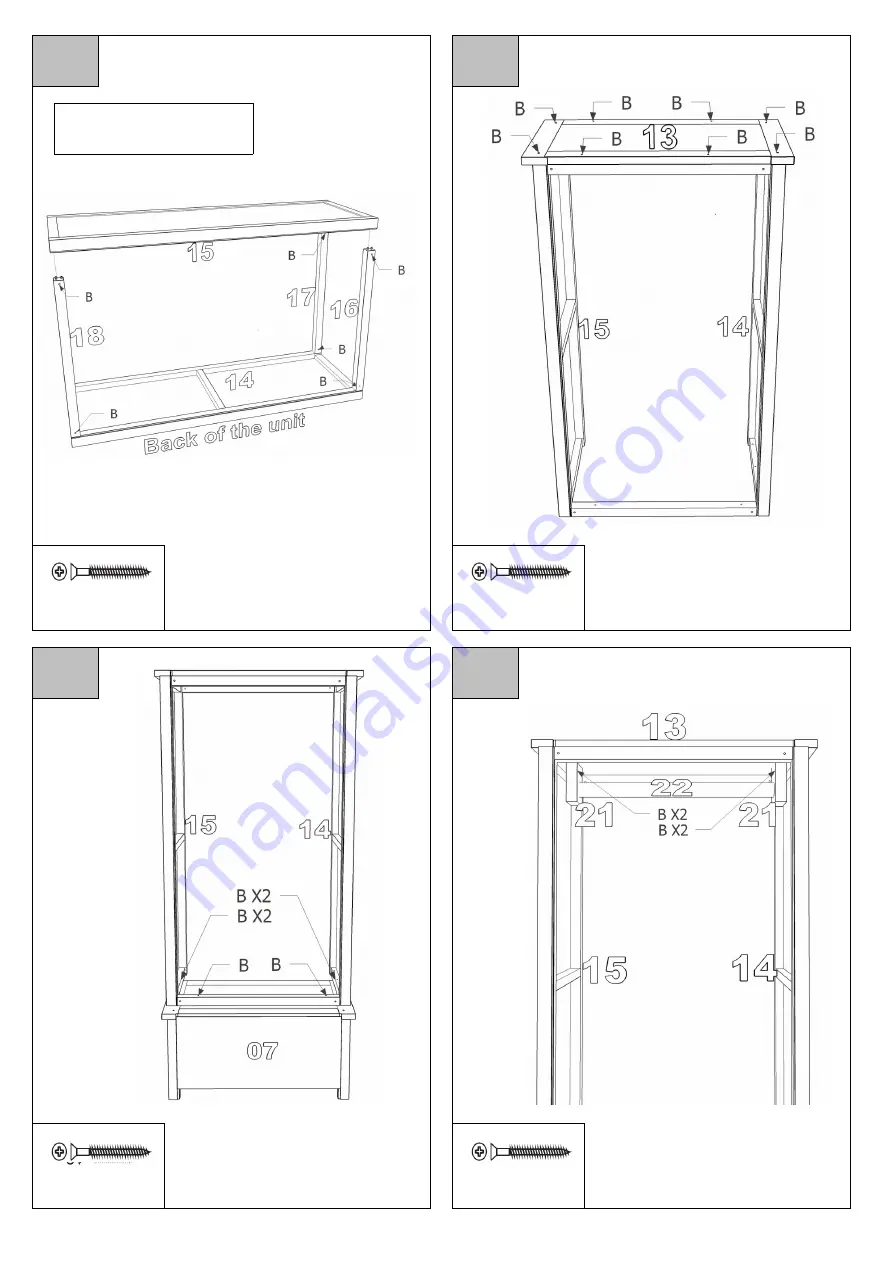
8

9

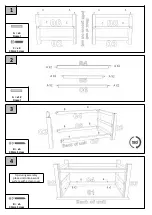
Tip: during assembly 

place unit onto a work

surface with a clean cover

B = x6

B = x8

40mm Screw

40mm Screw

10

11

B = x6

B = x4

40mm Screw

40mm Screw

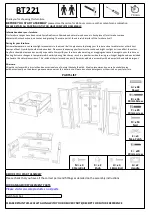
Содержание Boston BT221

Страница 1: ...ure humidity during transit may result in a powder residue forming so silica gel bags have been included to alleviate this natural occurrence This residue is harmless and can easily be removed before assembly with a damp cloth and mild detergent After care Wipe the surfaces with a dry cloth and an occasional use of normal household polish We also recommend you use household spray polish occasional...

Страница 2: ...1 A x4 Dowel C x4 30mm Screw 2 A x12 Dowel 3 B x6 40mm Screw 4 Tip during assembly place unit onto a work surface with a clean cover B x6 40mm Screw ...

Страница 3: ...5 Tip Place top of unit over the edge of the work surface to ensure the top does not mark during assembly D x20 Nail 6 H x4 18mm Bolt G x2 Handle C x16 30mm Screw 7 A x20 Dowel ...

Страница 4: ...8 9 Tip during assembly place unit onto a work surface with a clean cover B x6 B x8 40mm Screw 40mm Screw 10 11 B x6 B x4 40mm Screw 40mm Screw ...

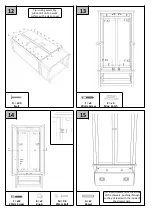
Страница 5: ...rk surface with a clean cover D x30 F x8 E x4 Nail 20mm Screw Mag Catch 14 15 Tip insert dowels from the inside of the drawers pushing through so they sit level with the inside of F x12 K x2 M X2 A x2 the drawer side 20mm Screw Knob 30mm Bolt Dowel ...

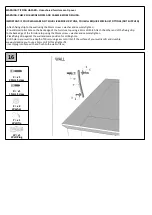
Страница 6: ...of the furniture top using a 2mm drill bit Attach the other end of the fixing strip to the back edge of the furniture top using the 15mm screw washer and securely tighten Place fixing strip against the wall and mark position for drilling hole Drill hole in your wall to a depth of 30mm using a 6mm drill bit If the surface of your wall is soft and crumbly we would advise you to use a 5mm drill bit f...

Отзывы: