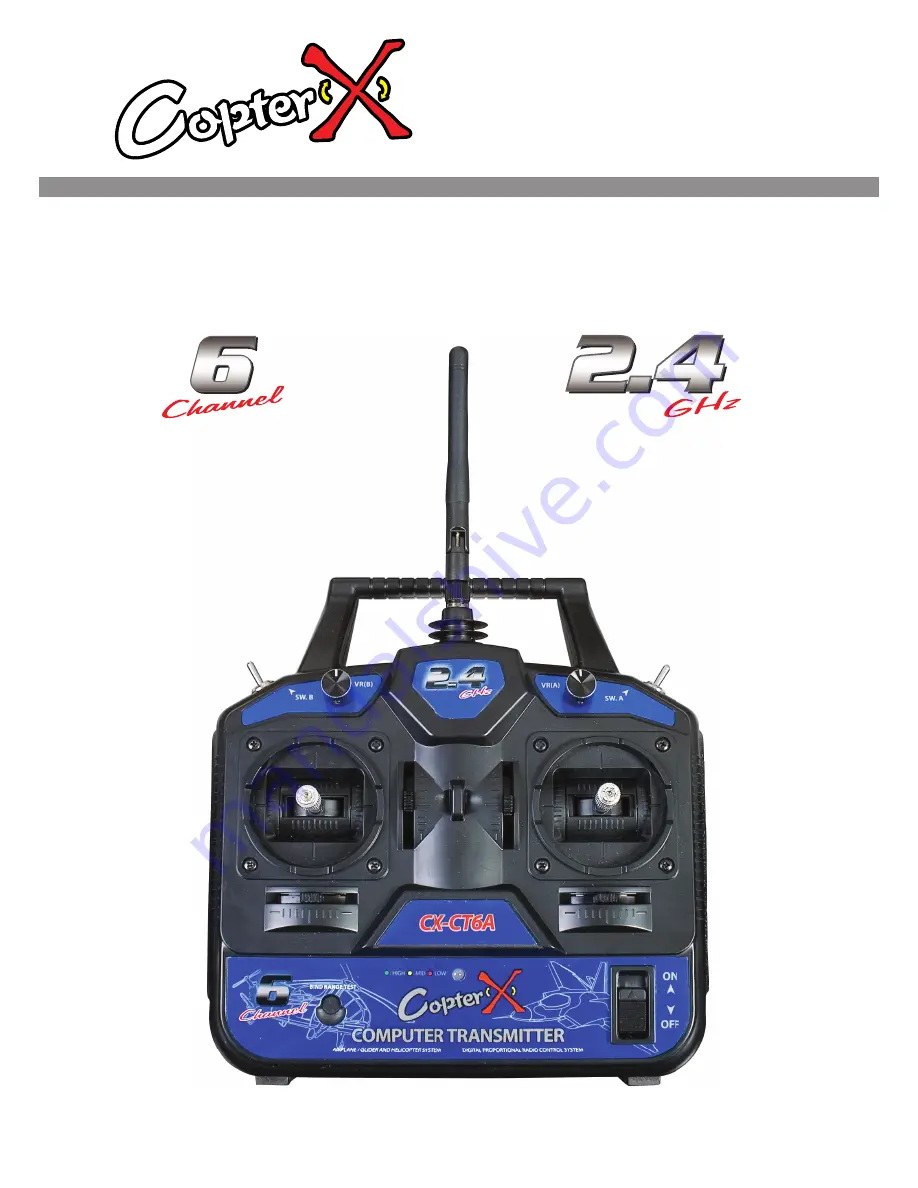
CX-CT6A
INSTRUCTION MANUAL
Computer Transmitter
www.copterx.com
Copyright © 2008 KY MODEL Company Limited.
6 channel Radio
Control System
Digital Propotional
Radio Control System
Страница 1: ...CX CT6A INSTRUCTION MANUAL Computer Transmitter www copterx com Copyright 2008 KY MODEL Company Limited 6 channel Radio Control System Digital Propotional Radio Control System ...
Страница 2: ... Part of the Transmitter 9 Receiver and Server Connectivity 10 2 4G Operation Notes 10 01 Matching 10 02 Boot 10 03 Shutdown 11 Computer Hardware Connection Steps 12 Computer Software Installation 13 Transmitter Function Notes Heli 13 01 System Function Option 13 02 System Function Setting 13 03 Switches and Potentionmeter Settings 14 Content 1 2 2 3 3 4 5 5 6 7 8 8 9 9 10 11 12 12 13 15 16 ...
Страница 3: ...arefully and strictly follow the instruction You could refer to the manual if you have any problems during the operation Please keep the manual well because you may have to use it again 2 Services If you have any problems during the operation process please refer to the manual If the problem still exists you may contact our dealers for more information You may also email us at info copterx com ...
Страница 4: ...es may be resulted Do not fly during bad weather such as rain thunder amd wind Mandatory Before the flying please make sure that the servo corresponds with the elevator stick If they are inconsistent please make adjustment first You need to set the throttle trim down and centre the rest of the trims first then connect the battery After that turn on the transmitter and wait for a few seconds Finall...
Страница 5: ...s needed If you use a Ni Cd or Ni MH rechargeable battery please check before the flying If there is a lack of electricity accident may be resulted because of inadequate power or out of control Therefore please charge the battery immediately when the power is low If you recharge a Ni Cd or Ni MH battery please use our company dedicated charger If the electrical current is too large it may lead to ...
Страница 6: ...0 Acro Sub Trim Yes Thro Cuv Programmable Pith Cuv Programmable Support multiple user model Support trim movement Support rudder angle overturned Support rudder angle adjustment Support both hand software adjustment Support swashplate adjustment Support programmable channel output 7 Receiver Parameters Channel 6 Frequency band 2 4GHz Power resource 1 5V 4 AA Battery Program type GFSK Modulation ty...
Страница 7: ...ront Back Side HOV Pit Switch B Elevator Trim Direction Elevator Rudder Trim Matching yards Keys Antenna Handle Pit Trim Switch A Throttle Trim Aileron Throttle Stick Alieron Trim Power Indicator Light Power Switch Simulant Connector Battery Box Battery Cover Charger Port ...
Страница 8: ...uter Transmitter 9 Receiver and Server Connectivity Ch1 Ch2 Ch3 Ch4 Ch5 Ch6 Battery Receiver Module Receiver Module Main Receiver Main Receiver When you install the receiver please make sure that it is shown as below ...
Страница 9: ...hed 4 Press and hold the button on the transmitter then switch on the power supply 5 Check the LED on the receiver If the LED does not flash it means it is successfully matched This process takes about 10 seconds 6 Release the match button on the transmitter Take out the match line 7 Install the servo and then do the test 8 If the test is failed repeat the above steps 9 If the test is successful i...
Страница 10: ... part 2 Switch on the power supply 3 Connect the power supply 4 Receive LED light solid 5 Ready for use 10 03 Shut down 1 Cut off the receiver power supply 2 Cut off the transmitter power supply Boot Tx power ON Rx power ON Shut down Rx power OFF Tx power OFF ...
Страница 11: ...e battery to the transmitter and switch on the power 2 Plug in the programming line to the transmitter port 3 Plug in the other head of the programming line to PC 4 Launch the software program T6CONFIG EXE 5 Click the setting buttons and select programming line port 6 Click GetUser button and import the transmitter data to PC 7 Apply programmable settings on the existing parameters ...
Страница 12: ...nstall application software t6config exe 3 Restart computer 4 Installation completed 12 03 PC Software Application Application Interface 1 Install the battery to the transmitter and switch on the power 2 Connect the transmitter programming line and the PC 3 Double click the application icon and the following screen will be shown With new computer programmable model design all functions of transmit...
Страница 13: ...line USB port selection It improves the communication of the transmitter and the PC If the selection is wrong there is no data changes and all other settings are invalid Click OK after finishing the selection Clcik HELP on the interface The service information will be offered Connect the transmitter programming line with the PC Switch on the transmitter and start the application software If you ch...
Страница 14: ...eft half part and right half part Adjusted value is from 0 to 100 You can enter the numbers directly through the keyboard Click OK when the adjustment is finished To restore click Cancel To change the direction of servo movement click Reverse It keeps the transmitter control direction corresponding to the servo Click the channel you want to change Click OK when the adjustment is finished To adjust...
Страница 15: ...etter performance and gain better control of the model click Thro Curv There are two parts Normal State NOR and Stunt State IDEL Each curve is made up of five points and each point can be set up individually Adjusted value is from 0 to 100 You may enter the numbers directly from the keyboard Click OK when the adjustment is finished To adjust the helicopter PIT click Pith Curv By this function you ...
Страница 16: ...Source Mixed Control Source Selection Des Destination Selection Up Rate Upper Part s Mixed Control Ratio 100 100 Down Rate Lower Part s Mixed Control Ratio 100 100 Switch Activation Ways OFF ON SWA SWB Click OK when the adjustment is finished To select setting and function of Switch A or Switch B click Switch A or Switch B You can choose the followings NULL DR Throcut or NOR ID Click OK when the a...
Страница 17: ... 14 Content NO Model Quantity Remarks 1 2 3 4 5 6 7 6 Channel 2 4G Transmitter CX CT6A 6 Channel 2 4G Receiver CX CR6B Match code Line Programming Line PC Software CD Charger 9g Servo 1 1 1 1 1 1 1 Optional Optional Optional Optional ...
Страница 18: ...www copterx com Copyright 2008 KY MODEL Company Limited ...