4-Port USB2.0 Metal Hub with DIN RAIL Mounting Kit
3
3.
Connecting USB Host cable: The host cable is a standard
A-to-B USB2.0 cable. Please connect the type-A end
connector of the cable to your upstream USB port, then
connect the type-B end connector to this hub. Since the
USB hub is plug-and-play, you don’t have to turn off your
host computer when installing the hub.
Note:
In some cases, you will see an error message said
that the USB Hub caused the USB bus power over the current limit,
please ignore this message since the hub is hot plug and its power
capacitor will cause a very short period of current. It will NOT affect
your USB function.
4.
Connect the USB devices to the downstream ports of this
hub.
5.
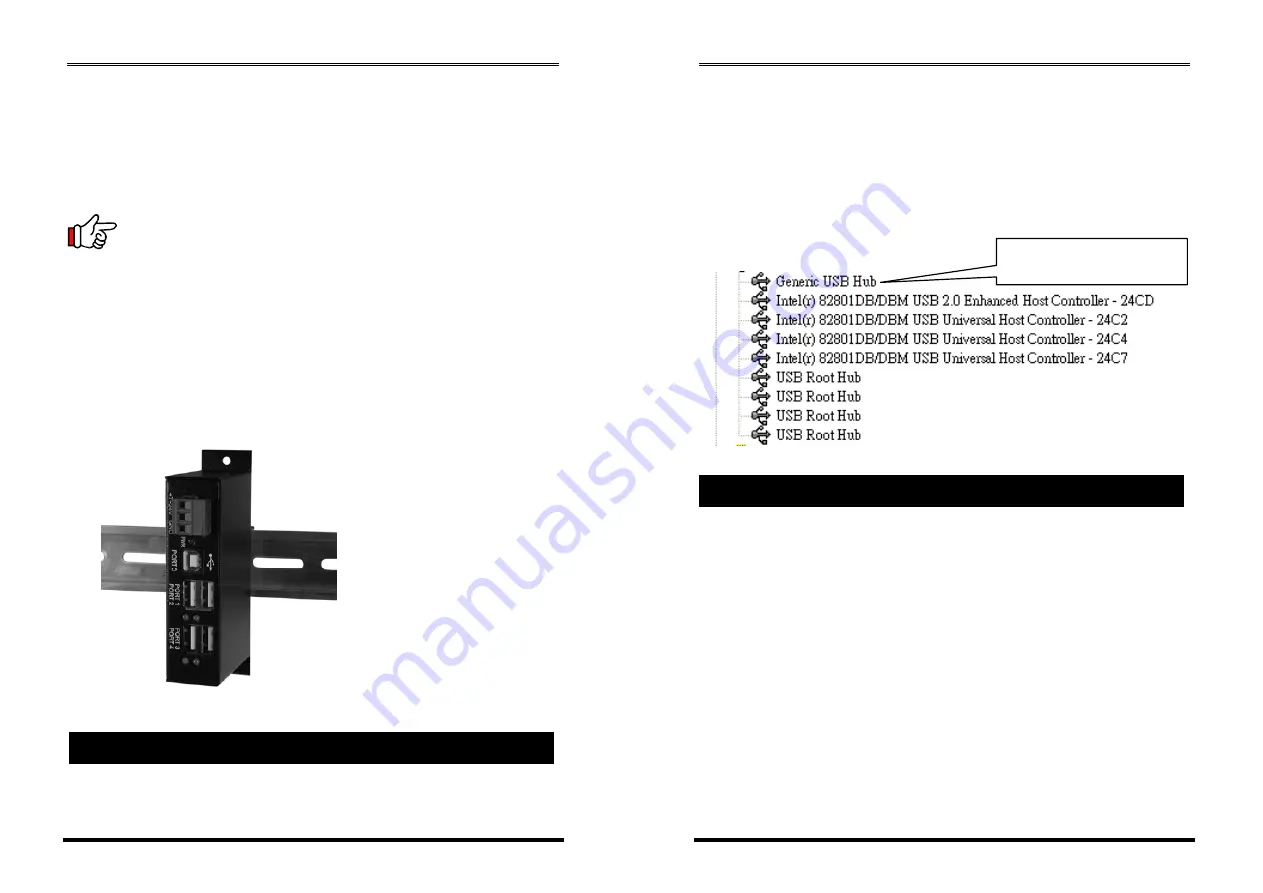
Mount your hub on the wall or DIN RAIL if required.
To check the USB hub installation in Windows device manager,
please follow the following steps:
4. Checking the Hub Installation
4-Port USB2.0 Metal Hub with DIN RAIL Mounting Kit
4
1.
Click Start
2.
Click Control Panel
3.
Click System
4.
Click Device Manager button
5.
Double click Universal Serial Bus Controller
6.
Double click Generic USB Hub, the message will show that
this device is working properly.
Operating temp.:
0 to 55
C (32 to 131
F
)
Operating humidity: 5 to 95% RH
Dimensions (LxWxH):
4.50”(L)x2.26”(W)x1.03”(H)
(11.45x5.73x2.63 cm)
5. Environmental Specifications
Here is your USB2.0 Hub


