806607 0CH
Item No. 806607 0
[email protected]
CC0031
. Broken or Missing Parts?
. Need help with Assembly?
If you have any questions just call 1-800-468-6447 or email us at
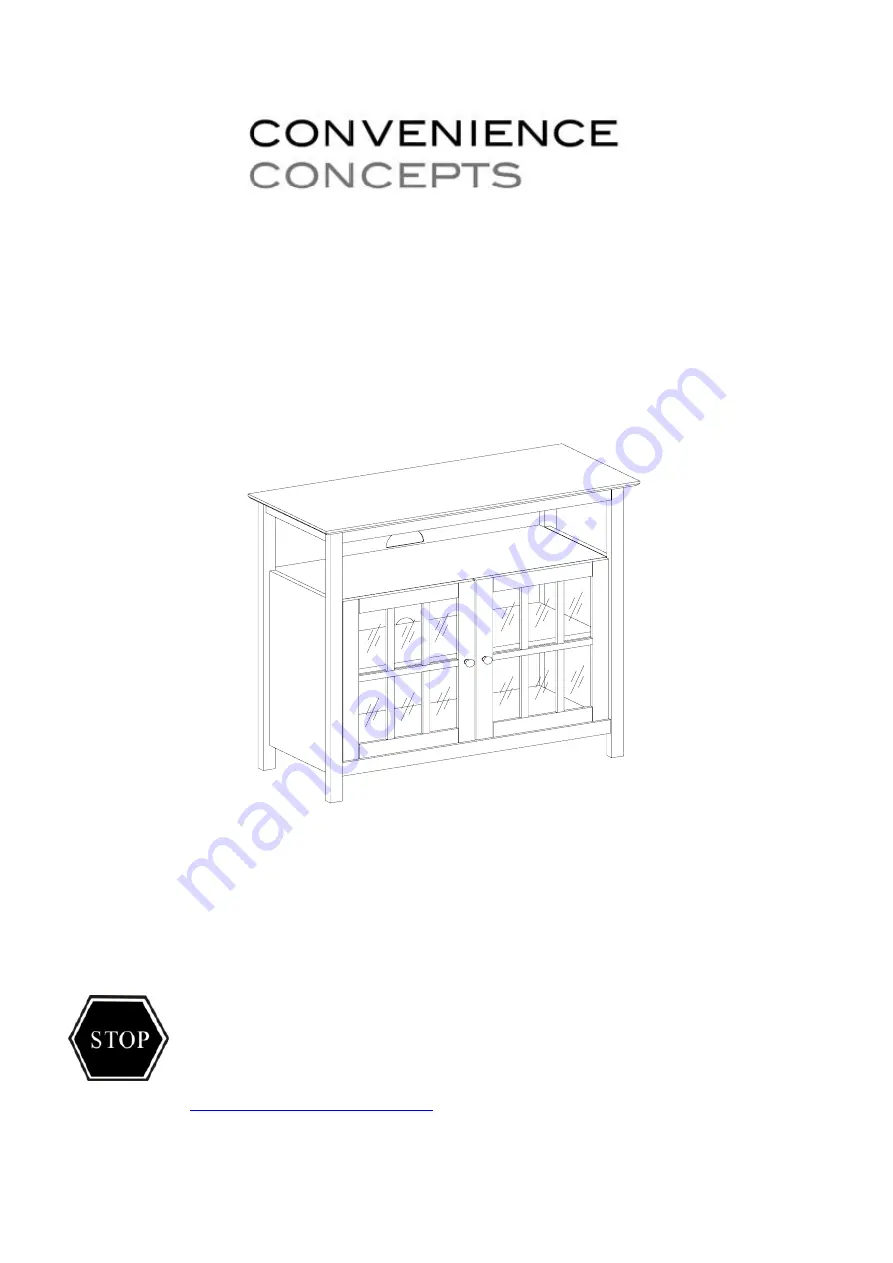
BIG SUR HIGH BOY TV STAND
42" Maximum Flat Panel Television
100 lb. Maximum Capacity
Please do not return to the store


