background image

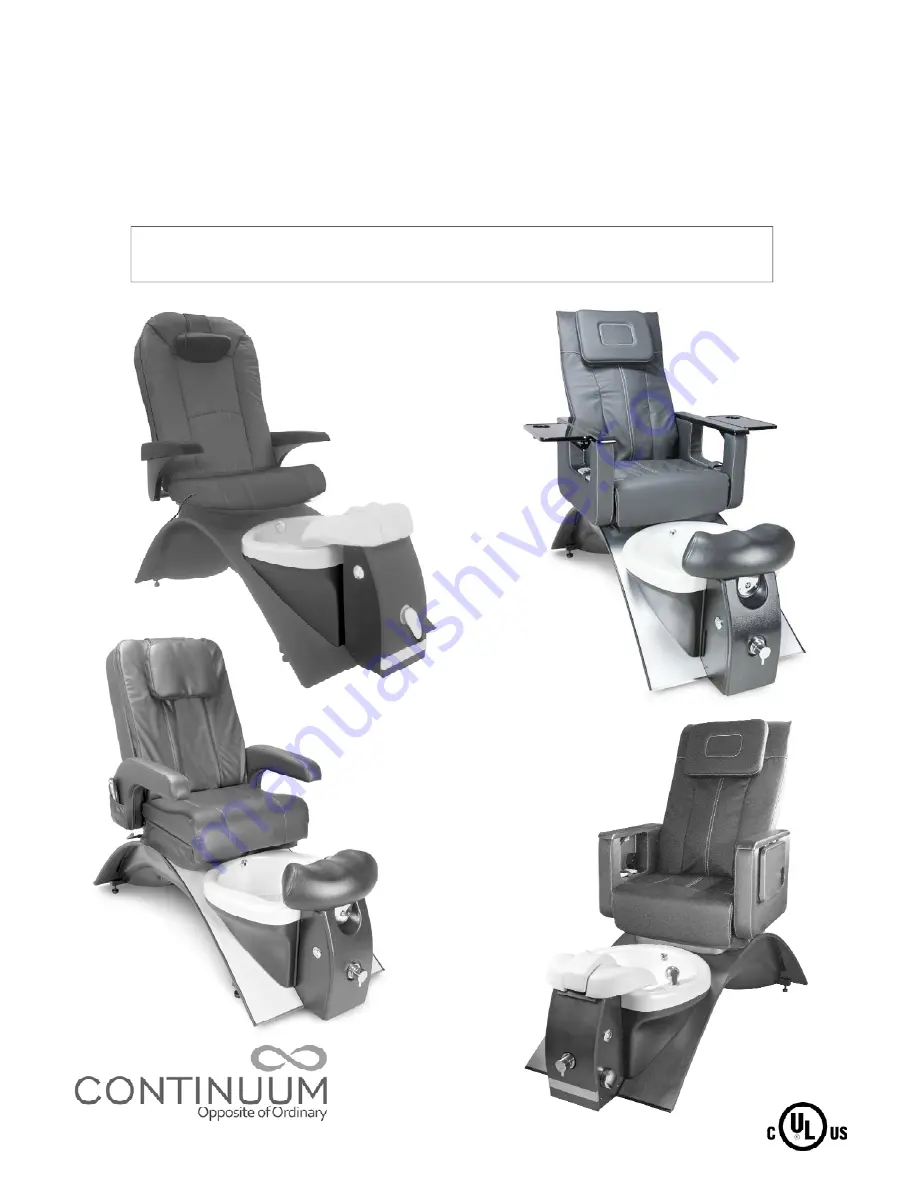
ECHO

/ VANTAGE

ECHO PLUS / VANTAGE PLUS

OWNER’S MANUAL

ECHO PLUS

VANTAGE 

®

Continuum Footspas, LLC  

P.O. Box 363  Brookfield, WI  53008

Toll Free: 1 877 255 3030 

Telephone: 262 754 4900 

Fax: 262 754 4901 

continuumfootspas.com

ECHO

VANTAGE PLUS

Содержание ECHO

Страница 1: ...ECHO PLUS VANTAGE PLUS OWNER S MANUAL ECHO PLUS VANTAGE Continuum Footspas LLC P O Box 363 Brookfield WI 53008 Toll Free 1 877 255 3030 Telephone 262 754 4900 Fax 262 754 4901 continuumfootspas com ECHO VANTAGE PLUS ...

Страница 2: ...free to call us at 1 877 255 3030 Very Important Safety Instructions Maximum weight capacity of your pedicure chair is 350 pounds Never bring or operate any electrical device in or near your pedicure chair Always enter and exit your pedicure chair very slowly and carefully Never stand in the basin Avoid excessive water temperatures This can be dangerous and water temperature must be checked before...

Страница 3: ...intenance negligence improper cleaning or any other circumstances beyond Continuum Footspas control In order for your Limited Warranty to be valid your pedicure chair must be installed by a licensed professional in accordance with Continuum Footspas installation instructions EXCLUDED FROM LIMITED WARRANTY 1 Unauthorized repairs 2 Damage due to freight accident natural disaster and or abuse 3 Stain...

Страница 4: ... TO INSTALLATION ONE SHOULD CONTACT THEIR LOCAL BUILDING INSPECTOR TO MAKE SURE ALL LOCAL CODES ARE COMPLIED WITH WARNING Possible Health Risks Clients whose feet or legs are inflamed for any reason or clients who have open wounds should never be allowed to use a pedicure chair If there is any sign of fungal infection fracture swelling or persist ent pain clients should consult their physician bef...

Страница 5: ...ULD BE USED WITH ANY CONTINUUM PEDICURE CHAIR WARNING TO REDUCE THE RISK OF BURNS ELECTRIC SHOCK FIRE OR INJURY TO PERSONS Any servicing of your pedicure chair must be performed by authorized service personnel only DO NOT operate your pedicure chair if it has a damaged cord or plug Keep cord away from heated surfaces DO NOT use outdoors Hot Cold Water Supply and Drain All plumbing connections must...

Страница 6: ...ected by a ground fault circuit interrupter GFCI Such a GFCI should be provided by the installer and should be tested on a routine basis To test the GFCI push the test button The GFCI should interrupt power Push the reset button Power should be restored If the GFCI fails to operate in this manner the GFCI is defective If the GFCI interrupts power to the pedicure chair without the test button being...

Страница 7: ...dicure chair unpainted shipping brack ets may be discarded Installation Instructions Step 1 Utilizing a level carefully adjust the four 4 leveling feet It is extremely important that your pedicure chair is level Note All leveling feet have been factory adjusted prior to shipment In most cases no further adjustment should be necessary The entire pedicure chair may be raised or lowered slightly to e...

Страница 8: ...irements and procedures Cleaning and Disinfecting Products Your state board requires disinfecting of your pedicure tub Continuum STRONGLY recommends Splish Splash One Step Disinfectant The following page outlines product benefits for all pedicure chairs together with contact information While other EPA registered products are available for maintaining pedicure tubs we have found Splish Splash to b...

Страница 9: ...ng manicure stations and countertops mix one 1 Fluid Ounce of Splish Splash One Step Disinfectant in one 1 gallon of water For spray bottle mix 1 4 Fluid Ounce of One Step Disinfectant in 32 Ounces of water Sponge or spray on wait ten 10 minutes and wipe dry PLASTIC INSTRUMENTS For plastic instruments mix one 1 Fluid Ounce of Splish Splash One Step Disinfectant with one 1 gallon of water and fill ...

Страница 10: ...the soapy solution and rinse the basin 5 Refill the basin with clean water and circulate the correct amount read the label for mixing instructions of the EPA Registered Liquid Disinfectant Splish Splash is strongly recommended through the basin for 10 minutes 6 Drain rinse and wipe dry with a clean paper towel 7 Allow the basin to dry completely At least once each week overnight procedures After c...

Страница 11: ... leather like material is very durable and with reasonable care should look like new for many years Leg Supports Echo Echo Plus only Once again a mild detergent and warm water is all that is needed to clean the three 3 footrests However as previously noted care should be taken to prevent nail polish or acetone from coming in contact with these cush ions These products may damage or discolor the ou...

Страница 12: ...7 8 9 10 Client Time Staff Date m d yr _______________________________ Station __________ Serial ______________ Service No 1 2 3 4 5 6 7 8 9 10 Client Time Staff Date m d yr _______________________________ Service No 1 2 3 4 5 6 7 8 9 10 Client Time Staff Date m d yr _______________________________ ...

Страница 13: ...t Use of this product should be pleasant and comfortable Should pain or discomfort result discontinue use and consult your physician WARNING WHEN USING CONTINUUM PEDICURE CHAIRS BASIC PRECAUTIONS SHOULD ALWAYS BE FOLLOWED INCLUDING THE FOLLOWING 1 READ AND FOLLOW ALL INSTRUCTIONS 2 DANGER To reduce the risk of injury do not permit children to use pedicure chairs unless they are closely supervised ...

Страница 14: ...OFF Button 8 Adjustable leveling feet four 4 located on Main Frame 9 Shiatsu Hand Held Back Massage Control Wand Model TA or SA 10 Pivoting Left and Right Arms 11 Dual Stream NoPipe Jet and Body 12 Sprayer Filler with hose 13 Drain Pop up 14 Basin Overflow gravity drain only 1 2 3 4 5 6 7 11 12 13 14 Figure 1 Echo Model features may vary on other models Figure 2 Basin Detail refers to all units ex...

Страница 15: ...s pin Firmly insert the hairpin cotter pins into each of the small holes thus securing both clevis pins in place See Figure 3 once again Attaching Seat Cushion to Main Frame 1 Locate seat bottom cushion 2 Fully recline chair and attach bottom cushion by aligning the cushion with Velcro strips supplied Make sure seat cushion is pushed back tight against the seat back between left and right mounting...

Страница 16: ...drest 1 The headrest has a built in counter weight that maintains a comfortable position To adjust simply move the headrest up or down until a comfortable position is achieved Chair Control Keypad 2 Recline and Forward Backward Movement The client can utilize this keypad located on the left arm as one sits in the Echo Pedicure Chair to achieve the most comfortable position The chair will automatic...

Страница 17: ...ment The Standard Chair also features a combination rolling and kneading Shiatsu massage The rollers move vertically up and down the center back or can remain in one specific area Step 1 Note red light located above ON OFF button Massage system will NOT operate if light is blinking Press red ON OFF button once to obtain a steady light Step 2 Press one 1 of three 3 buttons to activate the area of b...

Страница 18: ...ur pedicure chair This activates the Pop Up 13 located on the bottom of the basin allowing water to drain Step 2 Press chrome button marked Drain 4 located next to the Chrome Drain Handle 5 This will activate the drain pump When basin is fully emptied depress button once again to turn pump off VERY IMPORTANT When draining basin ALWAYS perform Step 1 before Step 2 NEVER reverse the steps as this ma...

Страница 19: ... normal for a small amount of this pink fluid to remain within the plumbing system To eliminate any traces of RV anti freeze simply fill and operate your pedicure chair several times before actual use Adjustable Center Leg Support with Adjacent Foot Rests applies to models with three 3 piece footrest assemblies only An exclusive and patent pending Center Leg Support System 3 is another unique feat...

Страница 20: ...f at any time by pressing I Fill button Press and hold I Fill button to add additional water to basin NOTE If water falls below sensor electrodes located on jet body 11 jet will turn off Additional water must be added to cover sensors allowing jet to turn on Adjusting Sensor Delay Time Setting There is a control box located underneath the black right side when facing the spa shroud or side panel R...

Страница 21: ...t ever becomes necessary to disconnect the chair back from the seat base simply press the lever on the latch to disconnect Step 3 Plug the two 2 wire connectors together They are located near the back of the chair Connect both white connectors together and both red connectors together See Figure 3 Step 4 Locate seat bottom cushion Place it on the seat base making sure it s as far back as possible ...

Страница 22: ... position KNEADING Three 3 selections of kneading intensity COMBINATION Kneading tapping knocking simultaneously KNOCKING Impulse tapping massage POSITION User s height HIGH MID LOW FORWARD BACKWARD Continue pressing to move chair to intended position MANUAL TIMER Press for manual mode with time selection of 10 30 minutes MASSAGE RANGE Three 3 Selections FULL SPOT PARTIAL TAPPING Three 3 Selection...

Отзывы: