Continu.us CT-4010 Скачать руководство пользователя страница 22

SETUP

This option allows user to adjust the TV's miscellaneous options.

I.CLOSED CAPTION  This provides your TV tuner, AV ports with subtitles.

i.CAPTION DISPLAY  This turns on or off the closed captioning.

Ii.ANALOG CAPTION TYPE  This chooses the subchannel that supplies the closed captioning.  For United States, 

usually the setting is CC1.  TEXT1-4 displays advertisements of the channel.

iii.DIGITAL CAPTION TYPE  This chooses the subchannel for digital channel closed captioning.

iv.DIGITAL CC PRESET  This unlocks users ability to change caption styles.

v.DIGITAL CC STYLE  This feature changes caption options of digital closed captioning.

A)CC OPACITY  This changes the transparency of the captioning.
B)Text


 COLOR  This changes the color of the text.

C)CC BACKGROUND OPACITY  This changes the transparency of background of the text.
D)CC BACKGROUND COLOR  This changes the color of the background.

II.MENU LANGUAGE  This function adjusts the language of the menu (English, French, Spanish).

III.CLOCK 

i.TIME ZONE  This adjusts the time zone for the TV's clock.

ii.AUTO CLOCK  This feature sets the TV to the TV channel's clock.  (

You must have antenna to use this feature.)

iii.SETUP TIME  This feature manually lets you adjust the time and date.

iv.DAY OF  WEEK  This feature tells you the day of the week.

1.Press MENU to open the OSD.

2.Press ◄ or ► to select SETUP and press ENTER.

3.Use ▲ or ▼ to select the one you want to adjust and 
    ◄ or ► or ENTER to adjust them.
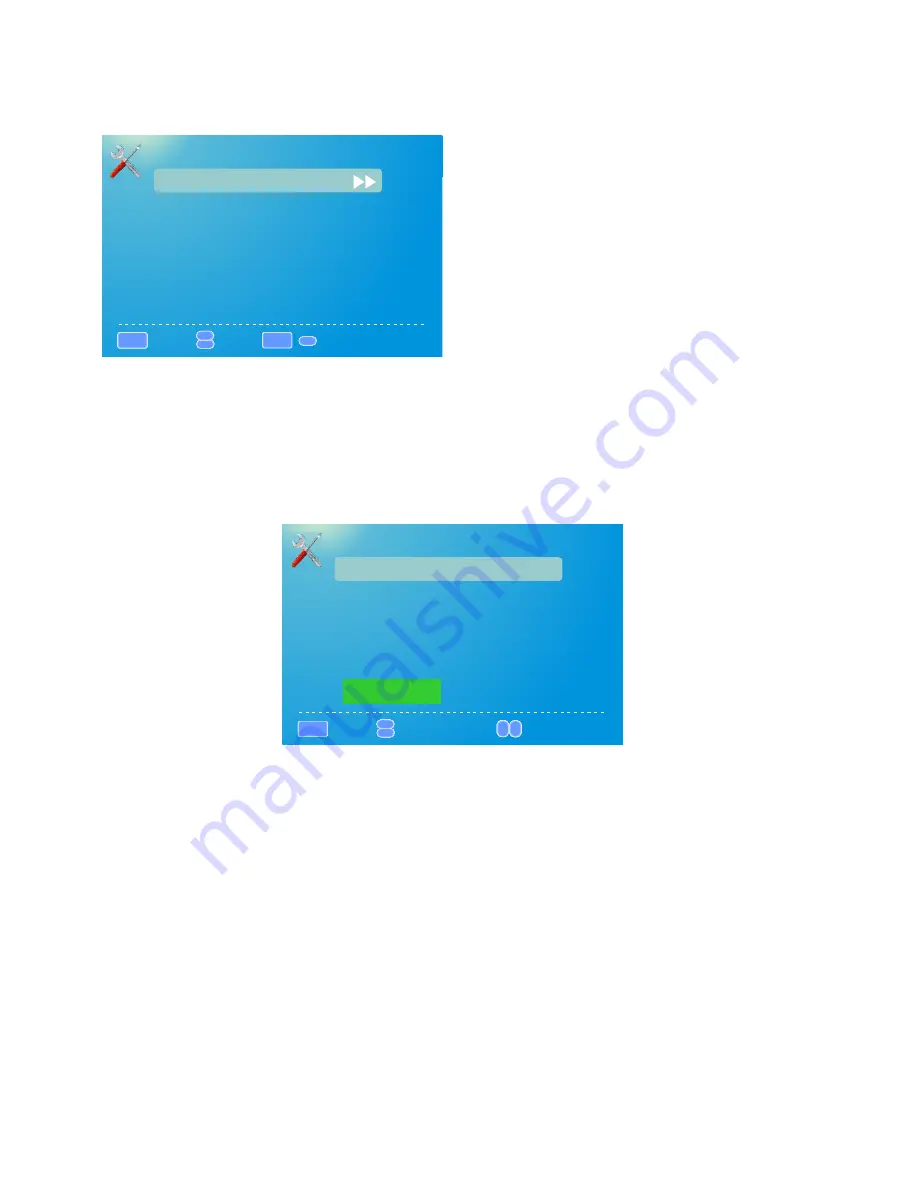
SETUP

Closed


Caption      

:

Return

:

Move

:

Go to Next Menu

MENU

Menu


Language


English

Clock

/

ENTER

DIGITAL


CC


STYLE

CC


Size


Default      

:

Return

:

Select


menu

MENU

CC

 Font                                 

Default 

CC


Opacity


Default 

CC


Color


Default 

CC


Background


Opacity


Default 

CC


Background


Color


Default 

Close


Caption

:

Change

 Setting

20

Содержание CT-4010

Страница 1: ...User Manual Before connecting operating or adjusting this product please read the manual completely Please keep this manual for future reference Model CT 4010...

Страница 2: ...nglish Important Safety Instructions 1 Important Notice 4 Preparations 5 Identification of Controls 7 Connections 10 Basic Operations 13 Getting Started 14 Troubleshooting 23 Specifications 24 Wall mo...

Страница 3: ...e liquid cleaners or aerosol cleaners Use a damp cloth for cleaning 7 Ventilation Do not block any ventilation openings Install in accordance with the manufacturer instructions The vents and other ope...

Страница 4: ...r or those with the same characteristics and performance as the original parts Use of unauthorized parts can result in fire electric shock and or other danger 17 Overloading Do not overload wall outle...

Страница 5: ...nt and easily accessible Use only the power cord designated by our dealer to ensure safety and EMC When connecting other products such as VCRs and personal computers you should turn off the power of t...

Страница 6: ...evel B Do not display the fixed image for extended periods of time C Turn the power off when not in actual use Important Information Regarding Use of Video Games Computers Captions or Other Fixed Imag...

Страница 7: ...terminals corresponding to the and indications in the battery compartment 3 Replace the cover Precaution on battery use Dispose of batteries in a designated disposal area Batteries should always be d...

Страница 8: ...upon your particular area Power Connection Note Insert the AC plug into a conveniently located AC outlet This product should be operated only from the type of power source indicated on the marking la...

Страница 9: ...rations these buttons serve as up down buttons 5 VOL Press the VOL or VOL button to directly increase or decrease the sound volume level In menu operations these buttons serve as right left buttons Id...

Страница 10: ...cable satellite set top box This connection port receives pure digital audio and high definition signal through one single cable This port also can accept a HDCP video device for video 7 USB Service...

Страница 11: ...8 GO BACK Return to the previous channel 9 CC Select the Caption menu directly 10 VOL VOL Adjusts sound level CH CH Select a channel MUTE Switches the sound on or off 11 INPUT Selects the TV AV COMPO...

Страница 12: ...utions Before Connecting Carefully check the terminals for position and type before making any connections The illustration of the external equipment may be different depending on your model Loose con...

Страница 13: ...omponent video from an external device 1 Turn on your TV then press SOURCE button The INPUT SOURCE menu opens 2 Press or to select Component then press ENTER to confirm 3 Turn on your external device...

Страница 14: ...t the HDMI cable between the HDMI interface on the unit and HDMI output on the device To play from the device using HDMI 1 Turn on your TV then press SOURCE button The INPUT SOURCE menu opens 2 Press...

Страница 15: ...n the remote control to turn off the unit and put the unit in standby mode To cut off the power completely please disconnect the AC power cord Note If there is no signal input for a certain time the T...

Страница 16: ...press ENTER 3 Use the or buttons to highlight the signal type and press or to select your connection either AIR or CABLE 4 Use the or buttons to select AUTO CHANNEL SEARCH and press ENTER to scan for...

Страница 17: ...omatic synchronization sleep timer and power on timer power off timer Picture SOUND CHANNEL PARENTAL SETUP OTHERS PICTURE This option allows users to adjust the TV s picture sharpness color tint and o...

Страница 18: ...ing neutral color V ADVANCE PICTURE SETTINGS i DYNAMIC CONTRAST This feature allows the HDTV to automatically adjust the contrast of the HDTV depending on the picture you are viewing ii FILM MODE This...

Страница 19: ...This feature adjusts the balance between the two speakers moving sound from left to right II SURROUND MODE This feature enables the TV two speakers to provide a wider sound effect III ANALOG SOUND Thi...

Страница 20: ...select CHANNEL and press ENTER 3 Use or to select the one you want to adjust and or or OK to adjust them I CHANNEL LIST This feature gives you the list of channels currently found by the TV Equalizer...

Страница 21: ...MENU to open the OSD 2 Press or to select PARENTAL CONTROL and press ENTER 3 Use or to select the one you want to adjust and or or ENTER to adjust them I LOCK PARENTAL CONTROL This feature allows you...

Страница 22: ...OPACITY This changes the transparency of background of the text D CC BACKGROUND COLOR This changes the color of the background II MENU LANGUAGE This function adjusts the language of the menu English F...

Страница 23: ...ground when there is no signal II NO SIGNAL POWER OFF This feature turns the TV off if there is no signal given to the TV after a certain time III NO OPERATIONS POWER OFF This feature turns the TV off...

Страница 24: ...e antenna cable connections Dark poor or no picture Screen lit good sound Check the antenna cable connections Try another channel it could be station trouble No color dark picture color is not correct...

Страница 25: ...in current input mode Some items can t be accessed When the TV is in use there is a natural rise in temperature causing the cabinet to expand or contract and may be accompanied by a slight creaking n...

Страница 26: ...L VOL AC100 240V 10w 10w 450 Panel 30 000 hours 178 H 178 V 6 ms Specifications Note 1 Design and specifications are subject to change without notice 2 Weight and dimensions shown are approximate 3 Sp...

Страница 27: ...Wall mounting operation 400mm x 400mm M6 400mm 400mm Place the TV s neck on the base and screw the screws as shown below 25...

Отзывы: