Assembly Instructions
Cubbi Assembly
The Cubbi product is delivered to you in component form. Before starting the assembly please separate the
boxes into each finished piece.
The labels on the boxes identify the finished piece that the components relate to, SCE..., etc.
The process to assemble the units starts from the floor up and the following images will assist.
The fixings needed for the generic pieces of Cubbi are contained in fixings kits included with the product. All
fixings will be located in a box marked as such. Please note as this is a general fixing kit, parts made be left
over after assembly for your specific piece.
Cubbi can be specified in either bench or task chair variant, with a number of positions, and the choice of this
determines the assembly method used.
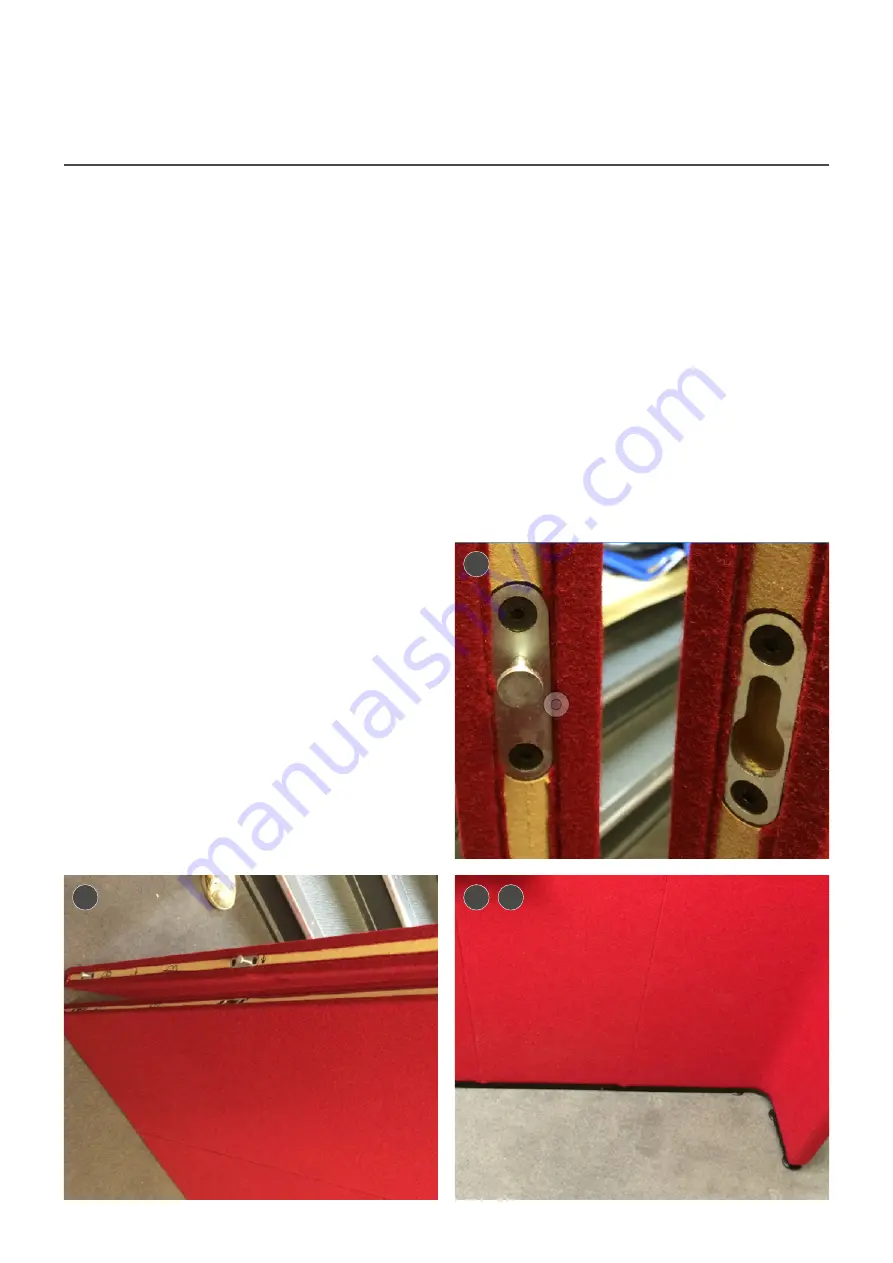
The first step in any configuration is the assembly of the Cubbi screens.
The Cubbi screens come in various sizes dependant
on the unit specified. On all units the process is
the same.
1
With the screens unwrapped attach the fixing
plates to ends of the screens.
2
The screens are then placed parallel to each
other and the fixings secured into place. Please
note that depending on the fabric the unit is
upholstered in, the pin will need to be screwed in
further to ensure the join is tight.
3
Once the units have been joined tightly they are
secured by the addition on a foot rail to the base
on the screen. These are secured using the M8
button head bolts.
4
Once attached the foot rails will hold the
completed screens together and these can then
be set aside for use later.
Specifications ordered
Assembly of Cubbi screens
Preparation
1
2
3
4
Содержание Cubbi
Страница 1: ...Cubbi Assembly Instructions connection uk com ...
Страница 7: ......


