18
Chapter 4 Device Information
The web user interface window is divided into two frames, the main menu (at left)
and the display screen (on the right). The main menu has several options and
selecting each of these options opens a submenu with more selections.
NOTE:
The menu items shown are based upon the configured connection(s) and
user account privileges. For example, if NAT and Firewall are enabled, the
main menu will display the NAT and Security submenus. If either is
disabled, their corresponding menu(s) will also be disabled.
Device Info is the first selection on the main menu so it will be discussed first.
Subsequent chapters will introduce the other main menu options in sequence.
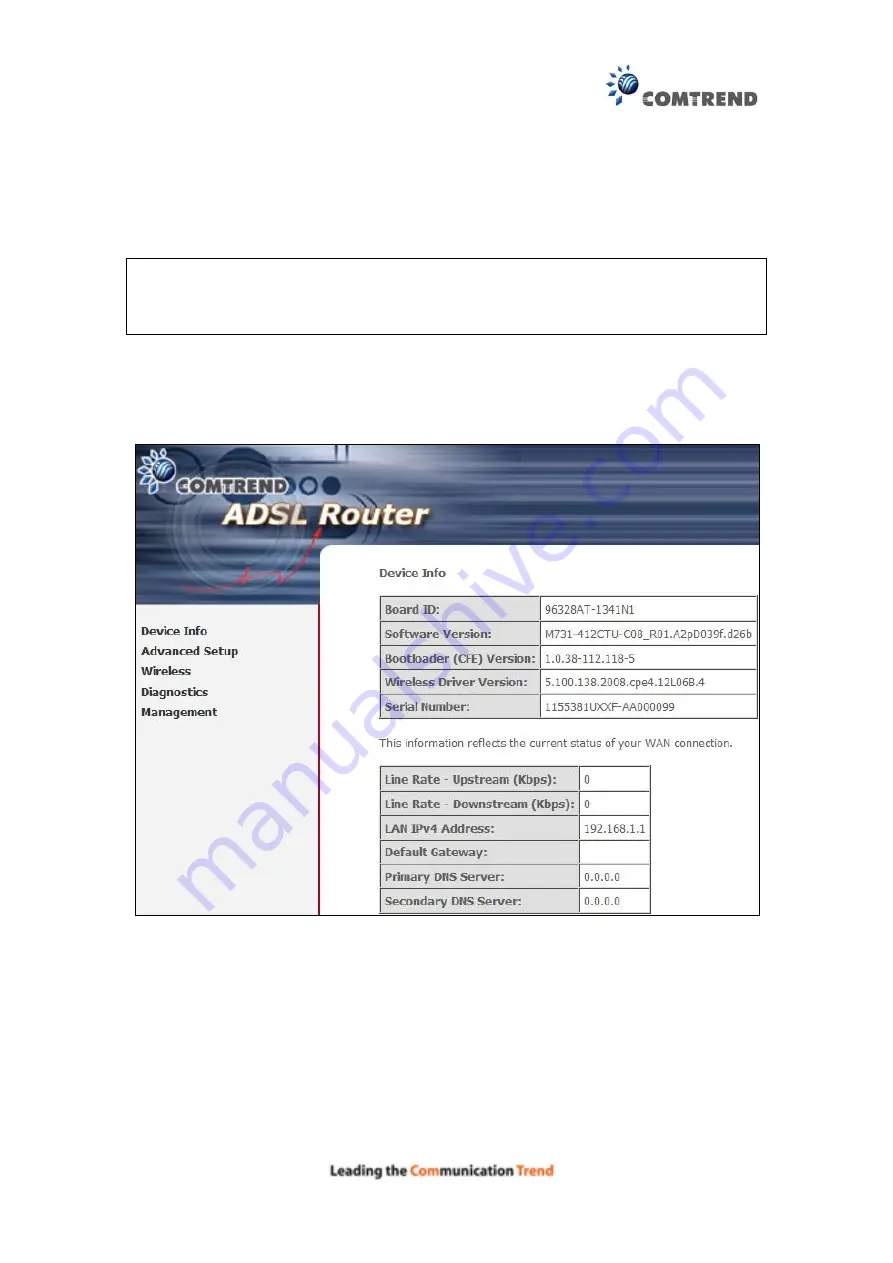
The Device Info Summary screen displays at startup.
This screen shows hardware, software, IP settings and other related information.
Содержание AR-5381u
Страница 1: ...AR 5381u ADSL2 WLAN Router User Manual 261056 074 Version A2 3 May 9 2016...
Страница 8: ...7 APPENDIX D CONNECTION SETUP 149 APPENDIX E PRINTER SERVER 199...
Страница 18: ...17 STEP 3 After successfully logging in for the first time you will reach this screen...
Страница 24: ...23 4 2 4 xDSL Statistics The xDSL Statistics screen displays information corresponding to the xDSL type ADSL...
Страница 33: ...32 4 7 IGMP Proxy Displays a list of IGMP Proxy entries...
Страница 106: ...105 Enter a certificate name and click Apply to import the CA certificate...
Страница 122: ...121 6 6 Site Survey The graph displays wireless APs found in your neighborhood by channel...
Страница 123: ...122...
Страница 125: ...124 6 8 WiFi Button This page allows you to enable or disable the WiFi Button...
Страница 138: ...137 NOTE Passwords can be up to 16 characters in length...
Страница 159: ...158 The settings shown above are described below...
Страница 179: ...178 Click Next to continue or click Back to return to the previous step...
Страница 184: ...183 Click Next to continue or click Back to return to the previous step...
Страница 201: ...200 STEP 2 Click the Windows start button Then select Control Panel...
Страница 202: ...201 STEP 3 Select Devices and Printers STEP 4 Select Add a printer...


