46
To use this option, you must have an email program
installed on your computer, and it must support MAPI
(a special mail interface). Examples of MAPI email
programs include Microsoft Outlook Express,
Microsoft Outlook, and Eudora. Also, you must have
an internet account and an email address.
By default, Scan To Email uses the TXT file type. This
will convert your scanned documents to ASCII text
and place the text in your email program for editing. If
you select another file type, either with the Settings
Utility or by using the Menu button on the front
control panel, your documents will be scanned using
the file type you choose and attached to you email
message.
Once your documents are scanned, your email
program will launch. The document text will be added
or the scanned images will be attached. Simply enter a
subject, select your recipients from your email address
book, and send!
Be sure and read over the scanned text for formatting or
editing mistakes. The character recognition does a great job of
converting characters, but the quality of conversion will depend
on the document being scanned.
You can send faxes directly to multiple email
recipients as well. For more information, see the
Faxing
section.
Scan to Applications
The remaining Scan To menu options are for defining
your own Scan To destinations. You can define up to
twelve (12) applications, numbered 3 through 14.
For instance, you can add Microsoft Paint and scan to
BMP files for editing. Add Microsoft Word and scan
to the RTF format for word processing. Or scan to a
program like Media Browser and upload your images
to the internet!
See the section “Scan Settings” in the
Using the A1500
Settings Utility
chapter for information on setting up
your Scan To list.
To quickly perform a scan using the default settings, simply
load the documents, enter the Scan To number, and press the
Scan button.
Scanning with the Computer
The Compaq A1500 provides a standard TWAIN
interface for scanning documents into the PC. TWAIN
is a common scanner interface supported by many
application programs.
To scan to an application, make sure that the selected
scanner source, typically found in the File menu, is set
to Compaq A1500 USB.
The
Kodak Imaging for Windows
program comes standard with
Windows (select Start -> Programs -> Accessories -> Imaging).
Use it for your simple scanning needs.
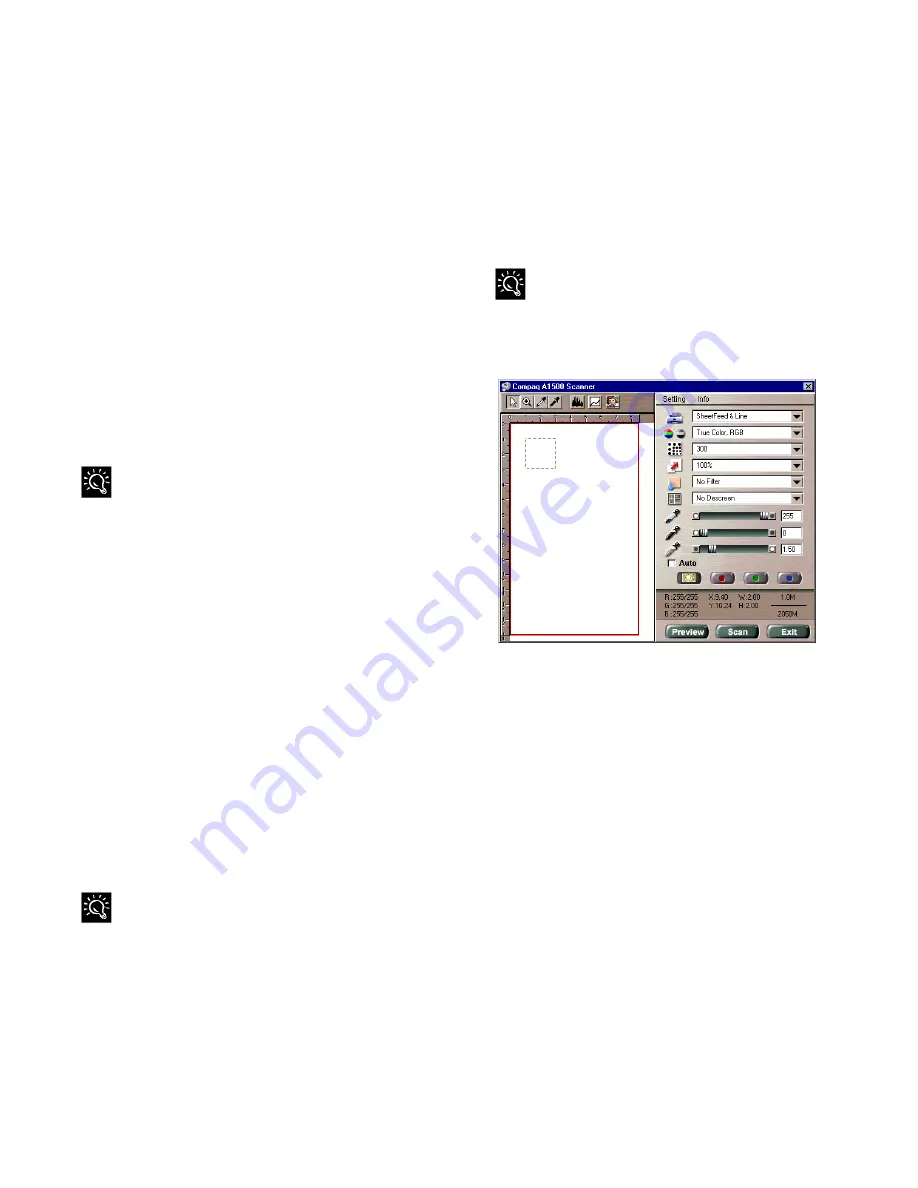
There is extensive Online Help available from the Info
menu on the Scanner window shown below.
TWAIN Scanner Window
Scanning with the Compaq Control Form.
1. Press the
Control Form
button. A Compaq
Control Form will print
2. Check the
Scan
box at the top of the page.
3. The default settings on the Control Form are
indicated with a triangle. You can change these
settings by checking the desired settings in the
Scan Settings section.
4. When you are finished, put the documents that
you want to scan behind the Compaq Control
Form. Place the document(s) to be scanned
face
down
and
top down
in the document input tray.
5. Press the
Control Form
button on the control
panel. The scan process begins.
6. The Control Form and document are scanned
and the image is sent to the selected destination.
See the
Compaq A1500 Control Form
chapter
for more details.


