background image

12

13

1) Recording manually

While you are monitoring outside of the house with CAV-71BQ or talking through 
door phone, you can press the [REC./DEL.] button to save 1 cut with quad display 
through the door camera or CCTV camera.

This allows the visitors’ picture to be recorded by either manual or auto mode.

2) Auto recording

Automatically record a visitors’ pictures on the memory of CDV-71BQ 

when you set the units on “away mode”

This function runs in case of being set on “auto record” in ”Memory status mode”

The Green Lamp on the top of CDV-71BQ will blink when it is Auto Recording. 

- Visitors’  pictures are not stored when auto recording status lamp is off.
- Max capacity of Memory : 1) NTSC :QUAD 68 Pictures.

2) PAL :QUAD 58 Pictures.

3) Delete memorized pictures

Delete 1 cut with quad display when you use the “review” mode,

Please access the “Main menu” to delete all the memorized pictures.

(Please refer to Fig H.)

- Press [REC./DEL.] button and then using [LEFT/RIGHT] button move to the green box

to “YES” ,then press [ENT] button.

Make sure that you are pressing the “YES” [ENT] button with green box

This is to see the stored screens.

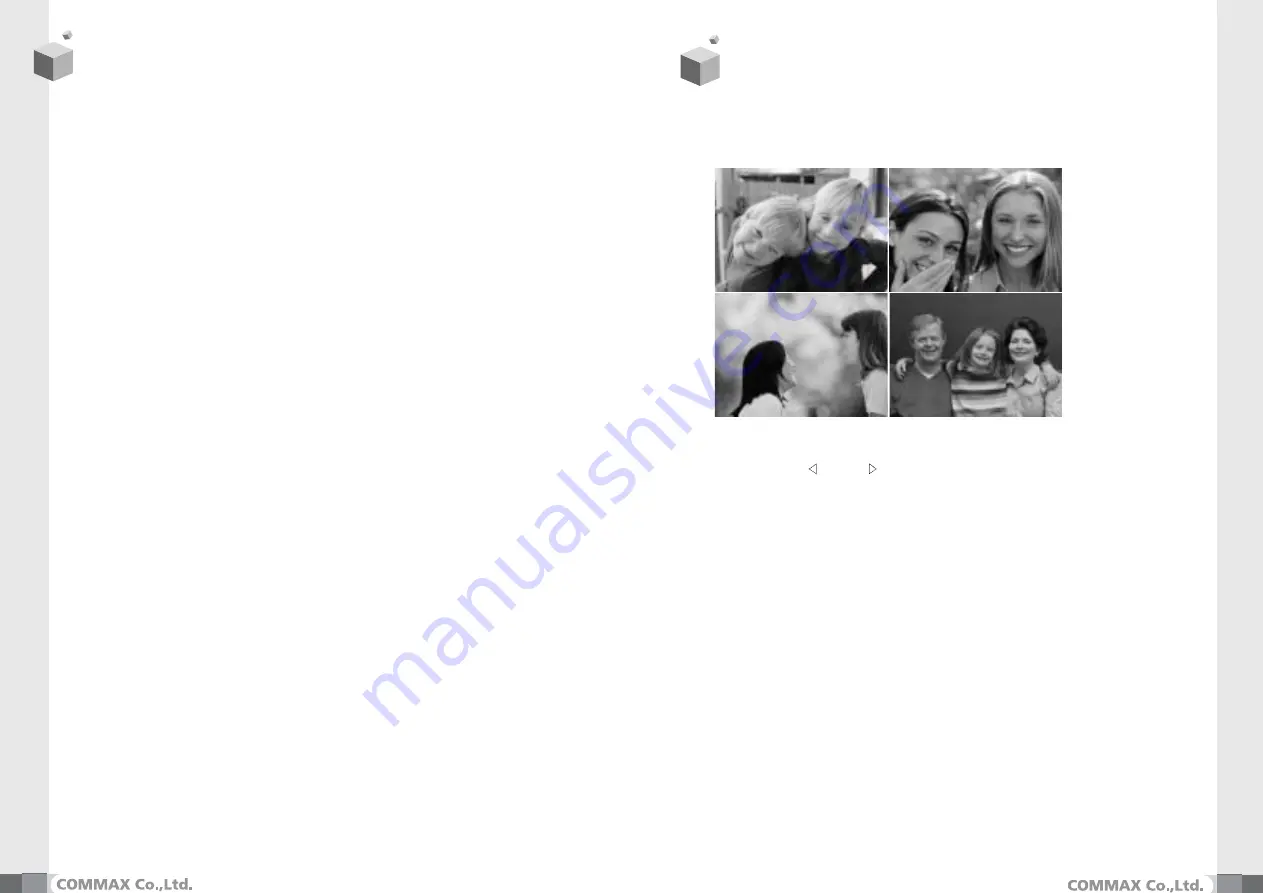
Stored screens are shown in quad display by pressing [REVIEW] button in standby

You can select quad images of visitors’ picture recorded on screen using 
the and [LEFT ]/[RIGHT ] buttons,
Press [ENT] button scrolling through the image and selecting one to enlarge 
one of them. ( Press [ENT] button again to return to  the quad display)

Press the [Review] again to quit this.

Reviewing Images from the Server Monitor (CDV-71BQS)

In normal, standby mode, pressing the [REVIEW] button will display 
the screen as seen above in Fig 1. 

- From this screen, pressing the [Pre] and [Next] buttons will allow the user to 

scroll through the 4 screens displayed.

- Pressing the [ENT] button will enlarge the highlighted cut to full-screen. 

In full-screen mode, pressing [Pre] and [Next] will allow the user to scroll back 
and forth through full-screen views of the 4 cameras. (Pressing [ENT] 
again will return the user back to Quad-screen view)

CAM 1

CAM 2

CAM 3

CAM 4

2007   /08    /11

13  :  20   :  50

Содержание CDV-71BQ

Страница 1: ...n particular precautions for safety before using the product and follow the instructions to use your productexactly The company is not responsible for any safety accidents caused in abnormal operation...

Страница 2: ...art Features and Main Functions Package contents System Layout Wiring Diagram Installation Method Operating Description Menu Setting for CDV 71BQ Picture Memory Review Screen Adjustment Trouble shooti...

Страница 3: ...les are larger than normal do not put the plug It may cause an electric shock or a fire Make sure that dust or foreign substances are not gathered on the product Make sure to prevent foreign substance...

Страница 4: ...10 13 14 15 16 18 No Name Up button Left button Down button Power switch 12 Menu Enter button Right button REC DEL Speaker Mood lamp Handset Power source code Talk by interphone between the rooms Oper...

Страница 5: ...50M at 0 8mm Main distributor to CCTV Camera Coaxial Cable Please carefully connect wiring terminal on polarity Communication line between master and slave Wiring diagram to CCTV Camera Please connect...

Страница 6: ...tor CDV 71BQS and the visitors picture as well as Camera Number will be shown on a screen with quad display Duration of on screen 30 sec You can pick up the handset if you want to talk the screen is o...

Страница 7: ...Camera Setup In this menu you can activate which cameras you wish to display It is connectable to a maximum of 4 cameras The default value is set to use all four cameras Note Set year Set month Set da...

Страница 8: ...and then using LEFT RIGHT button move to the green box to YES then press ENT button Make sure that you are pressing the YES ENT button with green box This is to see the stored screens Stored screens...

Страница 9: ...d manage 2 Please connect correctly to the terminal 3 Please refer to Room id setting related page The product does not produce the sound Call volume Talk volume 1 A sound volume lies in minimum or no...

Страница 10: ...D Weight 1 7kg CONTENTS CDV 71BQ Wiring ITEM Camera 4 lines in polarity Sub Monitor 6 lines in polarity Rated voltage AC100 240V 50 60Hz Power consumption On operating CDV 71BQ 25W Max Display unit 7...

Страница 11: ...a513 11 Sangdaewon dong Jungwon gu Seongnam si Gyeonggi do Korea Int l Business Dept Tel 82 31 7393 540 550 Fax 82 31 745 2133 Web site www commax com Printed In Korea 2007 04...

Отзывы: