background image

12

Button details 

Select  the "Checking Visitor"

FUNCTION

ICON

KEY

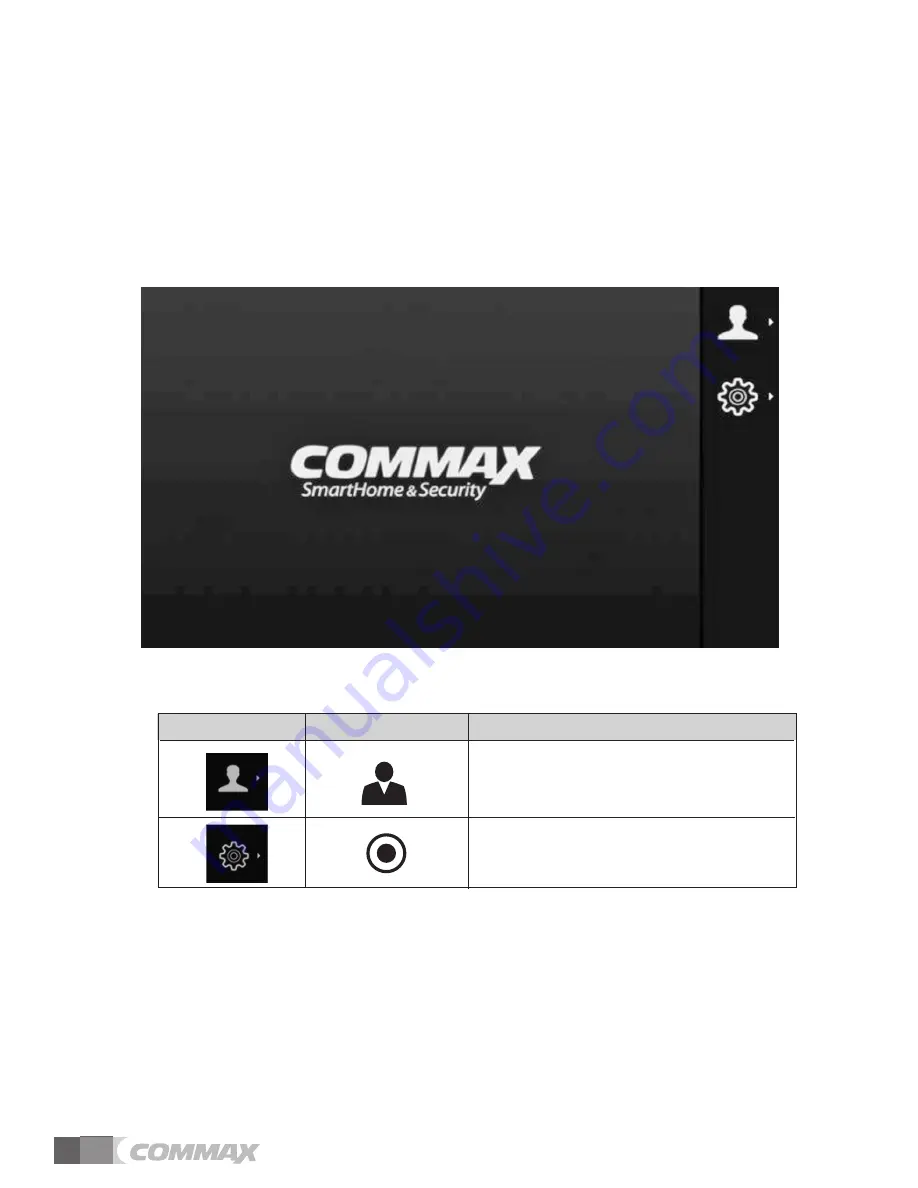
Select  the "Setting Menu"  

(2) Main menu 
Press Menu button at the side of the product to enter setting menu screen. 
Main menu contains checking visitors / menu settings. 
If you want to exit main menu, press menu button at the side of the product. 

Содержание CDV-70KM

Страница 1: ...sponsible for any safety accidents caused by abnormal operation of the product Thank you for purchasing COMMAX products Please carefully read this User s Guide in particular precautions for safety bef...

Страница 2: ...ly before you use the product Greetings 1 Table of contents 1 1 Warnings and caution 2 2 Product Overview 4 3 How to use 5 4 GUI Function 11 5 Wiring methods 27 6 Components 28 7 Caution in use 29 8 M...

Страница 3: ...tric shock fire when using a damaged power cable Please don t handle the power cable with a wet hand It may cause an electric shock Please plug out the power cable from the socket when not using it fo...

Страница 4: ...e power cable Please don t use any chemical products such as wax benzene alcohol or cleanser Please don t drop the product on the ground and don t apply a shock It may cause a failure Please use the d...

Страница 5: ...so that product can detect CAMERA2 connection CAMERA2 is connected after the power is turned on the videophone would not sense its connection But it would sense the CAMERA2 after the CAMERA 2 calls th...

Страница 6: ...for communication it will be turned on for 60 seconds Icon will be popped up when the handset is picked up If you press Call to call the interphone interphone image will be shown on the screen and th...

Страница 7: ...ogress remove the SD card or Do not turn OFF the power SD card may cause a malfunction 3 Call Function If you press monitor button in stand by mode LEDs blinks You can talk with door camera if you pic...

Страница 8: ...defected SD CARD saving images is not available 5 Monitoring The following scenario is the example that 2 cameras and 2 CCTV are installed If they are not installed as like the example the monitoring...

Страница 9: ...the recording method is video It record image when there is a call from camera in auto recording mode If you set auto save mode it record video for 30 seconds when there is call from camera and for 6...

Страница 10: ...n above comes up the oldest file will be deleted automatically to save new one At this time it might erase several files to make minimum extra space So please make a backup of your important files and...

Страница 11: ...s for capacity Capacity Captured image Video time The number of Videos 60 second Max 380cuts Max 750cuts Max 1500cuts 4 GByte 128 cuts About 380 min About 750 min About 1500 min 128 cuts 128 cuts 8 GB...

Страница 12: ...is displayed in the screen and it will automatically check if the SD card is equipped or not During its checking SD CARD CHECKING will be shown in the screen The beep sound comes out when the setting...

Страница 13: ...TION ICON KEY Select the Setting Menu 2 Main menu Press Menu button at the side of the product to enter setting menu screen Main menu contains checking visitors menu settings If you want to exit main...

Страница 14: ...13 3 Check recorded image Checking visitor Select on between video and captured image Button details Move Up FUNCTION ICON KEY Move Down Move right Select menu Move to main menu...

Страница 15: ...age FUNCTION ICON KEY Move to previous page Move among Quad split screen Delete an image Move to top menu 4 Checking recorded image You can see each full image by selecting one in quad split screen It...

Страница 16: ...15 Button details Select Yes FUNCTION KEY Select No Show next page after deleting image 5 Delete image If you implement Current page Delete function from Save Image check you will see below images...

Страница 17: ...16 Button details Move right Time Display Language setting FUNCTION KEY Move left Time Display Language setting Select a menu Move top menu 6 Settings Menu Time Display Language Setting are adjustable...

Страница 18: ...me increase If you press the select button Time decrease Go to the top menu 7 Time setting When you see saving image it can be listed the time information It can be settled year month day hour minute...

Страница 19: ...he right FUNCTION ICON KEY Moving the left Select a menu It can be changed all settings to default All setting will be initialized by 50 Go to the top menu 8 Screen Settings You can adjust the brightn...

Страница 20: ...FUNCTION ICON KEY Moving the left Select a menu Go to the top menu 9 Setting the Language You can set the language menu All of base setting is in English When you move the key please press the select...

Страница 21: ...t FUNCTION ICON KEY Moving the left Select a menu Go to the top menu 10 Settings menu This menu can set Storage setting still image video device initialization automatically manually saving setting pr...

Страница 22: ...TION ICON KEY Moving the left Select a menu Go to the top menu 11 Storage Setting You can select saving image by calling camera When you set the video can make video and voice recording if set the sto...

Страница 23: ...ction can initialization mode except time function All saved images on SD card will be deleted when it was full initialization please do back up all files before full initialization Color balance BRIG...

Страница 24: ...Button details Moving the right FUNCTION ICON KEY Moving the left Select a menu Go to the top menu 13 Automatically manually save settings When you save the image you can set auto mode and manual mod...

Страница 25: ...k button will blink Then press interphone button to call the interphone as you can see the icon picture as followed At the moment if you press the call button below image will pop up and call the inte...

Страница 26: ...t icon is the stopped image and the right icon is the image saving Button details Standby mode camera monitoring Camera call and status of monitoring camera1 camera 2 conversion Camera calling status...

Страница 27: ...en Button details Standby mode Camera monitoring camera call and monitoring camera1 camera 2 Conversion camera call status connect the call FUNCTION KEY Interphone call to a third party call Call star...

Страница 28: ...Camera connector polarity 4wires 1 RED sound signal 2 BLUE GND 3 YELLOW Power 12V 4 WHITE image signal Wiring is as bellow 1 RED Image signal 2 BLUE GND CCTV Connector of polarity 2wires 5 Wiring meth...

Страница 29: ...28 Please supply separate power to CCTV CAMERA Please select coaxial cable depending on the distance of the camera How to connect CCTV Camera VIDEO GND RED VIDEO Blue GND 6 Components...

Страница 30: ...s Set Monitor 17 78Cm 7 TFT DIGITAL LCD Ringing Entrance Electronic chime 3 call 2times Interphone Electron buzzer Video receiving period Standby 30 5sec response 60 5sec 0 5mm 0 65mm 0 8mm 28m 50m 70...

Страница 31: ...513 11 Sangdaewon dong Jungwon gu Seongnam si Gyeonggi do Korea Int l Business Dept Tel 82 31 7393 540 550 Fax 82 31 745 2133 Web site www commax com Printed In Korea 2013 10 104 PM0270KM0010...

Отзывы: