


①
When you pick up the handset and press the [INTERPHONE ] button,
you can hear the call sound from Sub units(CDV-71BQS) and then, you can start talking
②
In order to open the door from Sub-monitor, you can press door open button
10
11
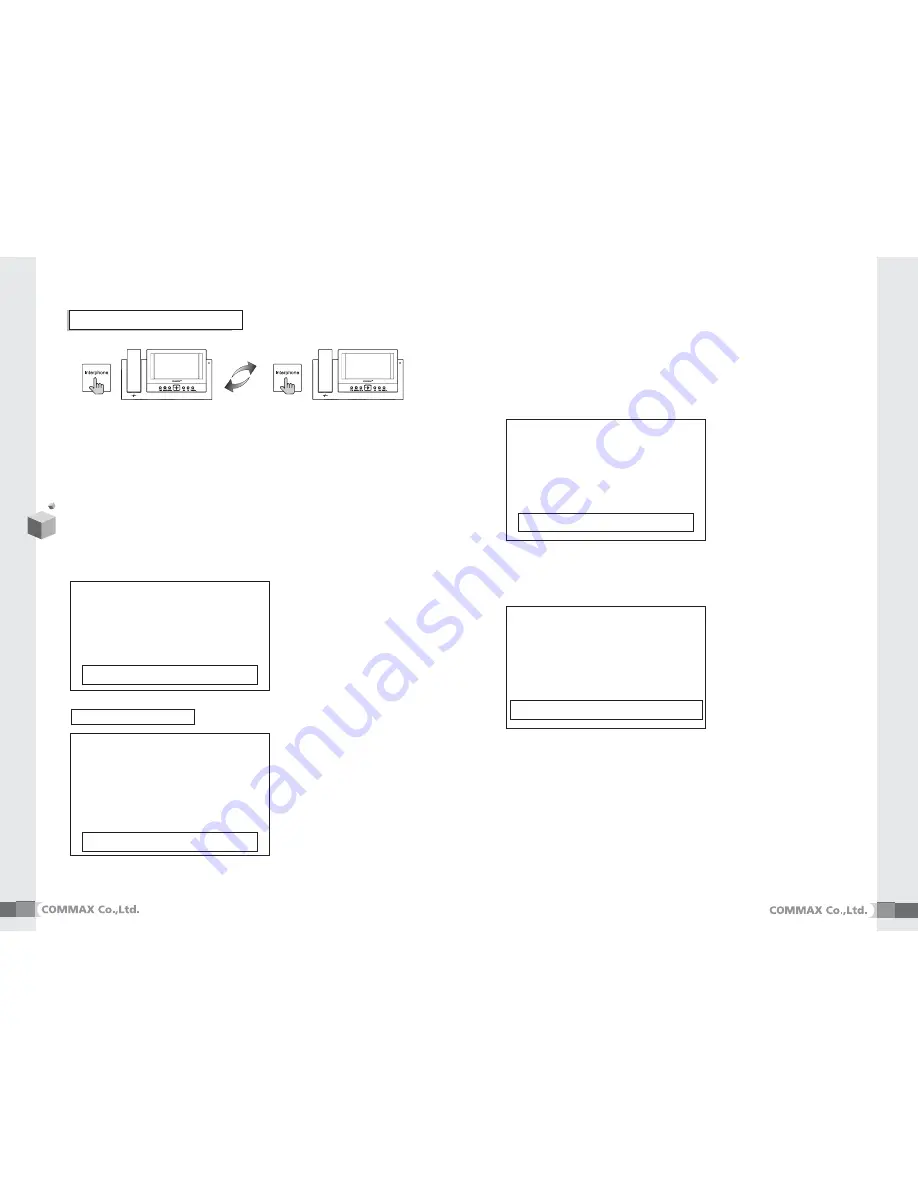
2. Sub-Monitor(CDV-71BQS)
♠
This function is to call or to communicate the other room.
※
Note
①
①
Set time
②
②
Set Camera
③
③
Set recording status of
visitors’ pictures
MAIN MENU
①
①
TIME SET
②
②
CAMERA SET
③
③
MEMORY STATUS
UP/ON:Move ENT:Run MENU:complete
Press [Menu] button for the following display to change setup in standby
1) Time setup
2) Camera Setup
①
In this menu, you can activate which cameras you wish to display.
②
Green box status stands for camera in use and Red box status stands
for camera not in use.
③
It is connectable to a maximum of 4 cameras.
④
The default value is set to use all four cameras.
※
Note
①
①
Set ‘year’
②
②
Set ‘month’
③
③
Set ‘date’
④
④
Set ‘hour’
⑤
⑤
Set ‘minute’
TIME SET
①
①
YEAR : YYYY
②
②
MONTH : MMMM
③
③
DAY : DDDD
④
④
HOUR : HHHH
⑤
⑤
MINUTE : mm
UP/ON:Move ENT:Run MENU:complete
※
Note
①
①
CAM1 : Activate
②
②
CAM1 : Not activate
③
③
CAM1 : Activate
④
④
CAM1 : Activate
CAMERA SET
①
①
CAM1 : Enable
②
②
CAM1 : Disable
③
③
CAM1 : Enable
④
④
CAM1 : Enable
UP/ON:Move ENT:Run MENU:complete
3) Memory Status
①
This is to set the recording status
♠
Please be careful when deleting
※
Note
①
Setting “Auto Record
”
mode
②
Delete all the recorded Image
MEMORY STATUS
①
①
AUTO RECORD : YES
②
②
DELETE ALL IMAGE : YES
REALLY? : YES
UP/ON:Move LT/RT: Act ENT:Run MENU:Main menu
8. Menu Setting for CDV-71BQ


