Play
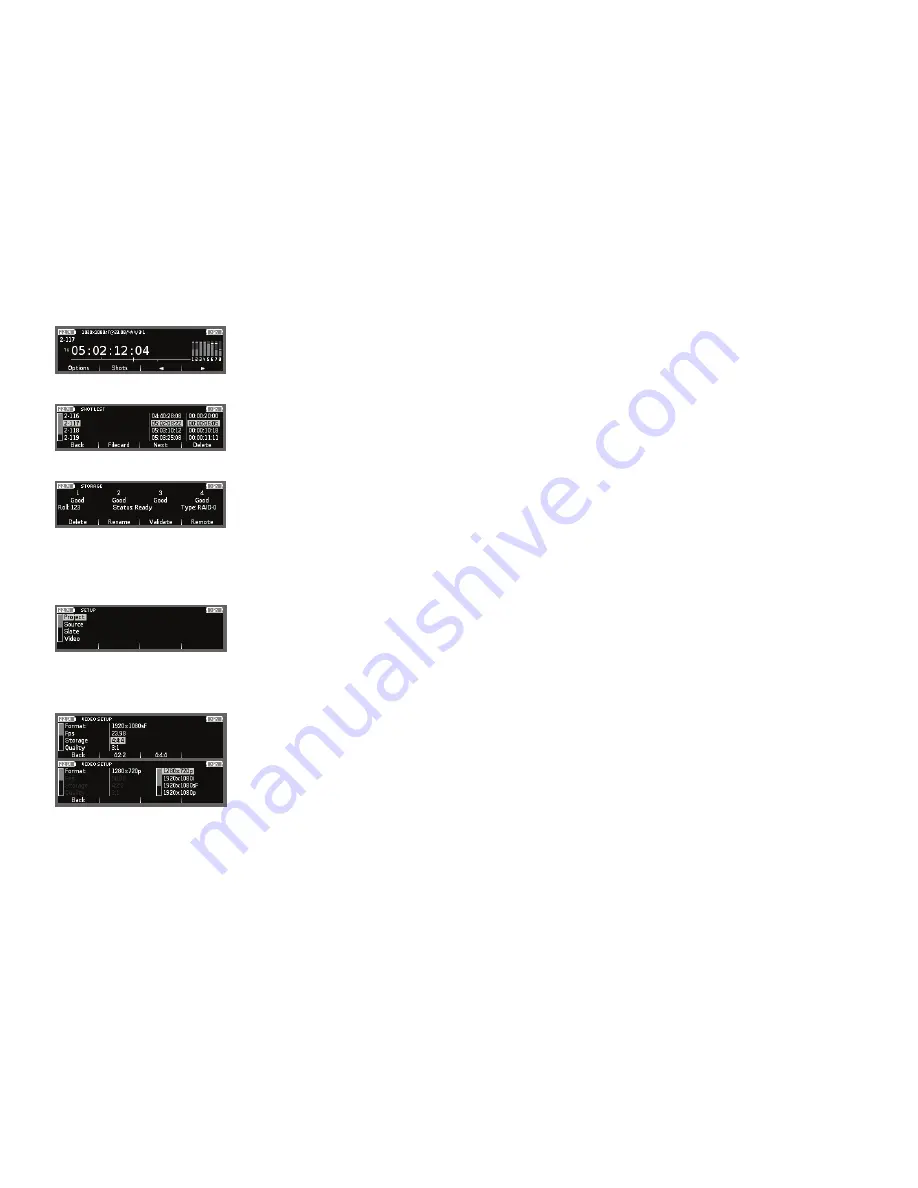
Going to the Play screen will load the last recorded shot. Use the > button to play the shot forwards, and the < button to play the shot backwards.
The Jog Wheel can be used to jog through the shot. To load another shot press the Shots button, which will bring up the Shot List.
Shot List
Use this screen to
Select
a different shot for playback, open the Filecard of a recorded shot to view/edit metadata, view Format information, or delete
recorded shots.
Deleting shots is a non-reversible operation.
From left to right, the columns on this page show:
< Shot Name> <Start Timecode> <Shot Duration>
Storage
Storage shows information about the Datapack and Roll. Before a Roll is created the drives should have a status of Free. Now turn the Jog Wheel left
for
RAID-0
(striped drive set) and right for
RAID-1
(mirrored drive set). To create a Roll on a blank Datapack press the
Create
button and use the text
editor to enter a Roll name (max. 8 characters). When the Roll has been created the drives should all be listed as
‘Good’
and the Status as
‘Ready’
. If
this is not the case then contact Codex Support.
Delete
can be used to delete a Roll and all the shots on it.
Deleting a Roll is a non-reversible operation.
Setup
Menus in the Setup screen are as follows:
Project
– enter metadata for the project such as Project Name, Director, DoP, Unit, etc. This information is stored as metadata with all shots.
Source
– set unique information for sources, such as a Source ID value. This can be added to the start of Roll metadata to differentiate between
multiple cameras.
Slate
– set the
Shot Naming Rule
and
Roll Naming Rule
. These use metadata to automatically generate the shot names and roll names for
recorded shots. There are several useful default options that can be cycled through with the
Next
button. These rules can also be customised if
required.
Video
– Select the appropriate Format, Storage, and Fps settings for the camera output being received by the Onboard.
Quality
– sets the wavelet compression level for recording. It can be set to 1:1 for uncompressed recording, or any other compression ratio between
3:1 and 8:1 in order to use wavelet compression.
Channels
– set this to 1 for single camera recording or 2 for dual camera recording. (Multi-channel licence required)
Aspect
–
choose the correct setting for your lens. Square for standard spherical lenses, or Anamorphic x1.3 or x2.
Variframe
–
should be Off for standard frame rates. For non-standard frame-rates variflags from the Alexa are supported and Variframe mode should
be On. If Variframe is enabled on the recorder but not on the camera then recording is not possible.
CODEX ONBOARD
M
RECORDER
GETTING STARTED GUIDE VERSION 1.0


