Congratulations on your purchase of the Cocoon Create 3D Printer Touch.
You’re now just moments away from printing your first 3D model. It’s important
that you follow these steps carefully to ensure correct setup of your 3D Printer.
You can also visit
cocoonproducts.com.au
for step by step guides on unboxing
and setup, levelling, filament installation and printing.
Package Contents:
1 x Cocoon Create 3D Printer Touch (Extruder Tower,
Heated Print Bed)
1 x Filament Spool Holder
1 x Filament Spool Stand
1 x Power Cable
1 x USB Cable
1 x SD Card
1 x Scraper
1 x Replacement PTFE Tube
1 x Hex Key Set
6 x Hex Bolts
2 x Cable Ties
4 x 10m PLA Filament
3 x Print Bed Mats
(1 on Print Bed and 2 spares)
1 x 0.4mm Drill Bit
1 x Extruder Cleaner
6 x Rubber Feet
1 x Levelling Card
1 x Instruction Manual
1 x Getting Started Guide
1 x Warranty Card
Place the Extruder Tower and
Heated Print Bed on a clean,
level work space. Carefully
remove the cable tie that
holds the extruder in place.
NOTE:
Do not pull on the
black cable
NOTE:
Ensure printer setup
workspace is at least
1m x 1m
Insert the Heated Print Bed
Controller carefully through
the legs of the Extruder
Tower and align the bolt
holes on each side. Using
the Hex Wrench, insert and
tighten the two bolts on the
bottom of each Extruder
Tower
TIP:
Raise the extruder and
angle the bed for easier
inserting through the Extruder
Tower
CONSTRUCT AND CONNECT
GETTING STARTED GUIDE
1
2
1.
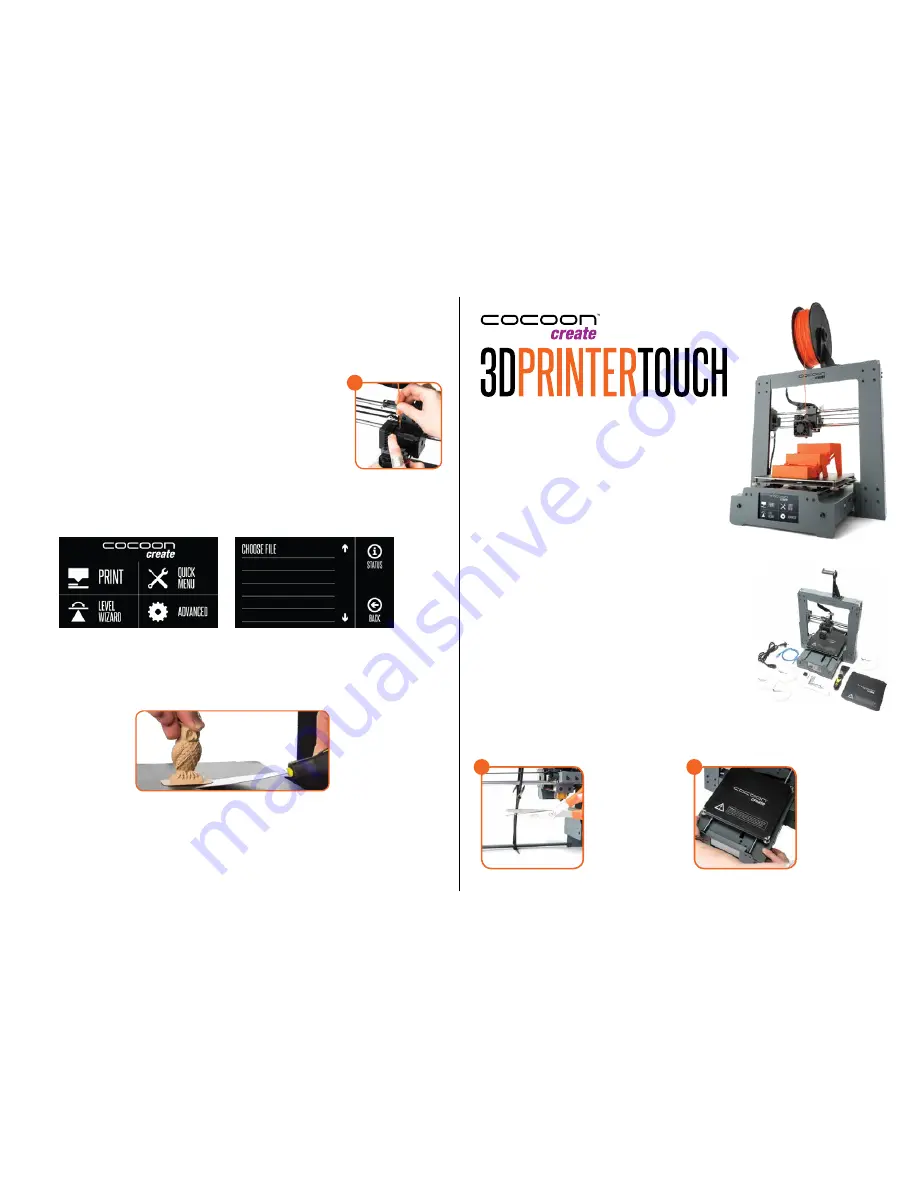
Turn on the 3D Printer with the Power Switch located at the back of the Printer
2.
On the Main Screen, select
Quick Menu
->
Change Filament
->
Add Filament
3.
Select the desired type of Filament to be added. The Extruder will automatically be raised and your
Printer will begin heating the Extruder to the correct temperature. When the temperatures are within a
few degrees of the target, you are ready to insert the filament
4.
Place the included filament onto the Spool holder. Carefully insert the end of the filament into the hole
on the Extruder. The Extruder will begin to slowly pull the filament in. Once filament begins extruding,
press ‘
Back
’ to stop
5.
Carefully remove the extruded filament from the Nozzle Head and ensure the Print Bed is clean
6.
Insert the included SD card into the slot on the right side of the Printer. Select ‘
’ from Main Screen and choose your desired
file from the list. You can now select one of our pre-loaded files below by navigating to, and selecting the file name
7.
Once selected, your file will begin to load and your file status can be viewed on the touch screen. Your printer will
automatically commence heating the Extruder and Print Bed to the correct printing range before commencing the print
8.
Once your Printer has completed printing the file, the nozzle and Heated Print Bed will automatically commence cooling
down. Once cooled, turn off your 3D printer and carefully remove the 3D printed object using the supplied Scraper and
gently lifting the object with your hand
NOTE:
Always take care when using the Scraper. Never use excessive force or scrape towards your hand.
NOTE:
Always keep the Scraper as level as possible. Scraper can damage the print mat if not used correctly
NOTE:
If your file is not printing correctly, press the ‘
Stop
’ Button to discontinue the print. Ensure the extruder is raised prior to removing
the print off the Bed
NOTE:
Immediately turn off the machine if any of the motors are jamming or forcing against the chassis
LOADING FILAMENT AND PRINTING A FILE
4
.
VERSION 1.1


