Follow these steps to connect your DVR to a broadband internet connection so you can view your cameras
remotely on your smartphone and Windows PC
A tutorial video of these steps can be found on the Winplus website
www.winplus.com.au
1.
Connect your DVR to the Internet
a.
Connect all cameras to your DVR as per instructions in user
manual
b.
Connect your DVR to your TV or monitor (Not laptop) using
an HDMI or VGA cable
c.
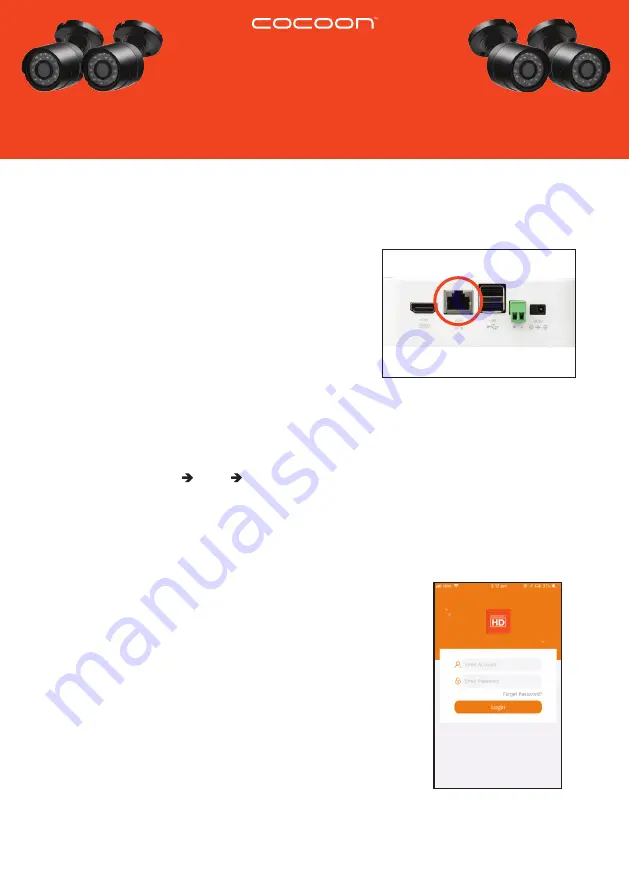
Connect your DVR to your modem router using the ethernet
cable
d.
Turn on your DVR
2.
Test your Internet Connection
a.
From your DVR, right click on the screen to access the Main Menu.
NOTE:
The default Login is ‘admin’ and the default password is left blank. You can change the default
settings under Main Menu Set Up Users
b.
In the Main Menu, go to Set Up and select Network
c.
Ensure that ‘Obtain an IP Address Automatically’ is ticked.
d.
Click on the ‘Test’ button on the bottom of the screen to check if your DVR is connected to the internet.
e.
A message ‘Please Wait’ and ‘OK’ will appear on the screen indicating successful connection.
3.
Download and Install the
Cocoon HD DVR Application
a.
Download the Cocoon HD app from the Apple or Google Play Store
and install on your smartphone
b.
Create an account by selecting the ‘Register’ button and completing
the required fields to create an account.
NOTE:
The User ID and Password for the Cocoon HD app is different to the
Login and Password for your DVR
c.
Once you are registered, log into the Cocoon HD app
4 CAMERA
HOME SECURITY SYSTEM
WITH DVR
HE180106
12/2018
Network & Smartphone Setup Guide


