10
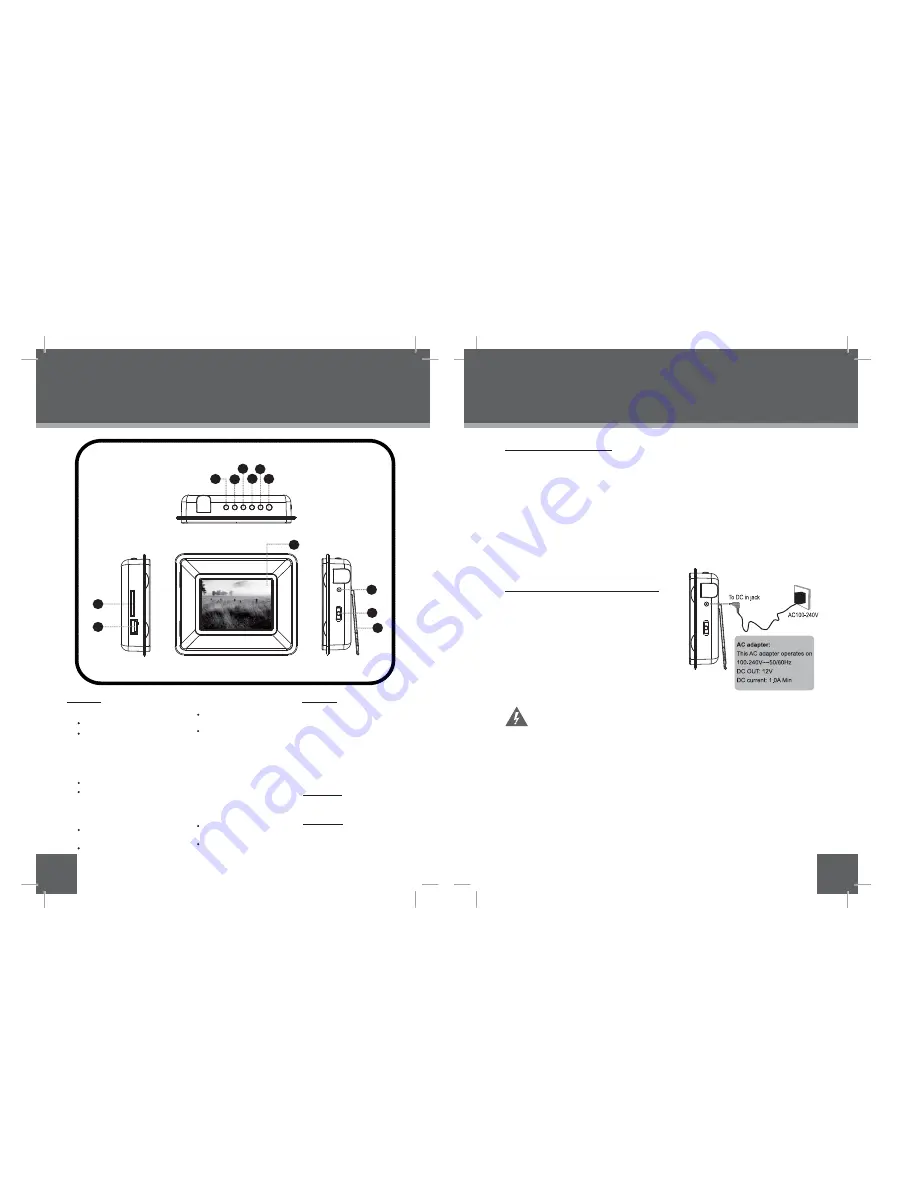
Top View
Down
Up
1.
2.
3.
4.
5.
Left View
Secure Digital (SD)
6.
7.
8.
Front View
3.5” TFT LCD
Right View
Power Switch
(On / Off)
Power In Jack
Kickstand
9.
10.
11.
12.
LOCATION OF CONTROLS
9
Memory Stick(MS)
11
GETTING STARTED
Press for Left during
selecting
Press for Right during
selecting
Press for exit
Press for enter
/ MultiMedia Card
( MMC)
In Photo / Slideshow Mode:
Press to Rotate
Installing a Memory Card
Your
frame supports the following types of memory cards:
Secure Digital Card (SD)
Simply insert the memory card of your choice into
card slot located on the
left panel of the photo frame. Take care to orient the card in the proper direction.
Getting photos and files onto your picture frame for viewing couldn’t be easier!
Powering your Digital Picture Frame
Your Picture Frame should be connected to
an AC 100-240V wall outlet.
Using the supplied power adapter,
plug one end of the adapter into
your photo frame’s Power In Jack
and plug the other end into an AC
100-240V wall outlet.
Do not connect the power plug to a power outlet other than that
which is indicated here or on the label as this may result in the risk
of fire or electric shock.
Do not handle the power plug with wet hands. Doing so may cause
electric shock.
Use only AC adapters of the type specified here. Failure to do so
may cause a fire or damage the player.
•
•
•
Memory Stick(MS)
photo
MultiMedia Card (MMC)
•
Press for down during
selecting
Press for up during
selecting
In Photo / Slideshow
Mode:
Press to Flip photo
Horizontally or
Vertically
USB Port: For use
with USB flash drives
Press and Hold for
LCD MODE after entering
a card / USB flash drive
Press and Hold for
Slideshow
In Photo / Slideshow Mode:
Press and Hold to change
the Screen Ratio
the
The Card Slot for :
4
2
6
3
5
1
11
10
12
7
8
Enter
Right
Left
Menu
Extendable


