


Accessories and Order form
102
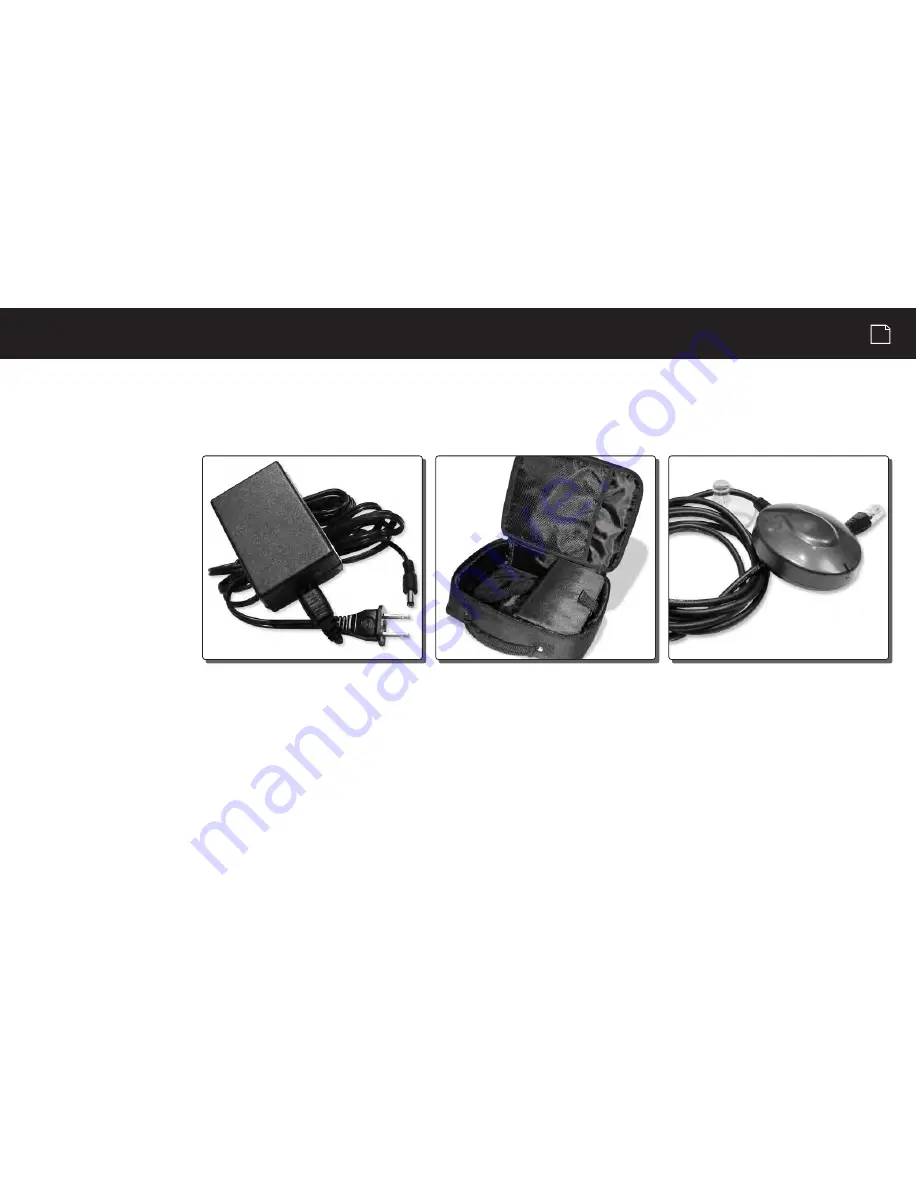
Optional
. . . . . . . . . . .
Ü
accessories
To order by phone
Call 773-889-3087
(Press 1 from the main menu)
8:00 a.m. - 6:00 p.m. C.S.T.
Mon. through Fri.
(except holidays)
To order by mail or fax
Call 773-889-3087 for pricing.
Please fill out order form and
mail/fax directly to Cobra.
Fax: 773-622-2269
Make check or money
order payable to:
Cobra Electronics Corporation
6500 West Cortland Street
Chicago, Illinois 60707 U.S.A.
Attn: Accessories Department
To order online
Please visit our website at:
www.cobra.com.
Optional
. . . . . . . . . . .
Ü
mounting
brackets
Theses accessories are available for both the 3000 and 2000 models from a local
Cobra dealer* or directly from Cobra*. Information on accessories specific to the
2000 model is contained in the NAV ONE 2000 Regional Maps booklet.
Carrying case
120V AC power supply for trip
plan programming in-house
External antenna allows GPS signal
reception in heavily shielded vehicles
and those with heated or metallic
coated windshields.
*The Map Update is available only by download from www.cobra.com or on DVD by telephone to Cobra’s consumer response group at 773-889-3087.
Additional mounting bracket options, that may be more suited to your vehicle, are available at www.cobra.com.


