26
2.4
N AV D ATA PA G E
2.4
N AV D ATA PA G E
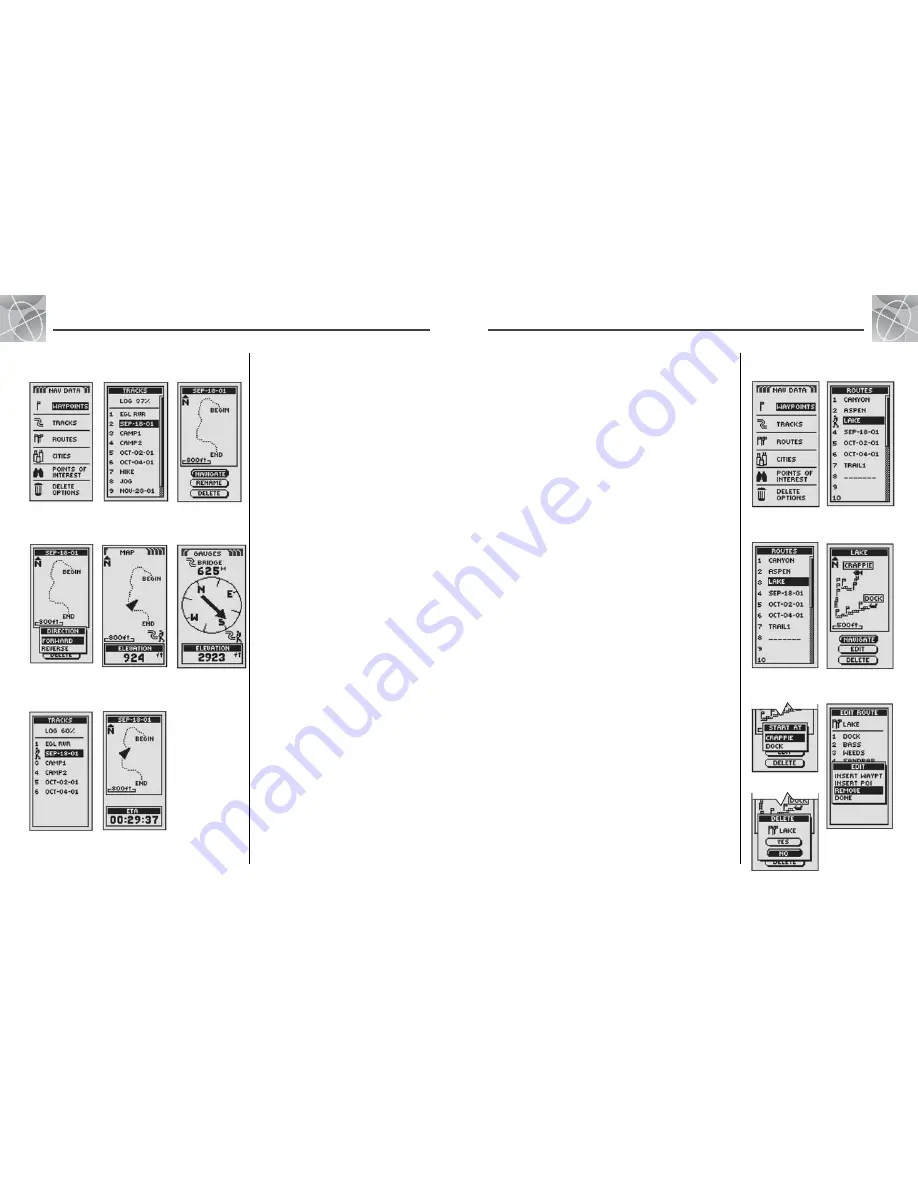
Navigate a Selected Track
To make the map show the navigational path along a
selected track:
1.
From the Nav Data page, highlight using the
JOYSTICK and select TRACKS by pressing the ENTER
button
.
2.
Highlight and select the track you want to
navigate
. A map of the selected track appears
with 3 selections: Navigate, Rename and Delete
.
3.
Highlight and select NAVIGATE to navigate through
your selected track
.
4.
Choose one of the following:
• Highlight and select FORWARD
to navigate
from the beginning to the end of the selected
track.
• Highlight and select REVERSE
to navigate
from the end to the beginning of the selected
track.
4.
Either selection will bring up the Map page with the
track path shown
.
While in the Gauges page, Track navigation is
illustrated by a curved double line and hiker icon in the
bottom right-hand corner of the screen. Also, your
selected track and distance to complete the navigation
of that track are shown above the compass
.
While you are navigating a Track, a flashing hiker
icon on the track list indicates that a track is currently
being navigated
. When this track is selected from
the list, a preview map of your current location in
relation to that track will appear with an ETA to your
destination
.
Tracks: Navigation
Select Track
Nav Data
Page
Highlight
Navigate
Choose
Direction
Flashing
Hiker
Navigation
on Map
Navigation on
Gauges Page
25
Map Page
with ETA
Routes
When you select ROUTES from the Nav Data page (see
), you can use
your GPS 500 to designate up to 20 separate routes consisting of up to
50 waypoints and/or points of interest. You can later recall any of the
saved routes to use for navigation. Your unit can guide you along a selected
route in either direction.
While you are navigating a route, a flashing hiker icon will appear next to
that route on the route list
. Selecting a route currently being navigated
will let you view information such as distance to the next point or ETA (see
“Viewing Information for a Route Being Navigated,” page 32).
Selecting Options
From the Nav Data page, highlight using the JOYSTICK and select ROUTES
by pressing the ENTER button to display the routes screen. Push the
JOYSTICK up or down to scroll through the list of routes, then press the
ENTER button to go to the highlighted route. Use the JOYSTICK again to
highlight your choice, then press the ENTER button to select it. Press the
PAGE button to return to the main page.
Navigate Option
Highlight and select any stored route you want to make your GPS 500 guide
you along (see “Creating a New Route,” page 27). Highlight and select
NAVIGATE and then FORWARD or REVERSE to display the Map page showing
you the direction to travel to follow on the selected route.
Edit Option
Highlight and select any stored route you want to edit. Highlight and select
EDIT to add or delete any points you have selected in creating the route. On
the Edit screen, highlight and select INSERT WAYPT to add a waypoint to a
new or existing route, INSERT POI to add a point of interest to a new or
existing route, REMOVE to delete a selected point from a route, or DONE to
display the route with any changes made. (See “Editing a Route,” page 29.)
Delete Option
Highlight and select any stored route you want to delete. Highlight and
select DELETE to delete a route you have created. Highlight and select YES
to delete the route, or NO to make the route remain in memory.
Routes: Summary
Nav Data
Page
Delete
Route
Navigation
on Route
Navigate
Route
Route
Options
Highlight
Route
Edit Options


