background image

The user is responsible for operating this product wisely. 
The product is intended for use only as a navigational aid 
and should not be used when precise measurement of 
direction, location, distance or topography is required.

GPS (Global Positioning System) is operated by the U.S. 
government, which is solely responsible for its accuracy and
maintenance. The system is subject to changes, which could
affect the accuracy and performance of GPS equipment.

Remove the batteries from the unit if you do not expect to
use it for months at a time. As with any batteries, leakage
can occur. When re-installing batteries, observe proper polarity. 

If you choose to use this device in a vehicle, it is the sole
responsibility of the operator of the vehicle to use this device
in a safe manner. Be careful to avoid being 
distracted from safe and proper driving practices.  

If you choose to use this device in a vehicle, it is the sole
responsibility of the operator to secure the GPS unit so that it
will not cause damage or personal injury in the event of an
accident. 

DO NOT 

mount the GPS receiver over airbag panels or in a

place where the driver or passengers are likely to have an
impact with the device in an accident or collision.

Cobra Electronics Corporation reserves the right to change or
improve information in this manual without notice. Please
visit www.cobra.com for updates or questions.

Customer Support 

In this user's manual, you should find all the information you
need to operate your GPS 500. If you require further
assistance after reading through this manual, Cobra

®

Electronics offers the following customer support services:
In the USA:

Automated Help Desk

is available in English 

24 hours a day, 7 days a week at 773-889-3087. 

Customer Service Operators

are available in

English and Spanish at 773-889-3087 Monday 
to Friday, 8:00 a.m. to 6:00 p.m. CST.

Questions can be faxed

to 773-622-2269.

Automated Technical Assistance

is available 

in English or Spanish 24 hours, 7 days a week via 
e-mail at: [email protected]

On-line answers

to frequently asked questions 

(in English only) can be found at: www.cobra.com.

Outside the U.S.A., 

please contact your local dealer.

Non-English Manuals

The GPS 500 is equipped to communicate in the language 
of your choice: English, Dutch, French, German, Italian,
Portuguese, Spanish or Swedish, (see “System Page-
Settings: Languages,” page 50).
For operating instructions in Dutch, French, German, 
Italian, Portuguese, Spanish or Swedish please visit

www.cobra.com/gps-manuals.html

.

A1

Important Information

FCC Compliance

This device complies with Class B of the FCC rules.

Operation is subject to the condition that this device
does not cause harmful interference. It must accept any
interference received, including that which may cause
undesirable operation.

CAUTIONS

Nothing comes close to a Cobra

®

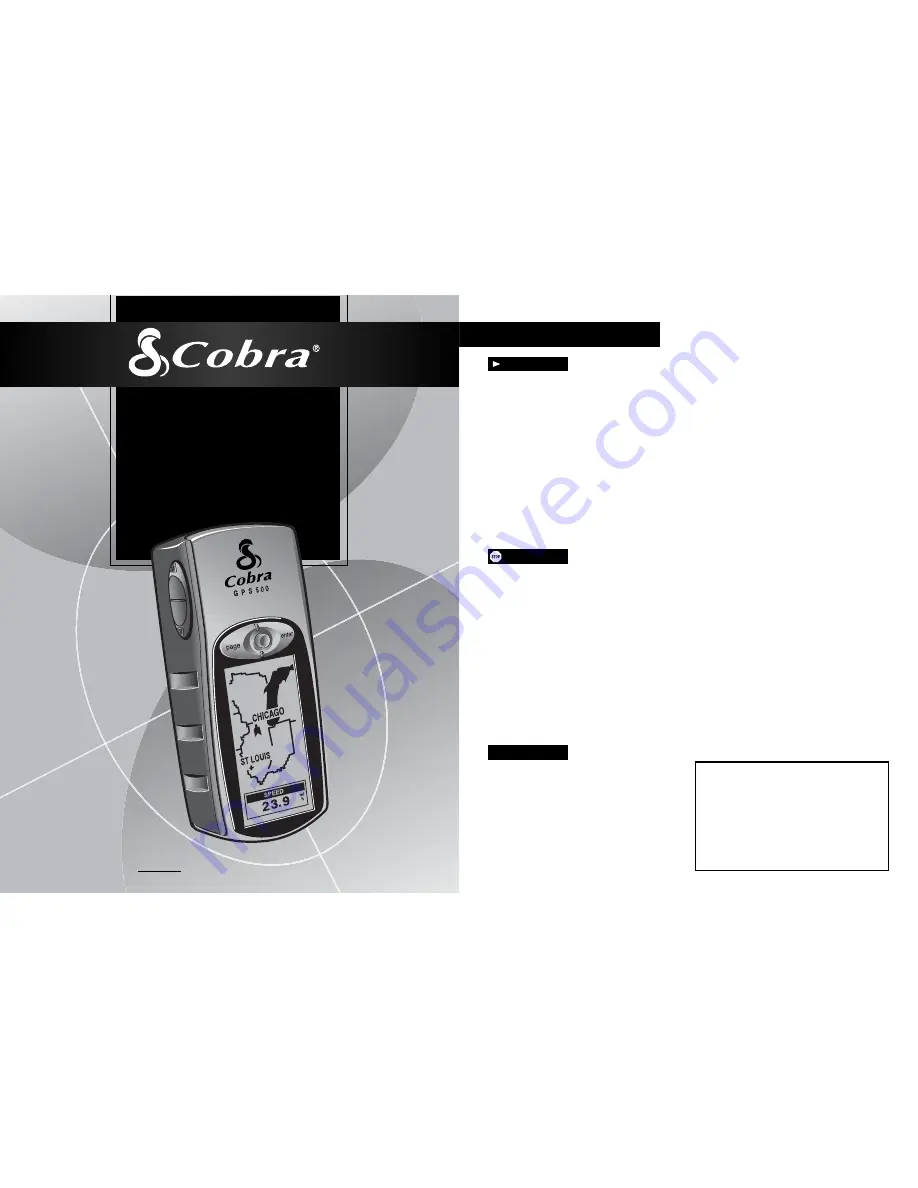
Operating Instructions for Your 

GPS 500

GLOBAL POSITIONING SYSTEM RECEIVER

ENGLISH

WARNINGS

NOTE

Содержание GPS 500

Страница 1: ... com for updates or questions Customer Support In this user s manual you should find all the information you need to operate your GPS 500 If you require further assistance after reading through this manual Cobra Electronics offers the following customer support services In the USA Automated Help Desk is available in English 24 hours a day 7 days a week at 773 889 3087 Customer Service Operators ar...

Страница 2: ...ccessories can interface and share data with computer mapping software Allows you to navigate to cities already programmed into the unit s memory or to points of interest you can load from a computer Automatically tracks your travel and shows you how to return along the same track up to 10 separate tracks can be stored Easy to use joystick simplifies operation Up to 100 map datums to choose from D...

Страница 3: ...h the GPS 500 7 8 The Five Main Pages 9 2 1 Map Page 10 13 2 2 Gauges Page 14 15 2 3 Trip Meter Page 16 17 2 4 Nav Data Page 18 43 Waypoints 19 22 Tracks 23 25 Routes 26 32 Cities Towns 33 34 Points of Interest 35 37 Delete Options 38 40 Editing Text 41 Sort or Search 42 43 2 5 System Page 44 52 Alerts 53 54 GPS General Information 55 58 Specifications 59 Maintenance and Service 60 Index 61 62 Acc...

Страница 4: ...position or clock errors for each individual satellite based on information received from the monitor stations Then it orders the appropriate ground antennas to relay the corrective information back to that satellite Five monitor stations are located at Falcon Air Force Base in Colorado Hawaii Ascension Island in the Atlantic Ocean Diego Garcia Atoll in the Indian Ocean and Kwajalein Island in the...

Страница 5: ...he space segment includes the satellites and the Delta rockets that launch the satellites from Cape Canaveral in Florida GPS satellites fly in circular orbits at an altitude of 10 900 miles 17 500 km and with a period of 12 hours The orbits are tilted to the earth s equator by 55 degrees to ensure coverage of the polar regions Powered by solar cells the satellites continuously orient themselves to...

Страница 6: ...n highlight using the JOYSTICK and select NO by pressing the ENTER button To turn GPS navigation off after the screen automatically changes to the Map page see page 46 In Powersave Mode no GPS functions will be available until you turn GPS back on To do so please refer to page 46 NOTE You can turn GPS off at any time Please see Turning GPS Off and On page 46 Startup Screen ZOOM IN OUT Button ENTER...

Страница 7: ...ries You can also select any city town and ask the unit to show you the direction of travel to that city town With optional computer software and interface cable you can access a computer mapping database to load the coordinates for points of interest POIs into your GPS 500 This gives you access to hundreds of points of interest which you can use as waypoints for navigation continued 8 1 B A S I C...

Страница 8: ...Maximum Speed Odometer Power Speed Time Trip Odometer Trip Time see For more information about the optional data selections see Data Field Choices Descriptions page 4 continued Map Page North Up Map Options Orient Full Map Track Up Set Data Using the Map Page Map Page Gauges Page Trip Meter Page Nav Data Page System Page The Five Main Pages In the following sections of this manual you will learn h...

Страница 9: ...of the details to be displayed on the map Details shown include all waypoint city town or POI names waypoint city town or POI symbols waypoints cities towns Points of Interest track or travel completed so far navigational track or route and continental U S state Canadian provincial and European country boundaries NOTE All symbols will be replaced by a small dot when hidden Auto Zoom Option Highlig...

Страница 10: ...points cities towns points of interest tracks or routes shown on the map 1 While on the Map page push the JOYSTICK in any direction to enter panning mode An arrow shaped cursor will appear 2 Move the cursor by pushing the JOYSTICK left right up or down to the waypoint city town point of interest track or route you want to access information about If the cursor reaches an edge of the map image the ...

Страница 11: ...t with 5 data fields displayed or highlight and select LRG 3 FIELD for larger text with 3 data fields displayed NOTE The lower two fields from 5 field screen will be hidden when switching to 3 field continued Font Size 15 Using the Trip Meter Page 16 LRG 3 FIELD Option Set Data List Stop Nav Yes No Restore Defaults Yes No Data from Set Data List Displays on Gauges Page Set Data Option Highlight an...

Страница 12: ...es Whenever navigation is in progress a hiker icon will appear next to the corresponding selection on the main Nav Data page The data icon and the hiker icon will also appear in the lower right hand corner of the Map page and Gauges page 2 4 N AV D ATA PA G E 2 3 T R I P M E T E R PA G E Using the Trip Meter Page Using the Nav Data Page Nav Data Page Hiker Icons 17 18 Navigation in progress Naviga...

Страница 13: ... entering the name you want to search see Editing Text page 41 The name of the waypoint containing the letters you entered is highlighted on the list see Search page 43 Sort List of Waypoints Search Existing Waypoint List Waypoints Summary Waypoints Summary Nav Data Page Select Options Delete Waypoint Waypoints When you select WAYPOINTS from the Nav Data page see your GPS 500 will display a list o...

Страница 14: ...e ENTER button Highlight and select NEW 2 Highlight and select MARK CURRENT The waypoint information screen appears A default name a 3 digit number and symbol a flag will be assigned You can either accept the default name and symbol or rename and change the symbol of the waypoint see Editing Text page 41 3 When you have finished editing your new waypoint select SAVE to return to the main Nav Data ...

Страница 15: ...through the list of tracks then press the ENTER button to go to the highlighted track Use the JOYSTICK again to highlight your choice then press the ENTER button to select it Press the PAGE button to return to the main page Log Option Highlight and select LOG to save the current track or scroll to recall a track saved previously Highlight and select SAVE to save either the THIS SESSION the travel ...

Страница 16: ... use for navigation Your unit can guide you along a selected route in either direction While you are navigating a route a flashing hiker icon will appear next to that route on the route list Selecting a route currently being navigated will let you view information such as distance to the next point or ETA see Viewing Information for a Route Being Navigated page 32 Selecting Options From the Nav Da...

Страница 17: ...nt 4 Highlight and select SELECT Push the JOYSTICK up or down to highlight the point you want to add to your route You can sort or search the list see Sort page 42 or Search page 43 5 Press the ENTER button to add the highlighted point to your route The New Route screen appears with the added point displayed Highlight and select the next blank field Repeat steps 3 to 5 to add more waypoints 6 When...

Страница 18: ...isplayed Repeat steps 4 to 7 to edit other points on the route 8 When you have finished editing your route highlight and select any point Highlight and select DONE Press the PAGE button to return to the main Nav Data page continued Route List Routes Editing Nav Data Page Edited Route List Joystick 29 Highlight Remove Edited Route List Return to Nav Data Page Remove a Waypoint POI from a Route To r...

Страница 19: ... points passed only the distance from your current location will be displayed 4 Press the PAGE button to return to the Routes List Return to Nav Data Page Navigate a Selected Route To make the map show the navigational path along a selected route 1 From the Nav Data page highlight using the JOYSTICK and select ROUTES by pressing the ENTER button 2 Highlight and select the route you want to navigat...

Страница 20: ...rest to the farthest See Select Options above to get details on a selected city town from the Nearest List Search Option Highlight and select SEARCH to search the list of cities towns for a name you enter see Search page 43 Enter the name of a city town see Editing Text page 41 The list adjusts to show the city town starting with the letters you enter Press ENTER to highlight the search city town ...

Страница 21: ... navigation purposes See Routes page 26 When you select POINTS OF INTEREST from the Nav Data page you have access to the POIs you downloaded using your Data Interface A POI s details can be edited You can ask the unit to show you the GoTo direction of travel to reach any POI you select NOTE You can store up to 50 points of interest into a route Selecting Options From the Nav Data page push the JOY...

Страница 22: ...delete waypoints tracks routes or POIs you have created or delete all data currently stored A confirmation window will appear to alert you if no waypoints tracks routes or POIs are currently stored Selecting Options From the Nav Data page highlight using the JOYSTICK and select DELETE OPTIONS by pressing the ENTER button Push the JOYSTICK up or down to scroll through the menu selections then press...

Страница 23: ...Individual Waypoints Tracks Routes or Points of Interest Delete Options Select Item Nav Data Page Delete One by One Updated List Delete Confirmation Deleting Individual Waypoints Tracks Routes or Points of Interest To delete selected items waypoints tracks routes or points of interest one at a time 1 From the Nav Data page highlight and select DELETE OPTIONS The Delete Options menu appears 2 Highl...

Страница 24: ... follow the same procedure to enter or change characters or symbols Highlight Space Joystick Blank Space Return to Nav Data Page Editing Text Sort Option Continue Editing Waypoint Sort Options Select SORT POI Sort Options Sort Option To sort any list of waypoints or POIs by name symbol nearest or most recently saved 1 From any screen with the SORT option highlight and select SORT 2 Choose from the...

Страница 25: ...e the JOYSTICK again to highlight your choice then press the ENTER button to select it Press the PAGE button to return to the main page Satellites To turn GPS navigation on and off highlight and select SATELLITES see Turning GPS Off and On page 46 Highlight and select GPS MODE Highlight and select YES or NO in response to the prompt to access your unit s navigational features or to disable your un...

Страница 26: ...on to three of them 4 Press the PAGE button to return to System page NOTE The unit must be outside with a clear view of the sky to acquire satellite signals for navigation Turning GPS Off On Location Screen Appears Use with GPS Off Page Button GPS Off On 46 45 Stop Receiving S Y S T E M PA G E Using the System Page Advanced Settings Access Defaults Option Turn GPS On Advanced Option Highlight and ...

Страница 27: ...o conserve battery power make sure the data port is set to off whenever you are not using the interface Page Button Data Interface 48 Adjusting the Display You can adjust various settings for your unit s display 1 From the System page push the JOYSTICK up or down to highlight and select DISPLAY by pressing the ENTER button CONTRAST BACKLIGHT and BATTERY SAVER appear 2 SELECT will be highlighted To...

Страница 28: ...ed time zone see page 55 for World City Time Zone chart Daylight Saving To have the clock use daylight saving time Summer Time highlight DAYLIGHT SAVING Press the ENTER button to bring up the menu Select AUTO to make the clock switch to daylight saving time Summer Time automatically Select ON to switch manually back to daylight saving time Summer Time Select OFF to switch manually the clock to sta...

Страница 29: ...ng NOTE Most widely used datum is WGS 84 continued Advanced Screen Position Format To change the format the device uses to display location coordinates highlight POSITION FORMAT Press the ENTER button to bring up the menu select from the following hddd ddddd degrees decimal degrees hddd mm mm degrees minutes decimal minutes hddd mm ss s degrees minutes seconds decimal seconds British Grid Dutch Gr...

Страница 30: ...e message will disappear when satellite lock is regained You can select YES to continue searching and clear the alert message If satellite lock is not regained within 5 minutes the alert will reappear You can select NO to turn off GPS navigation and clear the message NOTICE ARRIVING AT DESTINATION If you are navigating to a waypoint POI or city town or along a track or route you will see this mess...

Страница 31: ...en the GPS signal is reflected off objects such as tall buildings before it reaches the receiver This increases the travel time of the signal causing errors Receiver clock errors The built in clock can have very slight timing errors Orbital errors Also known as ephemeris errors these are inaccuracies of the satellite s reported location Most common error Most common error is not having a clear vie...

Страница 32: ...ivers to use with older maps Most navigational charts and maps will have the datum listed Cobra GPS receivers include up to 100 map datums that allow you to switch to a setting that matches your map The most common US map datums are World Geodetic System 1984 WGS 84 North American Datum 1983 NAD 83 and North American Datum 1927 NAD 27 NOTE Using a map datum that does not match the chart you are us...

Страница 33: ...ck the unit securely to prevent damage during transit If possible use the original packing materials 5 Ship prepaid and insured using a traceable carrier such as United Parcel Service UPS Federal Express or first class mail with delivery confirmation Ship to Cobra Factory Service Cobra Electronics Corporation 6500 West Cortland Street Chicago IL 60707 USA 6 Please allow 3 to 4 weeks before contact...

Страница 34: ...63 Waypoint Shortcut 6 20 21 Waypoints 7 19 22 WGS 84 51 Winter Time 49 Z Zoom In Out Button A2 6 Zoom Option 11 7 I N D E X 61 A About Option 45 52 Accessories 63 Accuracy 4 10 15 17 Adjusting the Display 44 47 Advanced Options 45 51 52 Alerts 53 Average Speed 4 10 15 17 Auto Zoom Option 11 B Backlight A2 44 47 Basic Operation 5 8 Batteries 5 54 59 Battery Saver 44 47 Bearing 4 10 14 15 17 Button...

Страница 35: ...s in workmanship and materials for period of one 1 year from the date of first consumer purchase This warranty may be enforced by the first consumer purchaser provided that the product is utilized within the U S A Cobra will without charge repair or replace at its option defective GPS 500 products or component parts upon delivery to the Cobra Factory Service Department accompanied by proof of the ...

Страница 36: ...ies HighGear Accessories VHF Marine Radios Power Inverters For more information or to order any of our products please visit our website www cobra com Nothing comes close to a Cobra Printed in China Part No 480 037 P revise 8 03 Mapdata 2002 Rand McNally Company 2002 Cobra Electronics Corporation 6500 West Cortland Street Chicago IL 60707 USA ...

Отзывы: