background image

Copyright © 2016 Cobra Systems, Inc. All rights reserved

DANGER HEADER?

Press ENTER

INCH - HOW MANY LINES?

Press 1.2,3, or 4 

ENTER LINE 1:

HIGH

ENTER LINE 2:

VOLTAGE

ENTER QUANTITY TO PRINT:

1

OSHA/ANSI HAZ COM

Press ENTER

OSHA TEMPLATES

Press ENTER

1. Select OSHA TEMPLATES by pressing  

  the ENTER key.

6. Enter the text/symbols for your second  

  line and press ENTER.

2. Select the OSHA/ANSI HAZ COM template  

  or DIE CUT TEMPLATES option by pressing

  the ENTER key.
  NOTE: For VnM pre-printed OSHA/ANSI  

  media, select DIE CUT TEMPLATES only.   

  (Die Cuts are pre-printed header labels 

   as shown below.)

7. Enter the quantity of signs to print and  

  press ENTER.

3. Select a header option.  Choose from:   

  CAUTION, DANGER, NOTICE, SAFETY, or  

  WARNING and press ENTER.  
  DO NOT USE WITH DIE CUT LABELS.

4. Select how many lines of text to print by

  pressing the numbers 1, 2, 3, or 4. 
  DO NOT PRESS ENTER.

5. Enter the text/symbols for your first line

  and press ENTER.

The OSHA/ANSI Haz Com template is perfect for creating Caution, Danger, Warning, Notice, 

and Safety signs.  The samples below were created with our OSHA templates.

MUST WEAR

EAR AND EYE 

PROTECTION

NOTICE

w

UNAUTHORIZED

PERSONNEL

WILL BE

PROSECUTED

a) OSHA/ANSI, DANGER, 2 lines

b) OSHA/ANSI, NOTICE, 3 lines

c) OSHA/ANSI, WARNING, 4 lines

MUST WEAR

EAR AND EYE 

PROTECTION

KEEP OUT

HIGH

VOLTAGE

HOT

SURFACE

EMPLOYEES 

ONLY

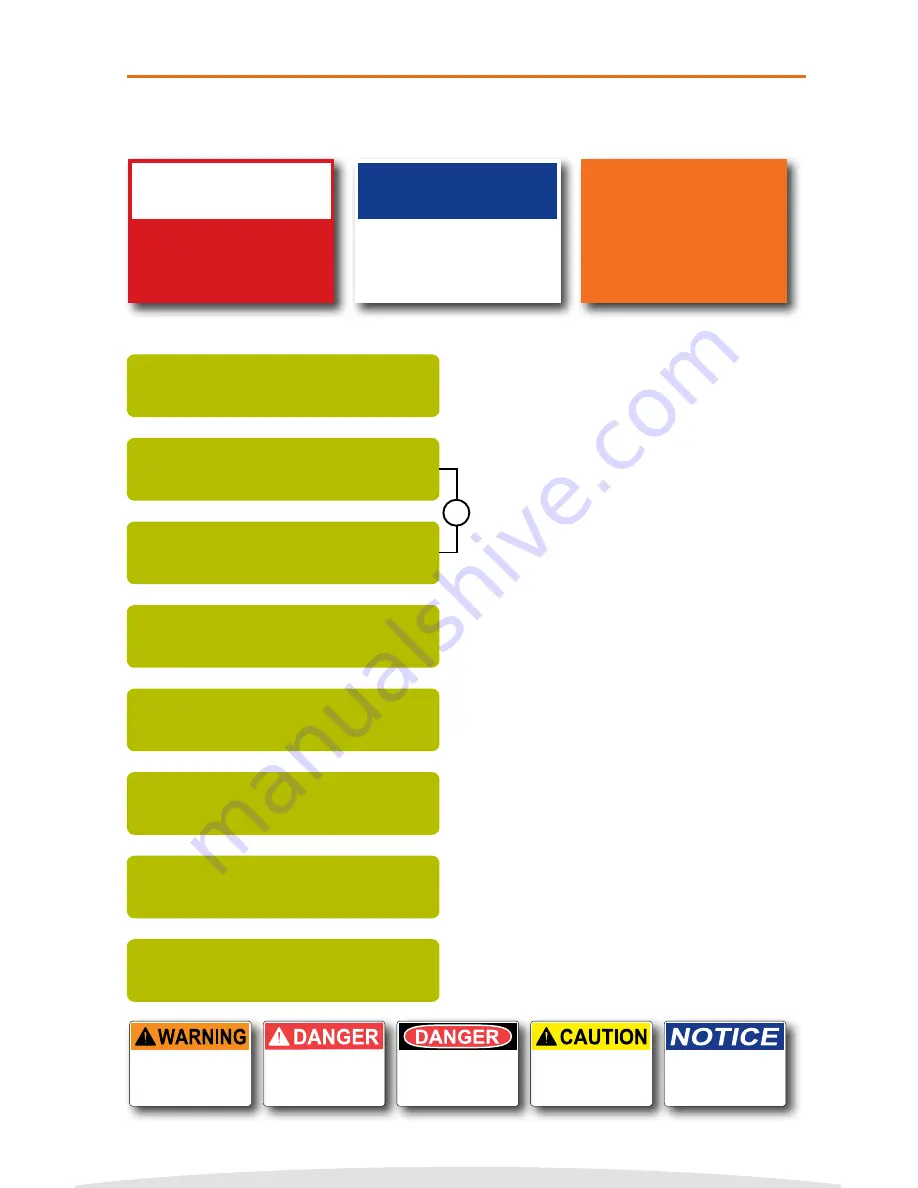
Die Cut, WARNING

Die Cut, DANGER2

Die Cut, DANGER

Die Cut, CAUTION

Die Cut, NOTICE

HIGH

VOLTAGE

/DANGER

DIE CUT TEMPLATES

Press ENTER

or

VnM®4 Keypad Templates:  OSHA/ANSI Haz Com

13

Содержание VnM 4

Страница 1: ...Copyright 2016 Cobra Systems Inc All rights reserved User Manual Updated 4 2016 VnM SignMaker Safety Signs Labels VnM SignMaker Safety Signs Labels Version 3 0 VnM 4 SignMaker...

Страница 2: ...al b 1 Line Vertical c Custom 1 Line d OSHA ANSI Haz Com e GHS Template f Lockout Tags g Pipe Marking h Barcode QR Code Labels i Formatted Signs Font and Symbols OSHA and ANSI Safety Identification Pi...

Страница 3: ...ing Conditions 41 104 F 5 40 C Storage Conditions 40 140 F 40 60 C Resolution 203 DPI AC Input 100 240V Power Supply DC Output 24V 3 75A external adapter Print Speed Variable from 2 to 7 per second Co...

Страница 4: ...er the ink roll carriage and print head Attach ink ribbon to the empty core and take up any slack before closing cover 3 Slide new media onto mount 4 Feed media face up under the white Teflon bar thro...

Страница 5: ...5 Top cover latch 6 Cutter VnM4 SignMaker Rear View 7 USB port 8 Parallel port 9 Keyboard connection RS 232 DB 9 10 Power receptacle 11 Power switch VnM4 SignMaker Interior View 12 Top cover 13 Top c...

Страница 6: ...t head and up to the empty take up core Make sure ink spindles are as shown NOTE Larger circular end on the right side Close cover you re ready to load Label Media Load rear ink spindle with the new i...

Страница 7: ...dia through cutter Pull a short piece of media through and past the cutter Turn printer on by flipping the power switch located on the back You re ready to start printing Pull media under the white ro...

Страница 8: ...ure surface 2 Make sure power switch is OFF 3 Connect VnM4 Keypad to the VnM4 SignMaker RS 232 serial port 4 Plug power supply into rear of the printer plug power cord into a properly grounded outlet...

Страница 9: ...press ENTER on VNM MANUAL SETTINGS ENTER DENSITY 5 ENTER SPEED 2 SELECT MEDIA WIDTH Press 1 2 3 or 4 B To Change Font Settings 1 This should be the first screen you see SELECT FONT SYMBOLS Press ENTER...

Страница 10: ...s loaded in the printer The VnM 4 keypad navigation tree on the left displays the flow and order of all the available options templates Detailed information about each template starts on page 10 If an...

Страница 11: ...print and press ENTER 5 Select if you would like REVERSE TEXT Press Y or 1 for Yes Press N or 2 for No The 1 to 5 Line Horizontal template is the most versatile template for the VnM 4 SignMaker Create...

Страница 12: ...nter the text symbols for your vertical sign and press ENTER 3 Enter the quantity of signs to print and press ENTER 4 Select if you would like reverse text Press Y or 1 for Yes Press N or 2 for No The...

Страница 13: ...to accommodate the width height of the media and size selection 1 Select the CUSTOM 1 LINE template by pressing the ENTER key 2 Enter the second dimension which represents the HEIGHT of the label Pre...

Страница 14: ...option Choose from CAUTION DANGER NOTICE SAFETY or WARNING and press ENTER DO NOT USE WITH DIE CUT LABELS 4 Select how many lines of text to print by pressing the numbers 1 2 3 or 4 DO NOT PRESS ENTE...

Страница 15: ...ictograms are shown above and below 3 Enter the quantity of labels to print and press ENTER The GHS template is perfect for creating individual indicators for chemical labeling The samples below were...

Страница 16: ...1 2016 JOB DESCRIPTION LOCATION ABC GU143CM ESTIMATED LENGTH OF JOB 6 8 2016 9AM TO 12PM OUT OF SERVICE DO NOT USE NAME JOHN DOE DATE 1 1 2016 1 Select LOCK OUT TEMPLATES by pressing the ENTER key Thi...

Страница 17: ...ng template meets ANSI ASMI letter height standards and tape lengths allowing you to create custom pipe markers Below is a 2 x 12 pipe marker example identifying the contents of the pipe as NITROGEN a...

Страница 18: ...TE QR CODE 2 Select the QR CODE option and press ENTER ENTER QR CODE HTTP VNMSIGNMAKER COM ENTER QUANTITY TO PRINT 1 3 Enter the characters and press ENTER 4 Enter the quantity to print and press ENTE...

Страница 19: ...ates 1 Scroll to FORMATTED SIGNS and press ENTER 2 Select FIRE TEMPLATES and press ENTER 3 Select a Fire Template option For a Fire Extinguisher sign a or b press 1 4 Select a label size option Press...

Страница 20: ...k l Pipe Marker a b c d e f g h i j k l Utility a b c d e f g h i j k l Symbols 1 a b c d e f g h i j k l Symbols 2 a b c d e f g h i j k l Symbols 3 a b c d e f g h i j k l m n o p q r s t u v w x y...

Страница 21: ...B C D E F G H I J K L M N O P Q R S T U V W X Y Z M N O P Q R S T U V W X Y Z M N O P Q R S T U V W X Y Z M N O P Q R S T U V W X Y Z M N O P Q R S T U V W X Y Z M N O P Q R S T U V W X Y Z M N O P Q...

Страница 22: ...tes are for the VnM4 and VnM8 SignMaker s in addition to header die cut media Create your sign in seconds and save money and time ANSI Danger for Arc Flash Labels ANSI Caution for Arc Flash Labels ANS...

Страница 23: ...ering faces out for easy identification Pipe Marker Placement VNMWT XXXX WHITE VNMBK XXXX BLACK VNMGR XXXX GRAY VNMBL XXXX BLUE VNMPR XXXX PURPLE VNMBN XXXX BROWN VNMRD XXXX RED VNMON XXXX ORANGE VNMY...

Страница 24: ...5 Set the Post Print Action to Cut and the Occurrence to After Every Page 6 Connect USB cable to the PC s USB port 7 Plug power cord into AC Power Receptacle at the rear of the printer then plug the...

Страница 25: ...dentally turn printer off and close covers completely then power back on VnM SignMaker Troubleshooting ISSUE The Ink Ribbon comes out through the cutter after loading a new roll Remedy The Ink Roll wa...

Страница 26: ...stions Accessories and FAQ Q How do I create quotation marks on a sign A While holding down the SHIFT key press the PERIOD key twice in rapid succession Q How do I prevent the ink ribbon from coming o...

Страница 27: ...______ ____________________________________________________________ ____________________________________________________________ ____________________________________________________________ __________...

Страница 28: ...Copyright 2016 Cobra Systems Inc All rights reserved VnM SignMaker by Cobra Systems Inc 3521 E Enterprise Dr Anaheim CA 92807 www vnmsignmaker com Toll Free 1 855 485 9343...

Отзывы: