Use your Tempest
®
FX (optional).
8
You must have the most recent Tempest firmware before using Tempest FX with your Tempo Go system. A CoachComm technician will assist in
upgrading your existing Tempest FX system. To connect the Tempest FX BaseStation to Tempo Go:
8a. Place your BaseStation unit on a secure flat surface on the sideline.
8b. Connect a LAN network
cable between the
BaseStation and Tempo
Go Control Unit.
8c. Connect a Stage
Announce XLR cable
between the BaseStation
and Tempo Go Control
Unit.
8d. Follow the Tempest FX setup instructions in the
Tempest FX User Manual
(www.coachcomm.com/tempest-fx-support/)
to connect and
mount your Remote Transceiver and to connect power. It is recommended that you power on your FX system before powering on your
Tempo Go Control Unit and speakers.
8e. Test your FX System’s connectivity via the Commando-T remote to verify that it is controlling Tempo Go (for example, press a one-touch
sound button). Refer to the
Tempo Go Operating Manual
for more information, or contact CoachComm Customer Support for assistance.
Figure 9: Tempest FX BaseStation Cables to Tempo Go Control Unit
© Copyright 2018 CoachComm, LLC. All rights reserved. CoachComm
®
, Tempo
®
, and Tempest
®
are registered trademarks of CoachComm, LLC. All other trademarks are property of their respective owners.
Document Reference: D0000422_B
Use your software.
7
Download the Tempo software on your PC
to create a practice script. Save the script
from your PC to a USB flash drive. (For
more information on creating and exporting
a script, refer to the
Tempo Go Operating
Manual
.)
When prompted, place the USB flash drive
in an available Control Unit USB port. The
system will automatically open the script
and pause it. A flashing “P” will appear on
the clock display.
Control practice by using the Tempo
Remote. The remote plugs into any
available USB port on the Control Unit. If
applicable, you may also use the Tempest
FX Commando-T controls.
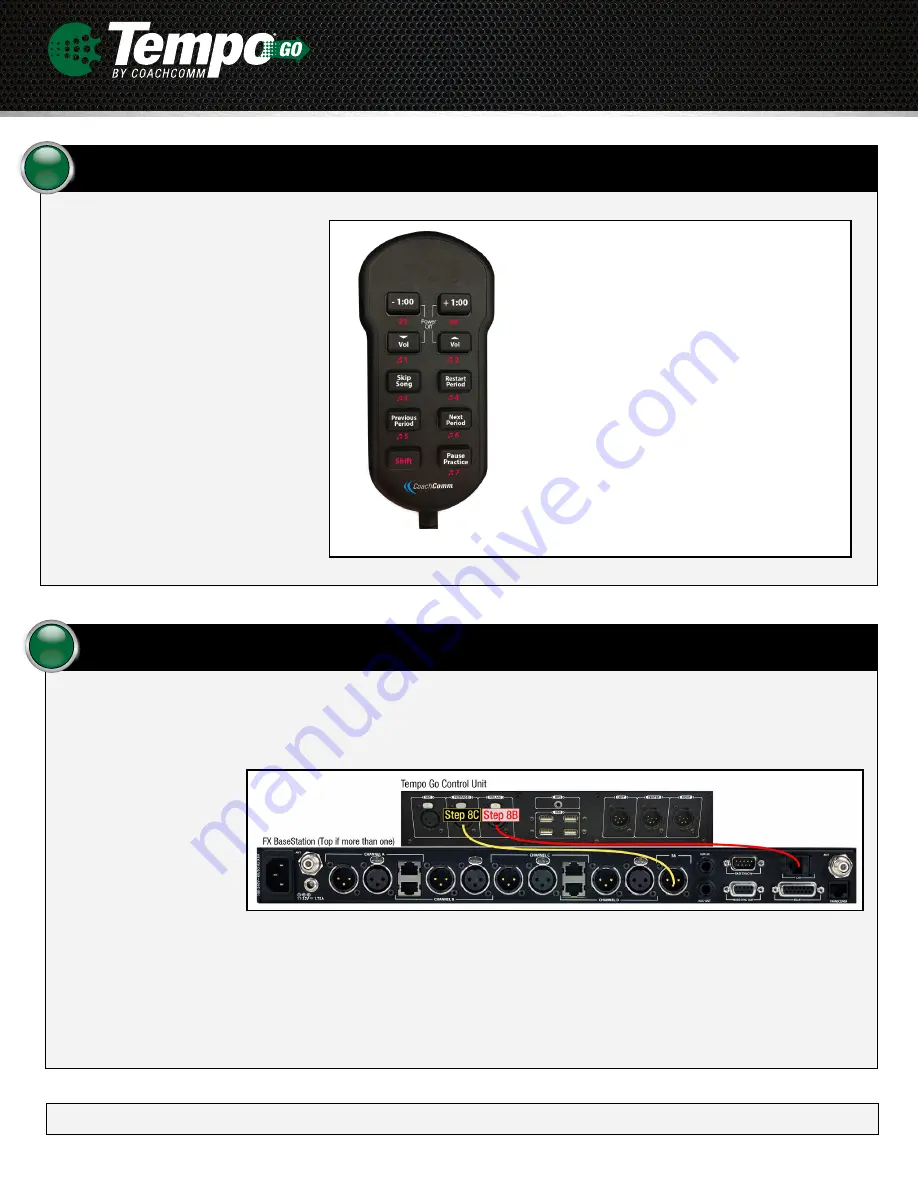
Figure 8: Tempo Remote
•
-1:00, +1.00
:
Subtracts or adds a minute to a period.
Shift + 25
: Starts 25 second clock.
Shift + 40
: Starts 40 second clock.
•
Volume
:
Decreases or increases volume.
Shift + 1–7
: Plays sound assigned to the selected one-
touch number.
•
Skip Song
: Forwards to next song.
•
Restart Period
:
Restarts current period.
•
Previous Period
: Returns to beginning of previous period.
•
Next Period
: Starts next period.
•
Shift
:
Changes remote functions when pressed and used
in combination with another button.
•
Pause Practice
: Toggles between pause and start/
continue practice.
•
Power Off
: Press and hold top four buttons to turn off
Control Unit.


