• Function
:
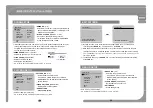
Using the OSD menu, Preset, Pattern, Swing, Group and Alarm Input function
can be configured for each application.
◎
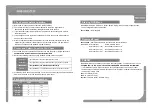
Before power is applied, please check the cables carefully.
◎
The camera ID of the controller must be identical to that of the target camera.
Th
ID
b
h
k d b
di
DIP
it h f th
Check points before operation
Starting OSD Menu
• Enter Menu
:
Go Preset[95]
The camera ID can be checked by reading DIP switch of the camera.
◎
If your controller supports multi-protocols, the protocol must be changed to match to
that of the camera.
◎
If you changed camera protocol by changing DIP switch, the change will be effective
after you reboot the camera.
◎
Since the operation method can be different for each controller available, refer to the
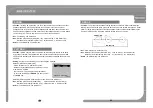
Reserved Preset
• Description :
Some Preset numbers are reserved to special functions.
• Function :
manual for your controller if camera can not be controlled properly. The operation of
this manual is based on the standard Pelco® Controller.
◎
Check how to operate preset and pattern function with controller or DVR in advance to
operate camera function fully when using controller or DVR
Preset and Pattern Function Pre-Check
Go Preset[95]
: Enters into OSD Menu.
Go Preset [131~134]
: Runs Pattern Function 1~4
Go Preset[141~148]
: Runs Swing Function 1~8
Go Preset[151~158]
: Runs Group Function 1~8
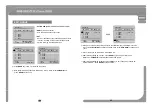
• Function :
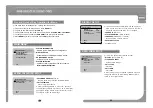
Max. 127 positions can be stored as Preset position. The Preset number can be
assigned from 1 to 128, but 95 is reserved for starting OSD menu. Camera characteristics
operate camera function fully when using controller or DVR.
◎
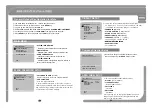
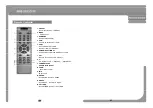
Refer to the following table when using standard Pelco® protocol controller.
PRESET
Go Preset
Input [Preset No.] and press [Preset] button shortly.
Set Preset
Input [Preset No.] and press [Preset] button for more than 2 seconds.
Run Pattern
Input [Pattern No ] and press [Pattern] button shortly
assigned from 1 to 128, but 95 is reserved for starting OSD menu. Camera characteristics
(i.e. White Balance, Auto Exposure) can be set up independently for each preset. Label
should be blank and "Camera Adjust“ should be set to "GLOBAL" as default. All haracteristics
can be set up in OSD menu.
• Set :
Set Preset [1~128]
• Run :
Go Preset [1~128]
• Delete :
To delete Preset use OSD menu
◎
If controller or DVR has no pattern button or function, use shortcut keys with preset numbers.
For more information, refer to “Reserved Preset” in this manual.
Run Pattern
Input [Pattern No.] and press [Pattern] button shortly.
Set Pattern
Input [Pattern No.] and press [Pattern] button for more than 2 seconds.
E h
l f
i
b
• Delete :
To delete Preset, use OSD menu.
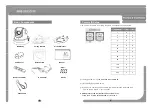
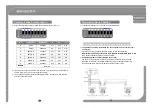
Each protocol function number
Protocol
Function
SONY
Pelco®
ID
7
255
Preset
6
127
Swing
0
8
18
19
Swing
0
8
Pattern
0
4
Group
0
8
Содержание SKB-20Z12F
Страница 1: ...Interior PTZ Dome Camera SKB 20 1 Z12F User s Manual Ver 1 14 3812 0278B3...
Страница 26: ...Interior PTZ Dome Camera SKB 20 1 Z12F Ver 1 14 3812 0278B3...
Страница 27: ......
Страница 32: ...4 1 4 2 4 62 63...

