Cloud Camera user manuals
8
Installation
Hardware
Installation
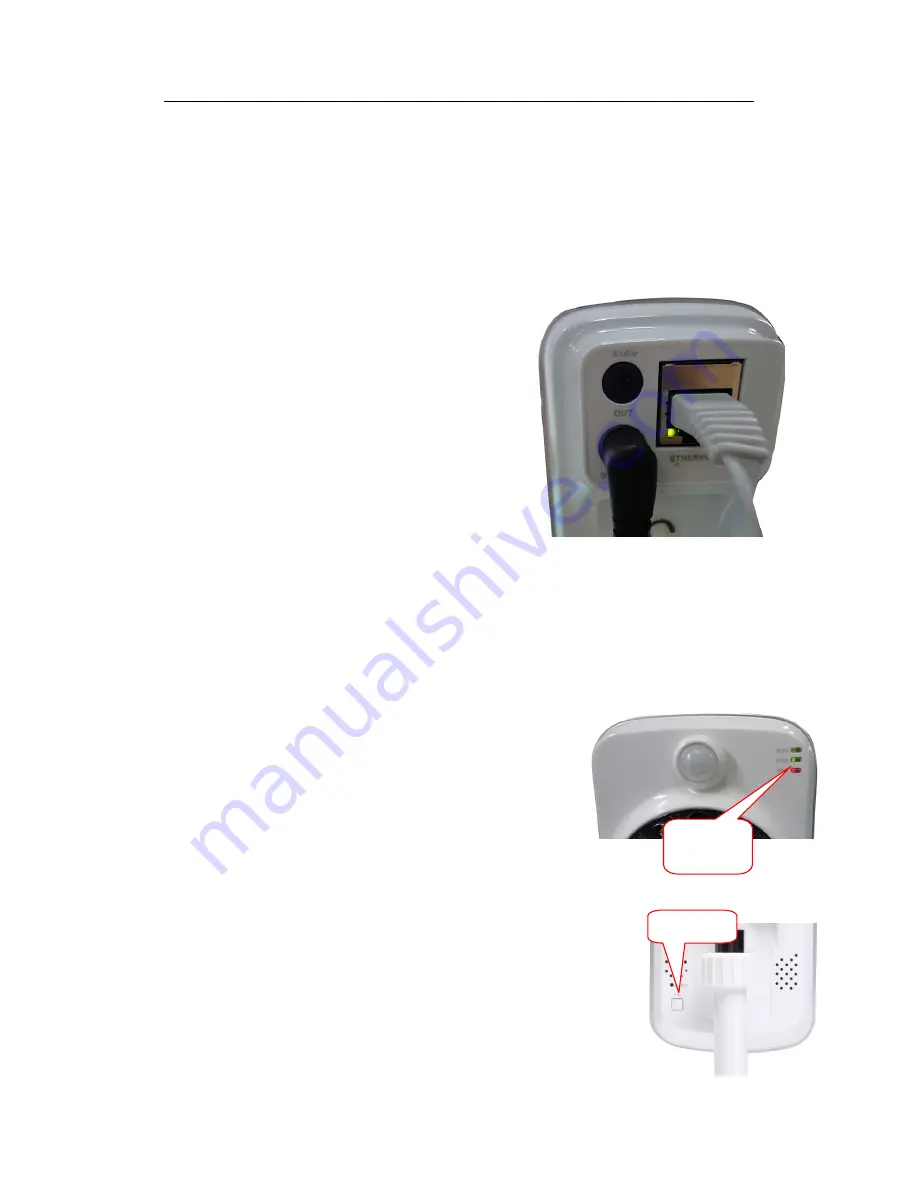
Connect
the
network
cable
and
power
Attach
the
Ethernet
cord
into
Ethernet
port
behind
IPCAM
and
the
other
end
into
the
router
or
other
network
equipment,
to
access
network.
Connect
the
original
power
supply
into
the
wall
power
outlet
or
line
board,
then
connect
the
power
of
the
DC
head
into
the
DC
power
input
port
behind
the
Camera,
when
the
PWR
indicator
lights
up
in
red,
indicating
the
normal
supply
of
electricity.
External
audio
output
interface:
Inserted
the
External
3.5
inch
headphone
connector
into
the
AUDIO
OUT
Jack.
Camera
Installation
Wizard
The
first
step
:
connecting
the
network:
1
.
Wired
internet:
IPCAM
connected
to
the
power
supply
and
cable
network,
the
front
of
the
machine
"PWR"
light
a
long
red
light.
'STA2
"lights
turn
red,
Wait
20
seconds,
into
a
green
light
flashes
(flashing
seven
times
every
three
seconds).
2.
Wi
‐
Fi:
You
can
use
the
WI
‐
FI
Protected
Setup
(WPS)
button
for
Camera
to
create
wireless
connection.
IPCAM
connect
electric
and
start,
a:
press
the
"FN"
button
for
three
seconds
under
the
rear
of
the
machine,
then
STA2
green
LED
indicator
light
began
to
flicker.
b:
press
the
WPS
button
on
the
router
in
60
seconds,.
WPS
button
is
usually
in
the
front
or
side
of
the
router.
Some
routers,
You
may
need
to
log
into
the
web
interface,
click
the
button
on
STA2
indicator
FN
button


