


7
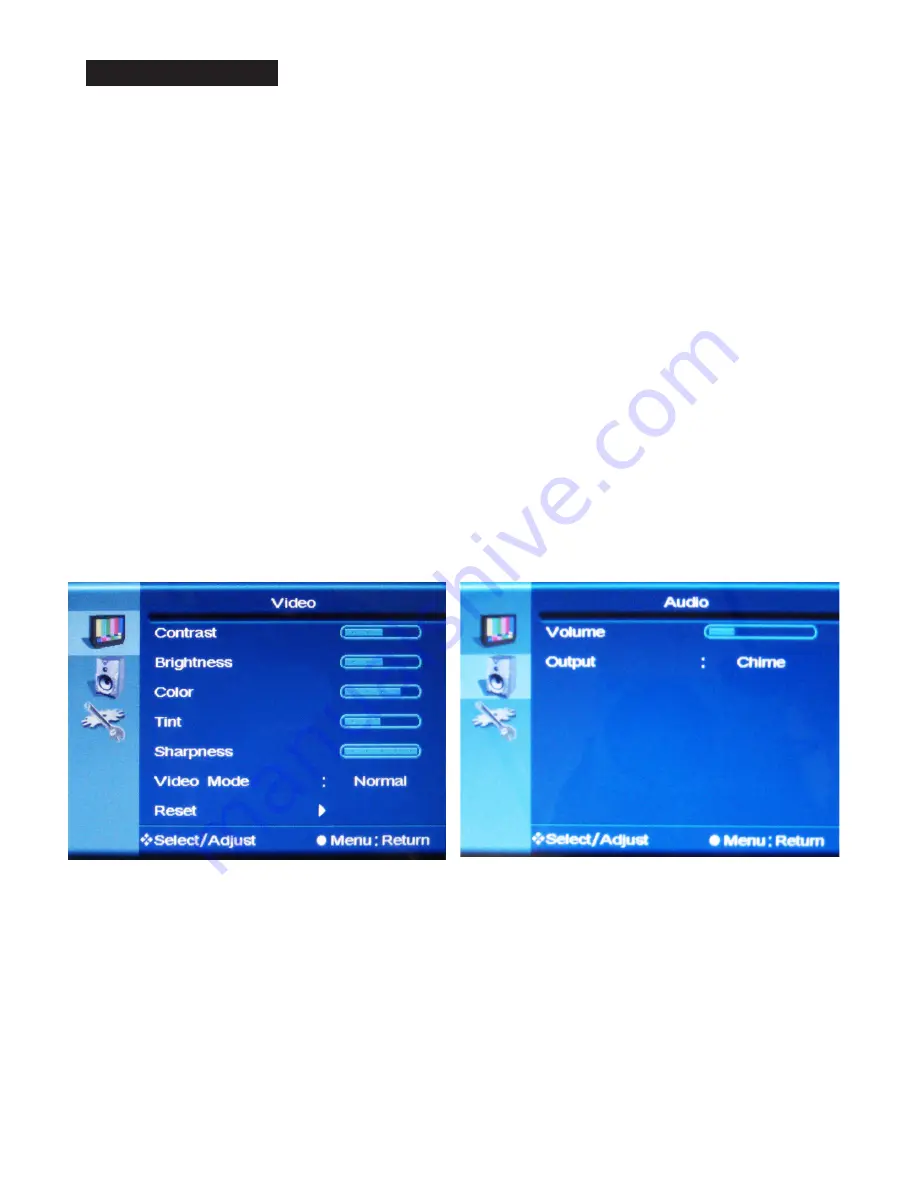
Video Menu
: The display should be pre-set for most installations, however if some adjustment
is necessary, we suggest you follow these recommendations by pressing the MENU button on
the remote control:
1.
First adjust the BRIGHTNESS control to set the black level so that the images are at their
brightest while the black images are still black. Do not adjust too high where the black
portions of the image become gray or the image will have a “washed out” appearance.
2.
Set the CONTRAST control to set the white level so that the images are at their brightest
without losing definition in the white portions of the image.
3.
Adjust the COLOR control to achieve a realistic image of the items within the viewing area.
4.
Adjust the TINT control if the image has bluish or reddish tint to the white portions of the
image.
5.
Decrease the SHARPNESS if the image appears too grainy or pixelated. Increase the
SHARPNESS if the image appears too soft.
6.
With VIDEO MODE, you can select from various preset configurations. These include
Normal, Nature, Cinema, Sport, Vivid.
7.
The RESET function will reset the levels in the video menu only.
Display Set-Up
Audio Menu
1.
The Audio Menu can be used to raise or lower the volume of the chime or SD-Card activated
audio.
*NOTE: The MUTE function on the remote control will disable the audio/chime sound.
2.
Select the audio source by selecting CHIME to enable the built in chime sound, or SD-AUDIO
for the audio on the SD-Card to play.
Содержание Public View CE-M8SD-B
Страница 36: ...v 11 01 11 ...


