Instrukcja montażu, obsługi i konserwacji • Klimakonwektory naścienne
Installation, use and maintenance manual • Hydronic high wall
HWW/V
Seria /
Series
Wydanie /
Edition
Zastępuje /
Superseedes
04.09
---
Katalog /
Catalogue
CLM 30
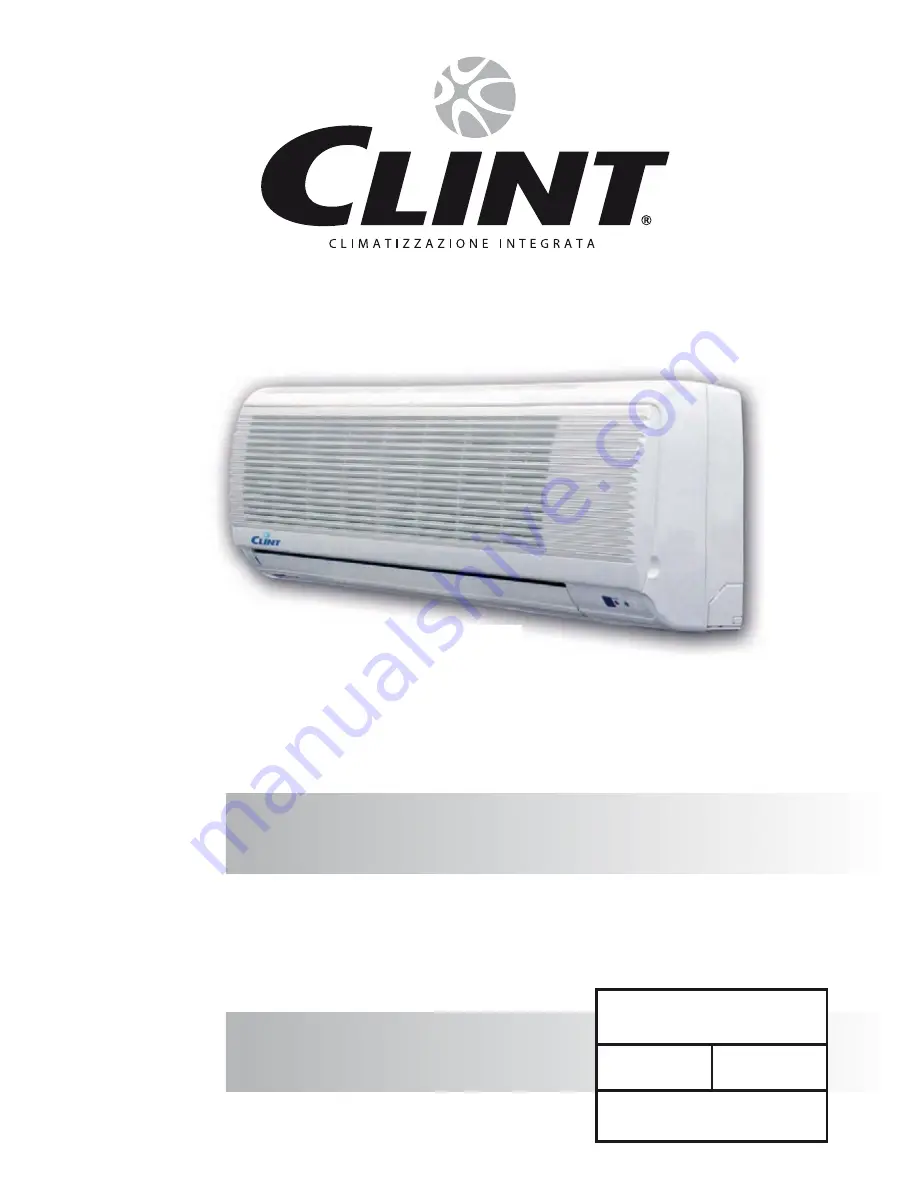
Страница 1: ...a montażu obsługi i konserwacji Klimakonwektory naścienne Installation use and maintenance manual Hydronic high wall HWW V Seria Series HWW V Wydanie Edition Zastępuje Superseedes 04 09 Katalog Catalogue CLM 30 ...
Страница 2: ......
Страница 3: ...g Connections 8 6 How to Remove the Frame Grille 8 7 Checking the Drainage 10 8 Wiring Connections 10 1 1 g n i g r u P r i A 9 10 Wiring Diagrams 12 11 LED mode indicators for 4 1 l i o c n a f r e t a w 12 Remote Control Operation Guide 14 7 1 s e c i t o N r e s U 3 1 14 Additional Notes on Operation 18 15 Care and Maintenance 19 OSTRZEŻENIE UWAGA Ostre krawędzie i powierzchnie wymienników mogą...
Страница 4: ...zy rur punkt odpływu skroplin oraz miejsce podłączania zasilania Nie należy używać tego urządzenia w instalacjach z wo dą o temperaturze przekraczającej 60 C READ ALL SAFETY INFORMATION BEFORE USE This air conditioner must be properly installed in accor dance with the installation instruction before it is used Disconnect and lock off all power from air conditioner before making any repairs NOTE St...
Страница 5: ...n coil unit to conform to figure 1 4 From floor the height should be more than eye level CAUTION Avoid installing the unit from direct sunlight 1 Po dokonaniu wyboru odpowiedniego miejsca monta żu należy przyłożyć stelaż poziomo do ściany Stelaż powinien być wypoziomowany W miarę możliwości należy wykorzystać poziomicę 2 W odniesieniu do rysunku na stronie 6 należy zazna czyć miejsca otworów pod r...
Страница 6: ...Outline of fan coil unit Stelaż Mouting plate L I J B H G D Wymiary w milimetrach Dim are in millimeter Wymiary w milimetrach Dim are in millimeter Wymiary w milimetrach Dim are in millimeter K E C F A Zarys klimakonwektora Outline of fan coil unit L I J B H G Otwór pod rury prowadzone do tyłu w lewo Left backward piping hole Otwór pod rury prowadzone do tyłu w prawo Right backward piping hole Otw...
Страница 7: ...able 4 For the horizontal piping make sure that are laid along the groove at the back of the unit and secure 1 Route the fan coil tubing with drain hose to the hole There are three possible tubing routes For the route 1 and 3 cut the plate to pass the pipe through it remove sharp edge left on the base pan zabezpieczyć rurkę za pomocą uchwytów 2 sztuki the piping using the piping holders 2 pieces b...
Страница 8: ... Ensure that the drain hose has no traps or dips to embed the water flow 9 Carefully seal any wall opening from weather to avoid any ingress of water OUTSIDE OF THE WALL Note The water lines must be installed level in both the horizontal and vertical plane INSULATION OF PIPES 1 The pipe insulation should cover both INLET and OUTLET pipes as shown below 2 Use the insulation of polyethylene foam min...
Страница 9: ...all the frame grille in the opposite order of HOW TO REMOVE THE FRAME GRLLE When the frame grille is removed and mount again take the following actions before fastening the screws 6 screws depend on the model be sure to hook the top inside 3 or 4 locks of the frame grille Close the front panel and tight the gap left 2 1 n o i t a c o l e h t g n i h s u p y b e l l i r g e m a r f e h t n e e w t ...
Страница 10: ...ng cable fully into the terminal block and secure it by screw tightly 6 Secure the connecting cable For the model 22 32 1 After removing the front grille connect the field wiring 2 Remove the wire retainer 3 Insert the connecting cable according to local norms into pipe hole on the wall Taca skroplin Drain pan Wężyk skroplin Drain hose Podłączanie żył do głównej płytki Connecting wires to te Main ...
Страница 11: ...power supply before open the frame grille for servicing Always refer to the wiring diagrams supplied with this manual Check local electrical codes and also any specific wiring codes POWER OUTLET Connect the unit to adequate power outlet Rating voltage 10 during operation 1 After connecting the water inlet and outlet pipes to the main supply lines turn on the main breaker and operate the unit on CO...
Страница 12: ...ion 3 Zawór regulacyjny 3 drogowy Water control valve connection 2 Uziemienie Earth connection KOLORY PRZEWODÓW WIRE COLOURS BK Czarny Black BL Niebieski Blue BR Brązowy Brown GR Zielony Green RD Czerwony Red WH Biały White YL Żółty Yellow UWAGI NOTES 1 Linią przerywaną oznaczono okablowanie do wyko nania na miejscu montażu Wiring dotted to be fitted by installer 2 Jednostkę należy zamontować zgod...
Страница 13: ...nie Earth connection KOLORY PRZEWODÓW WIRE COLOURS BK Czarny Black BL Niebieski Blue BR Brązowy Brown GR Zielony Green RD Czerwony Red WH Biały White YL Żółty Yellow UWAGI NOTES 1 Linią przerywaną oznaczono okablowanie do wyko nania na miejscu montażu Wiring dotted to be fitted by installer 2 Jednostkę należy zamontować zgodnie z lokalnymi przepisami dotyczącymi instalacji elektrycznej The unit sh...
Страница 14: ...ION CHŁODZENIE COOL Czerwona zielona Red Green Tylko praca w trybie chłodzenia Cooling operation only OSUSZANIE DRY Czerwona wygaszona Red Off Regulacja wilgotności przepływu wody niskie obroty wentylatora Humiditycontrol water flow low fan GRZANIE HEAT Czerwona czerwona Red Red Tylko praca w trybie grzania Heating operation only WENTYLACJA FAN Czerwona wygaszona Red Off Tylko praca wentylatora Fa...
Страница 15: ...topni C 16 30 oraz dla stopni F 60 do 86 BUTTONS AND FUNCTIONS 1 TRANSMISSION SOURCE Infra red transmission source 2 POWER BUTTON Press to turn the air conditioner from OFF to ON or vice versa Red LED Ieft will lit to indicate the con trol is on 3 MODE BUTTON To select desired operation mode It will switch from one to another as shown COOL Cooling Operation DRY Humidity control HEAT Heating operat...
Страница 16: ...e sygnału przez urządzenie MONTAŻ BATERII 1 Otworzyć pokrywkę baterii na tylnej obudowie pilota 2 Włożyć 2 baterie typu AAA 3 Ponownie założyć pokrywkę 6 DELAY TIMER SETTING To set the Delay Timer press or button Press to increase delay time by 1 Press to decrease delay time by 1 Maximun delay timer setting is 18 hours Press cancel button or set back the timer to zero or press the POWER button to ...
Страница 17: ...m np do suszenia odzieży chłodzenia żywności itp Nie należy kierować strumienia powietrza bezpośrednio na rośliny i zwierzęta Może to mieć niekorzystny wpływ na nie The ground must be connected Don t connect the earth wire to water or gas pipes lightining rods and telephone earth lines Fan coil unit should be operated with the voltage in range of 195 250V Iph Otherwise reversing valve and controll...
Страница 18: ... urządzenie nie działa oraz wszystkie kontrolki pul sują PRZYCZYNA zwarcie lub przerwa w układzie co najmniej jednego z czujników temperatury THE FOLLOWING ARE NORMAL CONDITION UNIT DOES NOT OPERATE IMMEDIATELY If you restart the fan coil unit within 3 minutes after turning it off or changing the mode during operation A protective device will work to shut down off the unit for 3 minutes UNUSUAL SM...
Страница 19: ...3 W razie konieczności wymienić filtry KONSERWACJA W TRAKCIE UŻYTKOWANIA 1 Wyczyścić filtry i inne elementy 2 Wyłączyć urządzenie jeżeli nie będzie używane przez dłuższy czas CAUTION Turn off the power and pull the power plug before clea ning the fan coil unit Don t sprinkle water on the fan coil unit for cleaning Wipe the unit with a dry soft cloth or a slightly moiste ned with water or cleaner C...
Страница 20: ...ma therm pl Dane zawarte w niniejszej instrukcji mają charakter czysto orien tacyjny Producent zastrzega sobie prawo do modyfikacji danych kiedykolwiek będzie to uznane za konieczne The data indicated in this manual is purely indicative The ma nufacturer reserves the right to modify the data whenever it is considered necessary ...