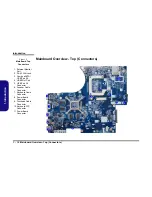


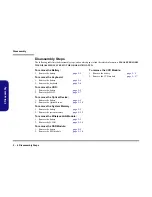

Disassembly
Removing the Optical (CD/DVD) Device 2 - 11
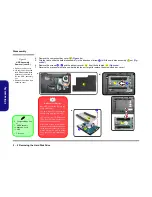
2.Disassembly
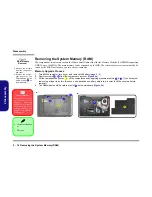
6.
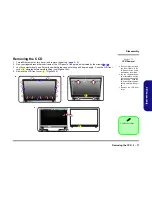
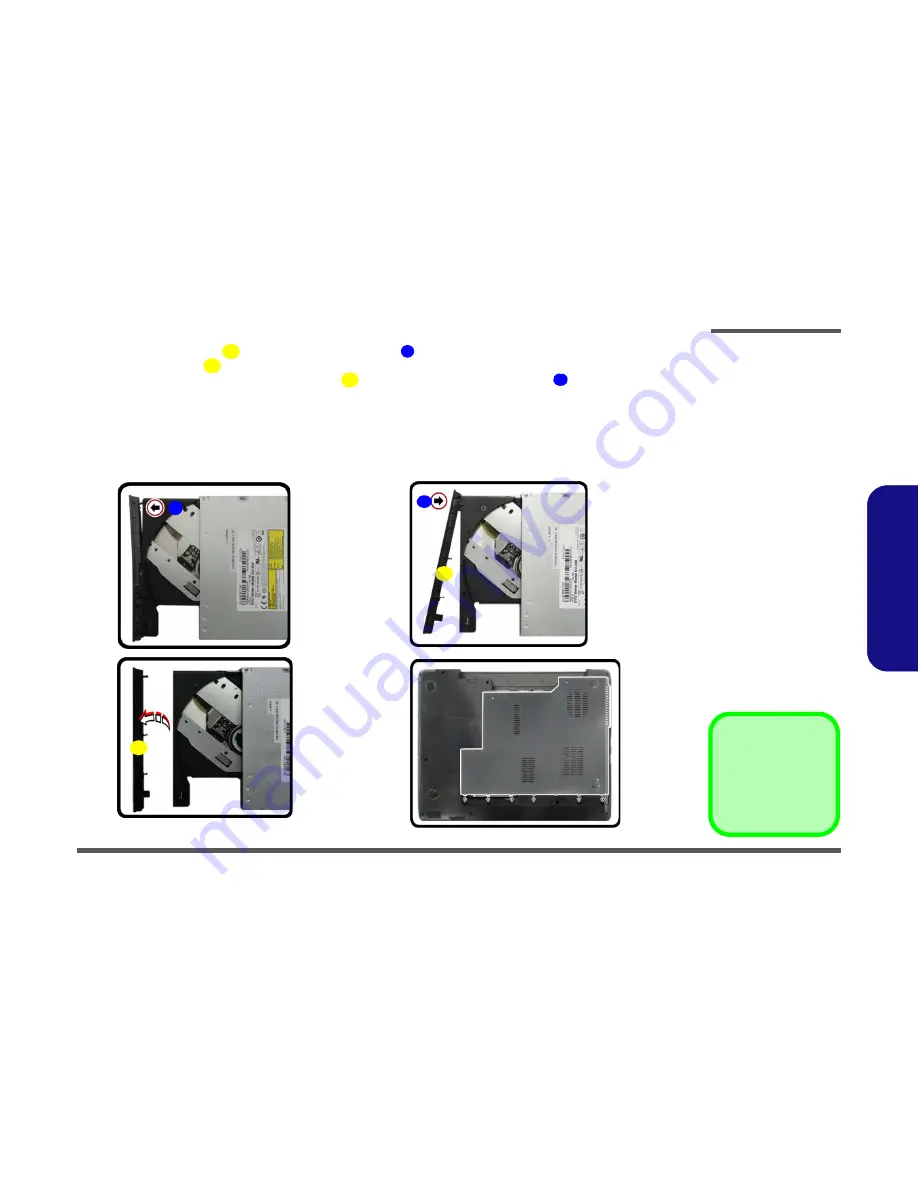
Carefully pry the bezel
off the optical device at point
(
Figure 7e
)
.
7.
Separate the bezel
and the optical device.
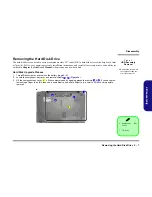
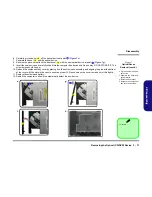
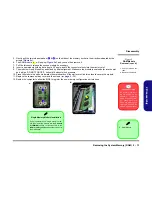
8.
Reverse the process to attach the front bezel
with the new optical device at point
(
Figure 7g
).
9.
Insert the new device and carefully slide it into the computer (the device only fits one way. DO NOT FORCE IT; The
screw holes should line up).
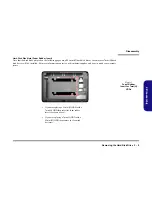
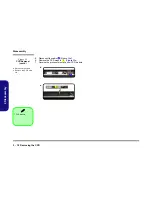
10. Reinsert the component bay cover by placing it on the bottom case assembly, and aligning the pins at the bottom
of the cover with the slots in the case to ensure a proper fit. Press down on the cover to make sure it fits tightly.
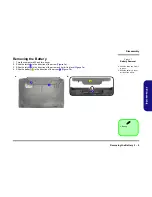
11. Replace the screws and battery.
12. Restart the computer to allow it to automatically detect the new device.
10
9
10
10
11
10. Bezel
g.
h.
10
e.
f.
9
10
11
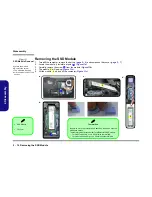
Figure 7
Optical Device
Removal (cont’d.)
e. Pry the bezel off the opti-
cal device.
f. Separate the bezel and
optical device
g. Install the front bezel.
h. Replace the component
bay cover and screws.
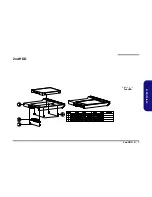
Содержание W670RCQ
Страница 1: ...W670RCQ ...
Страница 2: ......
Страница 3: ...Preface I Preface Notebook Computer W670RCQ Service Manual ...
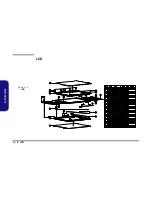
Страница 24: ...Introduction 1 12 1 Introduction ...
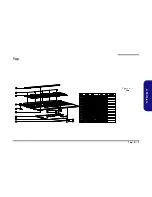
Страница 45: ...Top A 3 A Part Lists Top Figure A 1 Top ...
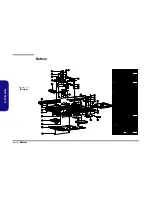
Страница 46: ...A 4 Bottom A Part Lists Bottom Figure A 2 Bottom 㕘 ...
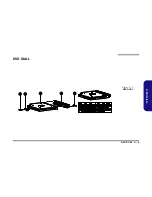
Страница 47: ...DVD DUAL A 5 A Part Lists DVD DUAL Figure A 3 DVD DUAL 朆侸句 ...
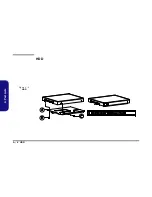
Страница 48: ...A 6 HDD A Part Lists HDD Figure A 4 HDD ...
Страница 49: ...2nd HDD A 7 A Part Lists 2nd HDD Figure A 5 2nd HDD ...
Страница 50: ...A 8 LCD A Part Lists LCD ĩ㚜 側先Ī Figure A 6 LCD ...