background image

10 


c.  Use the Left (

) and Right (

) buttons to 

navigate through the main menu to select 

“USB” 

, then press the 

“OK” button.  

d.  When the scanner establishes 

communications with the computer, the 
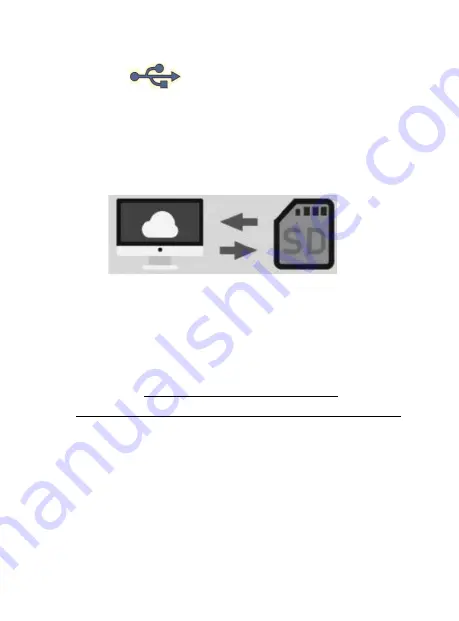
screen will display the following: 


e.  The memory card will now appear on your 

computer as a removable external drive. 
Access it as you normally do an external 
drive on your system and browse to the 
images. The photos will be in the 
“DCIM”/”100” folder on the memory card. 
Select the images, and drag/copy them to a 
folder on your computer’s hard drive. 

f.  Close or eject the external drive as 

appropriate for your computer. 

Содержание Virtuoso 2.0

Страница 1: ...2 Year Warranty Free USA Based Tech Support This product comes with a 2 year warranty free USA based tech support from ClearClick As a small business we re here to serve you If you have any issues wi...

Страница 2: ...and easy to use technology we ve got it Please visit our website to browse all of our products www ClearClick tech Safety Precautions 1 Do not disassemble the unit 2 Do not operate the unit around wa...

Страница 3: ...you get stuck at any point you qualify for FREE USA based tech support as a ClearClick customer Just email us at support clearclick tech Make sure you explain your issue in detail and tell us that yo...

Страница 4: ...35mm Film Adapter 110 Film Adapter 126 Film Adapter USB Cable Power Adapter Cleaning Brush User s Manual BUNDLE EDITION ONLY SD Card Photo Editing Software Not Included Mini HDMI Cable Optional for T...

Страница 5: ...2 GB or less and Class 10 or higher We highly recommend starting with a new unused SanDisk brand card 2 Connect your scanner to a power source Using the included micro USB cable power adapter plug the...

Страница 6: ...e main menu Scan Film Settings You will then be able to choose what you would like to scan Slides Color Negatives or Black White Negatives Choose the type you would like to scan and then press OK If y...

Страница 7: ...t the holder into the right side of the scanner as shown on the next page To scan negatives open the main holder Select the appropriate adapter 135 35mm 126 or 110 and place it inside the main holder...

Страница 8: ...n brightness and RGB color Optional If you want you can adjust the scanning resolution brightness and RGB color before scanning To adjust the scanning resolution press the button The set value 14 or 2...

Страница 9: ...scan the image shown on the LCD screen The image will be saved on your SD memory card as it appears on the screen 8 Download scanned images to your computer a Unplug the large USB end of the USB power...

Страница 10: ...ay the following e The memory card will now appear on your computer as a removable external drive Access it as you normally do an external drive on your system and browse to the images The photos will...

Страница 11: ...ress the Home P button to exit uploading mode and return the scanner to the Main Menu 9 For other options and details of using the Virtuoso 2 0 scanner please refer to the subsequent sections of this...

Страница 12: ...irst press the Main Menu Home button At the main menu use the arrow buttons to select the Photo Gallery option and press the OK button Use the arrows and OK buttons to select and view an individual im...

Страница 13: ...the left and right buttons to navigate to the Calendar option and press the OK button Use the right and left buttons to change each option To move to the next field press the Playback icon the icon w...

Страница 14: ...110 film 13X17mm picture size film For 126 film 28X28mm picture size film Selected film type shown on preview Transparent film Selected film type shown on preview Color negative film Selected film typ...

Страница 15: ...Brightness EV adjustment scale RGB color adjustment scale RGB color adjustment recover to default setting RGB color selection and reset Single image delete selection All scanned images delete selectio...

Страница 16: ...ecification F No 3 5 5 elements lens Color Balance Automatic Exposure Control Automatic Manual adjustment Film Size Auto Cropping Support 135 Negative Slide 3 2 110 Negative Slide 4 3 126 Negative Sli...

Страница 17: ...erface USB 2 0 Image Format 135 Negative 3 2 Ratio 110 Negative 4 3 Ratio 126 Negative 1 1 Ratio Light Source White LED Panel Power Source From computer USB port 5V 1A Power adaptor Power Bank USB Con...

Страница 18: ...18 Need help Open a support ticket and we ll get back to you within 24 48 hours Just visit http Support ClearClickSoftware com or email us at support clearclick tech...

Страница 19: ...19...

Страница 20: ...20 www ClearClick tech 2020 ClearClick Software LLC All rights reserved...

Отзывы: