background image


Page 8 

Ion/Action and Large Dose Setting from Gallons 

The model number is on the back of the controller.  

Model 

Ion/Action and Large Dose Setting Calculation 

Example 

A-400 

2,500 gal max 

𝑴𝒚 𝑺𝒑𝒂 𝑽𝒐𝒍𝒖𝒎𝒆 𝒊𝒏 𝑮𝒂𝒍𝒍𝒐𝒏𝒔

𝟐, 𝟓𝟎𝟎 𝑮𝒂𝒍𝒍𝒐𝒏𝒔

 𝒙 𝟑𝟑


𝟕𝟓𝟎 𝑮𝒂𝒍𝒍𝒐𝒏𝒔

𝟐, 𝟓𝟎𝟎 𝑮𝒂𝒍𝒍𝒐𝒏𝒔

 𝒙 𝟑𝟑 = 𝟏𝟎


A-700 

18,000 gal max 

𝑴𝒚 𝑷𝒐𝒐𝒍 𝑽𝒐𝒍𝒖𝒎𝒆 𝒊𝒏 𝑮𝒂𝒍𝒍𝒐𝒏𝒔

𝟏𝟖, 𝟎𝟎𝟎 𝑮𝒂𝒍𝒍𝒐𝒏𝒔

 𝒙 𝟏𝟎𝟎


𝟏𝟎, 𝟎𝟎𝟎 𝑮𝒂𝒍𝒍𝒐𝒏𝒔
𝟏𝟖, 𝟎𝟎𝟎 𝑮𝒂𝒍𝒍𝒐𝒏𝒔

 𝒙 𝟏𝟎𝟎 = 𝟓𝟔


A-800 

25,000 gal max 

𝑴𝒚 𝑷𝒐𝒐𝒍 𝑽𝒐𝒍𝒖𝒎𝒆 𝒊𝒏 𝑮𝒂𝒍𝒍𝒐𝒏𝒔

𝟐𝟓, 𝟎𝟎𝟎 𝑮𝒂𝒍𝒍𝒐𝒏𝒔

 𝒙 𝟏𝟎𝟎


𝟏𝟓, 𝟎𝟎𝟎 𝑮𝒂𝒍𝒍𝒐𝒏𝒔
𝟐𝟓, 𝟎𝟎𝟎 𝑮𝒂𝒍𝒍𝒐𝒏𝒔

 𝒙 𝟏𝟎𝟎 = 𝟔𝟎


A-850 

40,000 gal max 

𝑴𝒚 𝑷𝒐𝒐𝒍 𝑽𝒐𝒍𝒖𝒎𝒆 𝒊𝒏 𝑮𝒂𝒍𝒍𝒐𝒏𝒔

𝟒𝟎, 𝟎𝟎𝟎 𝑮𝒂𝒍𝒍𝒐𝒏𝒔

 𝒙 𝟏𝟎𝟎


𝟑𝟏, 𝟎𝟎𝟎 𝑮𝒂𝒍𝒍𝒐𝒏𝒔
𝟒𝟎, 𝟎𝟎𝟎 𝑮𝒂𝒍𝒍𝒐𝒏𝒔

 𝒙 𝟏𝟎𝟎 = 𝟕𝟖


Ion/Action and Large Dose Setting from Litres 

The model number is on the back of the controller. 

Model 

Ion/Action and Large Dose Setting Calculation 

Example 

A-400 

9,500 L max 

𝑴𝒚 𝑺𝒑𝒂 𝑽𝒐𝒍𝒖𝒎𝒆 𝒊𝒏 𝑳𝒊𝒕𝒓𝒆𝒔

𝟗, 𝟓𝟎𝟎 𝑳𝒊𝒕𝒓𝒆𝒔

 𝒙 𝟑𝟑


𝟐, 𝟖𝟒𝟎 𝑳𝒊𝒕𝒓𝒆𝒔
𝟗, 𝟓𝟎𝟎 𝑳𝒊𝒕𝒓𝒆𝒔

 𝒙 𝟑𝟑 = 𝟏𝟎


A-700 

68,100 L max 

𝑴𝒚 𝑷𝒐𝒐𝒍 𝑽𝒐𝒍𝒖𝒎𝒆 𝒊𝒏 𝑳𝒊𝒕𝒓𝒆𝒔

𝟔𝟖, 𝟏𝟎𝟎 𝑳𝒊𝒕𝒓𝒆𝒔

 𝒙 𝟏𝟎𝟎


𝟑𝟕, 𝟖𝟓𝟎 𝑳𝒊𝒕𝒓𝒆𝒔
𝟔𝟖, 𝟏𝟎𝟎 𝑳𝒊𝒕𝒓𝒆𝒔

 𝒙 𝟏𝟎𝟎 = 𝟓𝟓


A-800 

94,650 L max 

𝑴𝒚 𝑷𝒐𝒐𝒍 𝑽𝒐𝒍𝒖𝒎𝒆 𝒊𝒏 𝑳𝒊𝒕𝒓𝒆𝒔

𝟗𝟒, 𝟔𝟓𝟎 𝑳𝒊𝒕𝒓𝒆𝒔

 𝒙 𝟏𝟎𝟎


𝟓𝟔, 𝟕𝟖𝟎 𝑳𝒊𝒕𝒓𝒆𝒔
𝟗𝟒, 𝟔𝟓𝟎 𝑳𝒊𝒕𝒓𝒆𝒔

 𝒙 𝟏𝟎𝟎 = 𝟔𝟎


A-850 

151,400 L max 

𝑴𝒚 𝑷𝒐𝒐𝒍 𝑽𝒐𝒍𝒖𝒎𝒆 𝒊𝒏 𝑳𝒊𝒕𝒓𝒆𝒔

𝟏𝟓𝟏, 𝟒𝟎𝟎 𝑳𝒊𝒕𝒓𝒆𝒔

 𝒙 𝟏𝟎𝟎


𝟏𝟏𝟕, 𝟑𝟓𝟎 𝑳𝒊𝒕𝒓𝒆𝒔
𝟏𝟓𝟏, 𝟒𝟎𝟎 𝑳𝒊𝒕𝒓𝒆𝒔

 𝒙 𝟏𝟎𝟎 = 𝟕𝟖


Program Lock (PL) 

The Program Lock feature allows you to the lock the controls so that they are not inadvertently changed. 
To activate the Program Lock, press and hold the + and 

 keys simultaneously for 20 seconds or until 

PL


is shown on the two-digit number screen. Do the same to remove the Program Lock. 

Low TDS Mode (Two Decimals on Number Screen) 

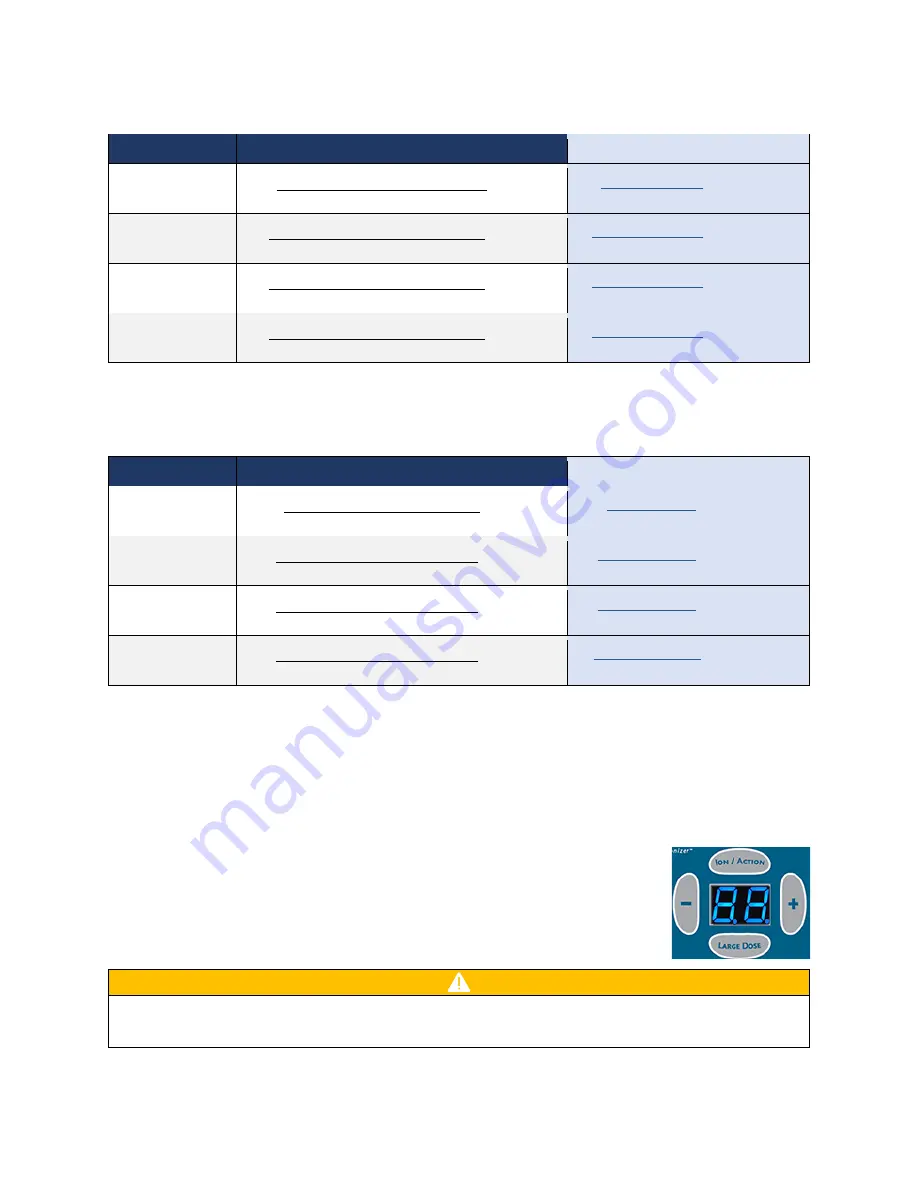
If the total dissolved solids (TDS) level of the water is low, the controller will go 
into Low TDS Mode which is indicated by the two decimals on the screen coming 
on. There is no impact to the performance of the system if it switches into Low 
TDS Mode and these two decimals can be ignored. However, it is recommended 
to test the TDS and increase if needed according to the levels given on page 9. 


Low TDS Mode may be activated when the mineral cell is low. If the decimals appear but the TDS is 
in range, check the c

ell. If the bars are worn down to 0.5” (10mm) or below it is time to change it.


Содержание 90859-2

Страница 1: ...dual of 0 5ppm chlorine or bromine equivalent to one 3 tablet every week or two should be maintained to break down organics Once the copper concentration has reached the required level of 0 2 0 4 ppm maintain 0 5 3 ppm of free available chlorine in pools and 0 5 5 ppm of free available chlorine in spas Shock may be required in cases of extreme weather conditions or increased bather loads resulting...

Страница 2: ...rge Dose Setting from Litres 8 Program Lock PL 8 Low TDS Mode Two Decimals on Number Screen 8 Topside Control Option Hot Tubs Only 9 Topside Ionizing Indicator 9 Topside Large Dose Function 9 Turn Off Ionizing 9 Turn On Ionizing 9 Topside Cell Connection Indicator 9 Replacing the Mineral Cell 9 Pool and Water Maintenance 10 Opening your Pool 10 Filling your Pool 10 Water Parameters 11 Regular Wate...

Страница 3: ...te Use a registered or scheduled pool or spa sanitizer to maintain an appropriate chlorine bromine residual in the water The average life expectancy of the mineral cell is six months 2160 on hours When replacing the mineral cell use replacement cells having a label that clearly states that it is a replacement mineral cell for a mineral ion releasing device manufactured by ClearBlue Ionizer Inc Ele...

Страница 4: ...n line for the tee it can go anywhere in the plumbing that it fits The tee should be oriented such that it looks like a capital T if possible If it is not possible to install in this manner it can be installed in any orientation other than an upside down capital T Cut plumbing and glue in the tee 1 Turn off the pool pump and let the water drain out of the pipe 2 Cut a 2 5 63mm section out of the P...

Страница 5: ... or Velcro tape Make sure that the power cable for the controller reaches the power source and the cable from the cell reaches the controller The controller is rated for outdoor use but it should be protected from rain and out of the direct sunlight for longest life Placing the controller in a hut or weatherproof enclosure is recommended If you are hard wiring the controller into a 240V panel you ...

Страница 6: ...d keys to increase or decrease the number and reach the desired setting When the controller is set to Ion Action the blue light above the Ion Action button will illuminate and the Ionizing light will be solid blue Large Dose The Large Dose setting is the ramp up setting It represents the number of hours that the controller is set to maximum output For example a Large Dose setting of 88 means the c...

Страница 7: ...controller settings are based on the volume of water in your pool or hot tub Please use the calculations below to determine your water volume Pool Type Calculation Using Feet Gallons Example Rectangle Length x Width x Avg Depth x 7 5 Volume gal 16 ft x 32 ft x 4 ft deep 8 ft deep end 16 x 32 x 6 x 7 5 23 040 gal Circle Diameter x Diameter x Avg Depth x 5 9 Volume gal 24ft round pool x 4ft deep 24 ...

Страница 8: ...𝟓𝟓 A 800 94 650 L max 𝑴𝒚 𝑷𝒐𝒐𝒍 𝑽𝒐𝒍𝒖𝒎𝒆 𝒊𝒏 𝑳𝒊𝒕𝒓𝒆𝒔 𝟗𝟒 𝟔𝟓𝟎 𝑳𝒊𝒕𝒓𝒆𝒔 𝒙 𝟏𝟎𝟎 𝟓𝟔 𝟕𝟖𝟎 𝑳𝒊𝒕𝒓𝒆𝒔 𝟗𝟒 𝟔𝟓𝟎 𝑳𝒊𝒕𝒓𝒆𝒔 𝒙 𝟏𝟎𝟎 𝟔𝟎 A 850 151 400 L max 𝑴𝒚 𝑷𝒐𝒐𝒍 𝑽𝒐𝒍𝒖𝒎𝒆 𝒊𝒏 𝑳𝒊𝒕𝒓𝒆𝒔 𝟏𝟓𝟏 𝟒𝟎𝟎 𝑳𝒊𝒕𝒓𝒆𝒔 𝒙 𝟏𝟎𝟎 𝟏𝟏𝟕 𝟑𝟓𝟎 𝑳𝒊𝒕𝒓𝒆𝒔 𝟏𝟓𝟏 𝟒𝟎𝟎 𝑳𝒊𝒕𝒓𝒆𝒔 𝒙 𝟏𝟎𝟎 𝟕𝟖 Program Lock PL The Program Lock feature allows you to the lock the controls so that they are not inadvertently changed To activate the Program Lock press and hold the and keys simultaneously...

Страница 9: ...s or until the blue light goes off Turn On Ionizing If the ionizing function has been turned off press the button in the center of the logo to turn it back on The center of the logo will illuminate in blue to indicate that the system is ionizing Topside Cell Connection Indicator When the mineral cell is unplugged the electrode bars are not under water or the cell is worn past its useful life the l...

Страница 10: ...can lead to green water Green water is unsafe and requires expensive treatments to clear Change the cell when the bars are worn to 0 5 10mm in length or below Pool and Water Maintenance For the best results from your mineral pool it is important to start with clean water keep water parameters in range maintain a low chlorine bromine residual and oxidize excess organic material on a regular basis O...

Страница 11: ...surfaces and equipment Calcium above 400ppm can lead to scaling TDS 500 2 000ppm Phosphates 100ppb It is critical to keep phosphates low to ensure maximize the life of the mineral cells and minimize chlorine bromine usage Chlorine 0 5 1ppm Chlorine should be 1 3ppm until copper reaches 0 2ppm Regular Water Maintenance For your pool water to look feel and smell the best it is important to maintain ...

Страница 12: ...rs for the winter If there is still life left on the cell you can leave it in the tee but you must wrap up the plug end so that the winter weather does not corrode it Cleaning and Care System Controller Clean the controller with a soft cloth dampened with water as needed Do not use any type of cleaner on the front control panel or plastic housing Mineral Cell If your water is high in calcium the e...

Страница 13: ...ine bromine concentration to 0 6 1ppm The mineral cell needs to be changed Check the electrode bars on the mineral cell If they are 0 5 10mm or shorter it is time to change the cell The phosphate level in the water is too high Have your water tested for phosphates at a pool store If the phosphate level is above 200ppb use products recommended at the store to bring it down If you live in a rural ar...

Страница 14: ...limited warranty The mineral cells are designed to wear down and they do not have a warranty however they will be replaced free of charge if there is an obvious defect The make a warranty claim send an email to support clearblueionizer com with the following information 1 Photo of the serial number on the side panel or back of the controller 2 Model information on the back of the controller 3 Mail...

Отзывы:

Похожие инструкции для 90859-2