10
dryCAT - Series | Version 2.04
Operation
7.1 Assembly of the vacuum cleaner
- Remove the package of the vacuum cleaner and
make sure that the vacuum cleaner has not any
sign of damage
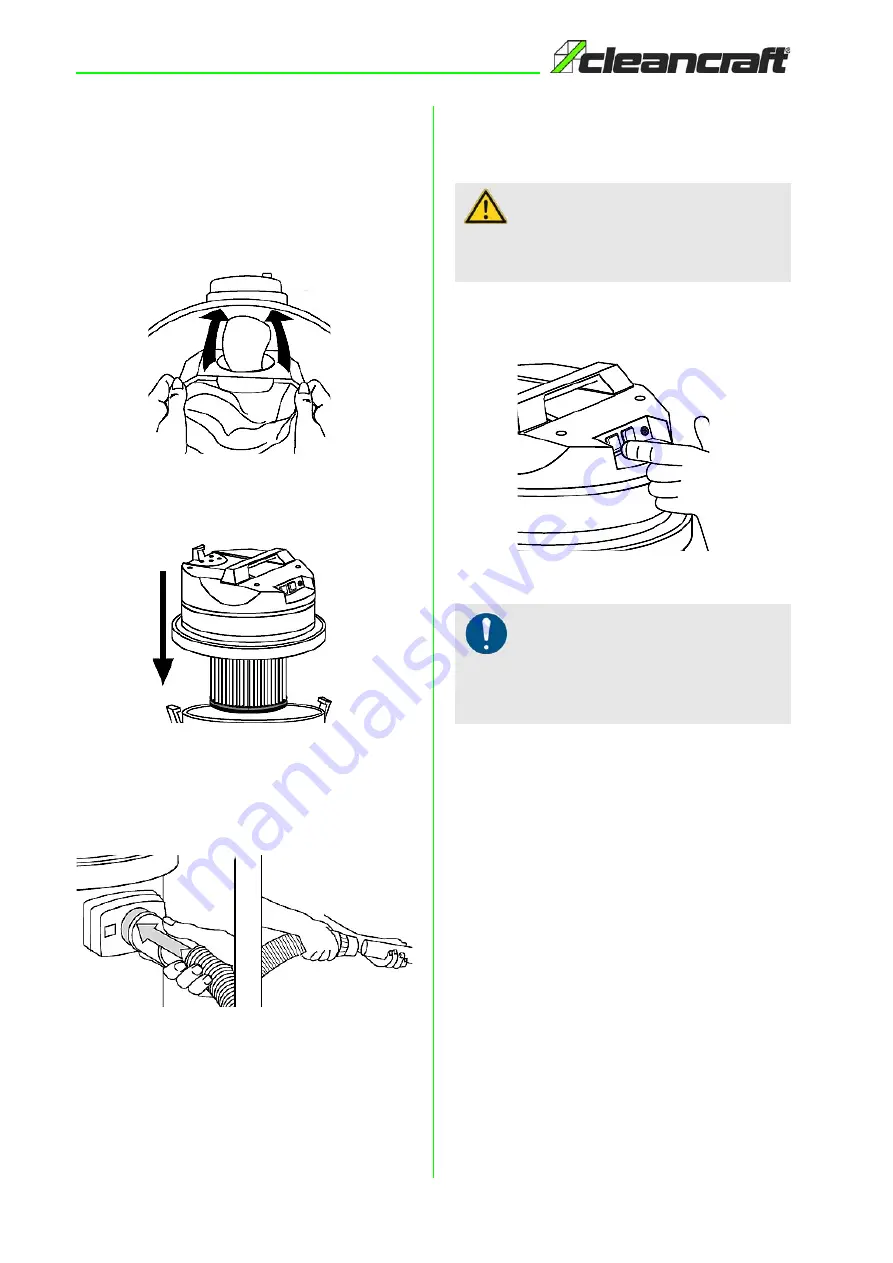
- If the paper / cloth filter is intended to be used, in-
sert it into the container by pulling it onto the plate
(Fig. 5).
Fig. 5: Assembly of the filter
- Place the motor head on the container and secure
with the clamps on the left and right. (Fig. 6).
Fig. 6: Assembly of the engine head
- Connect the suction hose to the suction opening of
the dry vacuum cleaner. Connect the other end of
the suction hose to an extension or suitable nozzle
(Fig. 7).
Fig. 7: Mounting hose
7.2 Start and stop
Start
- Plug the power plug into a suitable power outlet.
- Press the on / off button.
Fig. 8: ON/OFF Switch
Stop
- Switch off the appliance, press the on / off button
and disconnect the mains plug.
- When pulling out the plug always pull on the plug,
never on the cable.
7.3 Seal control
Over time, the quality of the seal may deteriorate as a re-
sult of aging or damage to the seals. This leads to a de-
crease in the suction power. We recommend periodically
checking the locking hooks, flexible suction hoses and
seals for perfect function.
Clean all seals after completing work. Dirt can prevent
proper functioning and cause damage.
Also check that the edges of the container are not dama-
ged.
WARNING!
Check that the vacuum cleaner has no impact marks
or damage and make sure all safety equipment is in
place and functioning.
NOTE!
The dryCAT 262 ICT H-Class has 2 separate ON/OFF
switches. This makes it possible to choose for yourself
how many motors should work. This allows a significant
saving of energy.
Содержание 7002155
Страница 20: ...www cleancraft de ...


