


3. GeTTING sTarTed | 11
let’s adjust the amplifier envelope (
AMP ENV
) to create a pad-like
sound:
7
Turn the
ATTACK
knob clockwise and notice that the attack or onset
of every played note becomes slower. The precise value for the
attack time is shown in the display when the knob is turned. leave
it around 3-400 ms.
8
adjust the
RELEASE
time in the same fashion, to create a tail of
sound when keys are released. Feel free to experiment with the
DECAY
and
SUSTAIN
parameters as well, in order to fine tune the
shape of the sound.
as a final step, let’s turn to the Filter section for some adjustments:
9
Make sure the
FILTER TYPE
selector is set to lP12 and turn the
Filter
FREQ
knob counter-clockwise. Notice how the sound is
gradually subdued. repeat this with all Filter Type settings, paying
attention to how they each have a different effect on how the sound
is shaped.
The Filter Envelope, at the top of the Filter section, can be used to
shape the Filter cut-off frequency over time, in the same way the
Amp Env shapes the volume level. The amount of shaping that the
Filter Envelope contributes is adjusted with the
ENV AMT
knob.
M
Read more about the Filter Types, and other settings in the Filter
section, beginning on page 25.
aCTIvaTe eFFeCTs
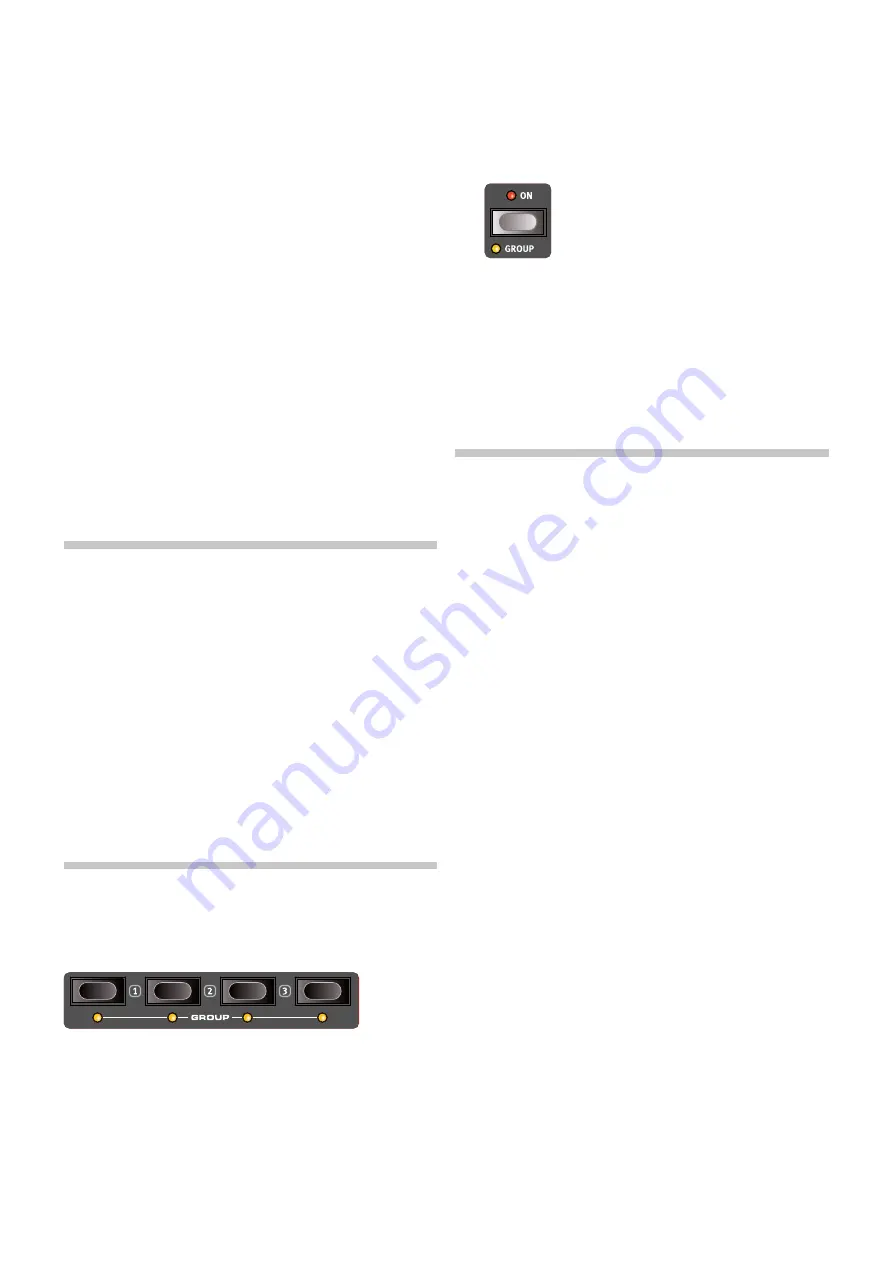
1
activate the
REVERB
by pressing the reverb
ON
button.
2
adjust the
DRY/WET
balance with the knob at the top of the reverb
unit.
3
Try out the different reverb types by pressing the reverb selector
button repeatedly.
4
activate the
EFFECTS
unit by pressing its
ON
button.
5
set it to
ENS
(ensemble) by pressing the effects selector button
repeatedly. set the amount knob to its max position to hear the full
ensemble effect. The rate knob determines the speed of the effect
– set this to a position that you like!
M
The other effects (EQ/Drive and Delay) are activated and adjusted
in the same way.
GroUP
layers can be grouped together – having them share desired settings
for various panel sections. This makes it possible to control the settings
and sound of multiple layers from any of the grouped layers.
let’s use the sound from the previous example, layer it with a second
sound, and group some panel sections:
1
Use the same program as in the previous example, or create a pad
sound on one layer using that example.
2
activate another layer by pressing
LAYER ENABLE
and one of the
layer
A
-
D
buttons.
3
Make sure the new layer is initialized by pressing
LAYER INIT
(shift
+ live Mode) and
Ok
using the display soft button.
4
set the new layer to
SAMPLES
in the oscillator section and select
the
Mellotron Flute
sound from the
Mellotron
category, using the
CATEGORY
and
WAVEFORM
dials.
5
Now assign both layers to the
GROUP
by pressing shift + the layer
buttons for the two active layers.
6
Focus the first layer for editing by pressing its layer button and
press shift+reverb to assign the reverb to the
GROUP
. The reverb
will now be present on the
Mellotron Flute
layer too. repeat this
with the ensemble effect.
7
Try removing the
Mellotron Flute
layer from the group by again
pressing shift and the corresponding layer button. Note that the
two effects (ensemble and reverb) are still active, but turning these
off or adjusting them will now not affect the first layer.
MorPHs
Keyboard
velocity
, the modulation
wheel
, a connected
control pedal
or
the keyboard
aftertouch
can be used to continuosly alter one or several
parameters while playing. This is achieved by using
morphs
. In short,
this is done by selecting a a
source
(the physical controller) a
destination
parameter and the parameter
range
included in the morph.
1
We will now morph the
Reverb Dry/Wet
with the
wheel
, so start by
making sure that the
REVERB
unit is turned
On
.
2
Choose a reverb type, and then set the reverb amount to 0.
3
Press and hold the
WHEEL
button in the Morph assign group, to
the right of the Program area display.
4
Turn the reverb
DRY/WET
knob to the desired position, perhaps
around half way. Note that the display shows the starting point
(“From:”) for the morph and the end point (“To:”), which is deter-
mined by how far you turn the knob.
5
let go of the Morph
WHEEL
button. Play a few notes or chords
while moving the modulation wheel.
Note that the green led below the reverb dry/Wet knob is now lit,
indiciating that a morph has been assigned to it.
The
IMPULSE MORPH
, controlled using its button at the far left of the
panel, is another morph source which
instantly
can change one or more
parameter values. It is set up as the example above, except that the
button is used both when assigning the morph and for performing the
parameter changes.
One Morph source (Velocity, Wheel, Control Pedal, Aftertouch or
Impulse Morph) can control several parameters at once.
A Morph source can increase one parameter’s value while decreas-
ing the value of another at the same time. This makes it possible,
for example, to crossfade between instruments.
Содержание Nord Wave 2
Страница 40: ......


