background image

30

O W N E R ’ S   M A N U A L

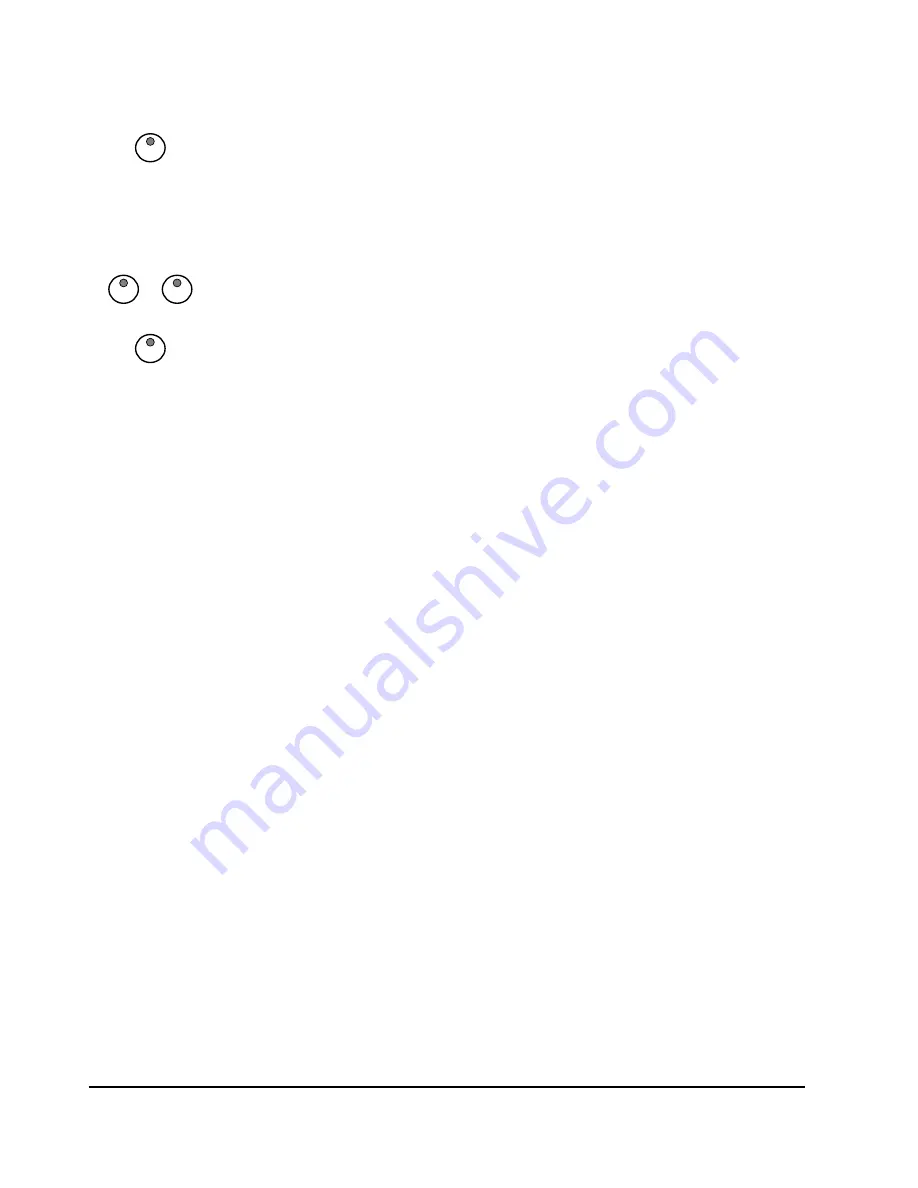
Practicing The Left Hand Of The Selected Song

Follow steps 1–5 listed above, substituting the LEFT button whenever RIGHT 
button is mentioned.

You will hear the right-hand part of your selected song. Play the left-hand part of 
your selected song while the right-hand part plays.

Practicing Both Hands Of The Selected Song

1. Press the RIGHT and LEFT buttons simultaneously.

The right and left indicators will both turn on.

2. Press the PLAY/STOP button. Its indicator lights up and you will hear the 

metronome “count in” the song.

3. Play the left-hand and right-hand parts of your selected song.

The metronome will continue to play to assist you in keeping time.

4. Press the PLAY/STOP button again to stop. Otherwise, playback will stop 

automatically at the end of the song.

LEFT HAND

LEFT HAND RIGHT HAND

PLAY/STOP

Содержание La Vita E-Piano

Страница 1: ......

Страница 2: ...0 1 2 3 2 2 2 4 4 1 1 2 2 5 2...

Страница 3: ...Auto Accompaniment 21 Auto Accompaniment 22 Auto Bass Chord Fingering 22 Single Intelligent Mode 22 Fingered Mode 23 Fingering Guide 24 Piano Chord Mode 25 Manual Bass Chord 25 Auto Harmony 25 Startin...

Страница 4: ...and maintenance or servicing instructions 1 CAUTION Any changes or modifications in construction of this device which are not expressly approved by the party responsible for compliance could void the...

Страница 5: ...und delivery t System Two track recorder that allows you to record t and playback your performances Incredible selection of Digital effects to t further enhance the sound delivery system and add true...

Страница 6: ...r High Gloss Lacquer Finish Furniture may be used on the cabinet Do not use paint thinner or petrochemical based polishes LOCATION Do not expose the instrument to the following conditions to avoid def...

Страница 7: ...ent only the keyboard instrument voice will not be affected r SETUP Press the SETUP button to enter the functionality setup mode Press the SETUP button repeatedly to change the item to manipulate Pres...

Страница 8: ...ode selected o INTRO ENDING All of the 100 rhythm styles can be started or finished with an detailed individual introduction or ending pattern When engaged an introduction of rhythm pattern will start...

Страница 9: ...the Set Up Menu v QUICK SELECT STYLE BUTTONS There are ten Rhythm Styles that can be selected quickly by pressing one of the five Rhythm select buttons These Rhythm Styles are assigned to line A and...

Страница 10: ...and or layered voice will sound and in the left hand section a different voice can be assigned to sound when the keys are played To select a new Lower instrument voice use the YES or NO buttons withi...

Страница 11: ...election line B is active 2 REC This unit is able to record one song at a time each with 2 tracks It will record all Note events as they are performed This recorded information is nonvolatile and ther...

Страница 12: ...T button will play the Left Hand of the selected song so that the user can practice the Right Hand portion of the song When engaging the LEFT and RIGHT buttons simultaneously only the metronome count...

Страница 13: ...ut jacks supplies the piano s output signal to external amplification such as home stereo PA system or other stand alone amplifiers Midi In Midi Out This piano contains MIDI in and MIDI output ports M...

Страница 14: ...the sustain pedal However when playing notes and then engaging the middle pedal the notes will be sustained Sustain effect does not apply to the notes played after pressing this pedal even though the...

Страница 15: ...nd selected beat pattern Use the NO YES buttons to change the beat pattern in sequence of 1 4 2 4 3 4 4 4 5 4 6 4 6 8 and 12 8 When the metronome sounds the beat indicator will flash per the beat patt...

Страница 16: ...lect button and the voice name in bottom row B is listed beneath the button 1 Pressing the VOICE VAR button will toggle between the top row of Instrument Voices and the bottom row of Instrument Voices...

Страница 17: ...raphone B bottom line Voice 92 Choir Pad Layer Dual Voice Layer or dual refers to an additional voice that is tone mixed with the selected keyboard voice The assigned layer voice will be heard with th...

Страница 18: ...name after three seconds the display will revert to the selected main voice 3 Press the Lower button again its indicator will remain lit Now the LCD display shows the selected Lower Instrument volume...

Страница 19: ...and the voice name in Line B is beneath the button 1 1 Pressing the STYLE VAR button will toggle between the top row of Rhythm Styles and the bottom row of Rhythm Styles The indicator will be lit when...

Страница 20: ...iment Starting With An Introduction All of the 100 styles can be started with a appropriate introduction As soon as you press the INTRO ENDING button the rhythm of the introduction will start followed...

Страница 21: ...attern of one to two measures in length depending on the rhythm style selected and the variation Holding down the FILL IN button will extend the fill indefinitely Assigning The Split Point For The Aut...

Страница 22: ...the SYNCH START button to start the Accompaniment of your selected rhythm style when piano keys to the left of the Accompaniment Split point are played To Stop this Accompaniment press the START STOP...

Страница 23: ...ode is ideal if you already know how to play chords on the keyboard It allows you to play the chords in the auto accompaniment section of the keyboard that produce the selected auto accompaniment patt...

Страница 24: ...sharp eleventh 7 11 1 2 3 4 5 b7 Seventh thirteenth 7 13 1 3 5 6 b7 Seventh flatted fifth 7 b5 1 3 b5 b7 Seventh flatted ninth 7 b9 1 b2 3 5 b7 Seventh flatted thirteenth 7 b13 1 3 5 b6 b7 Seventh sha...

Страница 25: ...auto harmony is only available when the auto accompaniment is engaged Please see the Function menu to turn on Harmony There are four harmony types that can be selected duet close harmony open harmony...

Страница 26: ...mpaniment If the SYNCH START button is used the synchronized start mode will be on standby Use the INTRO ENDING button to stop with an ending pattern Variation To select the variation of the main patt...

Страница 27: ...with the current tempo to show that the recorder is on standby Note1 The contents of a track will be erased as soon you select that track for recording Note2 If you already have recorded on the other...

Страница 28: ...per the beat pattern and tempo You can change the tempo of your recorded track by pressing the TEMPO button while the recording is being played back You may also accompany the recorded tracks on the...

Страница 29: ...Song 1 Press the PLAY STOP button to hear both hand parts playing the entire song 2 Press the PLAY STOP button again to stop Otherwise playback will stop automatically at the end of the song Practici...

Страница 30: ...Both Hands Of The Selected Song 1 Press the RIGHT and LEFT buttons simultaneously The right and left indicators will both turn on 2 Press the PLAY STOP button Its indicator lights up and you will hear...

Страница 31: ...Equalization NO YES Enter this mode by pressing the SETUP button once and Equalization appears on the LCD Display Use the NO or the YES Button to select which EQ type you desire The available EQ type...

Страница 32: ...1 Small Room 02 Room 03 Small Hall 04 Large Hall 05 Plate Reverb 06 Church 07 Cathedral 08 Gated Reverb 09 Echo 10 3 4 Echo 11 4 4 Echo 12 Triplet Echo Reverb Level Setting Reverb Level NO YES Reverb...

Страница 33: ...s Type List 01 Chorus Light 02 Chorus Medium 03 Chorus Deep 04 Chorus Fast 05 Flange 06 Flange Deep 07 Phase 08 Tremolo Slow 09 Tremolo Medium 10 Tremolo Fast Chorus Level Setting Chorus Level NO YES...

Страница 34: ...e Range of the Split Point is from G1 to C7 Press the YES NO buttons simultaneously to recover the default setting of C3 3 To Exit the Set UP Mode press any control panel button except the YES NO butt...

Страница 35: ...de press any control panel button except the YES NO buttons or the Set Up Button Auto Harmony Type Selecting When the HARMONY is engaged a single note on the right hand section of the keyboard will so...

Страница 36: ...t is the most sensitive keyboard response which permits maximum sound levels with a light touch Normal is an intermediate response suitable for most styles of music Normal is the default setting Hard...

Страница 37: ...range is from 2 to 2 3 To Exit the Set UP Mode press any control panel button except the YES NO buttons or the Set Up Button The default or normal playing setting is 0 Master Tune The pitch of this pi...

Страница 38: ...ce on the piano will sound by built in speakers while the performance message is transmitted via MIDI out When Local is Off performance on the piano will not sound but the performance message is trans...

Страница 39: ...station carefully The bottom of the iPod needs to interface with already compatible connector on the docking station iPod Volume The Volume Control to the right of the iPod Docking Cradle can be used...

Страница 40: ...by the MIDI setting of the piano or control message Connection Examples Output to an external sound generator Connect the MIDI Out terminal of the piano and MIDI In terminal of an external device keyb...

Страница 41: ...ume 10 X Pan 11 X Expression 64 Sustain 66 Sostenuto 67 Soft pedal 65 X Portamento yes no 80 Reverb program 81 chorus program 91 Reverb send level 92 chorus send level 98 X NRPNL 99 X NRPNH 100 X X RP...

Страница 42: ...larBells ENSEMBLE 16 Dulcimer Dulcimer 49 String Ensemble 1 StringEnsbl1 ORGAN 50 String Ensemble 2 StringEnsbl2 17 Drawbar Organ Draw Organ 51 Synth Strings 1 SynthString1 18 Percussive Organ Percus...

Страница 43: ...5 Lead 5 charang Charang Lead 119 Synth Drum Synth Drum 86 Lead 6 voice Voice Lead 120 Reverse Cymbal ReversCymbal 87 Lead 7 fifths Fifth Lead SOUND EFFECT 88 Lead 8 bass lead Bass Lead 121 Guitar Fre...

Страница 44: ...touch sensitivity is in the Soft Normal or Hard mode voice No 137 will sound as Erhu when a key is struck softly and as Yangqin when the key is struck hard If the touch response is fixed voice No 137...

Страница 45: ...ock 2 Rock 2 81 Slow 16 Slow 16 15 R B 1 R B 1 49 Rock 3 Rock 3 82 Kids 1 Kids 1 16 R B 2 R B 2 50 Rock n Roll 1 Rock n Roll 1 83 Kids 2 Kids 2 17 R B Shuffle R B Shuf 51 Rock n Roll 2 Rock n Roll 2 8...

Страница 46: ...t Arpeggio Repeat Synchro Fill In Intro Ending Touch Control Local On Off SOUND SOURCE Stereo and 3D Sound Samples STEREO SAMPLED PIANO TONES Yes RHYTHMS 100 Rhythm Styles SPLIT LAYER Yes DIGITAL EFFE...

Страница 47: ...e All specifications and appearances are subject to change without notice All information was correct at time of printing Musikhaus Kirstein GmbH does not guarantee for the accuracy or completeness of...

Отзывы: