GREAT BRITAIN
For consumer contact, please visit www.clasohlson.co.uk and click on customer service.
2.5
″
IDE External Enclosure
Article number 38-3182 Model GD25604
Please read the entire instruction manual before using and save
it for future use. We apologise for any text or photo errors and any
changes of technical data. If you have any questions concerning
technical problems please contact our Customer Service Department.
1. Description
• External enclosure with USB 2.0 connection.
• Mount a 2.5
″
hard disk (max. 12.5 mm thick with IDE
connection) in multiport to get a portable unit at is easy to
connect to or move between two different computers.
• Requires Windows 98SE or later.
• Supports Plug-and-Play and Hot – Plug.
• Transfer speed up to 480 Mbs (USB 2.0).
• Power supply through USB cable.
2. System requirements
PC with CD reader and two vacant USB ports.
Supported by the following operating systems:
Windows 98SE, ME, XP, 2000.
3. Contents
• External enclosure
• USB cable
• Instruction manual
• CD with device driver (for Windows 98SE)
• Screwdriver
4. Helpful Suggestions
•
A new hard disk must always be partitioned and formatted
before it can be used.
• Always save important data on several storage media.
• Never remove the enclosure when the hard disk is reading or
writing data, you might damage the hard disk.
• Do not expose the enclosure to heat or direct sunlight.
• Do not locate the enclosure close to strong magnetic fields, e.g.
TV, loudspeakers, as this can erase data or cause the hard disk
to malfunction.
• Handle the hard disk carefully. It can be damaged if dropped or
exposed to vibration.
•
Note!
The computer must have a working USB 2.0 port in order
to take advantage of the higher transfer rate, USB 1.1 ports
only support the lower transfer rate.
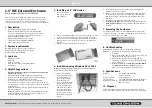
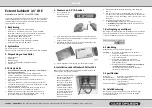
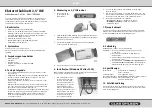
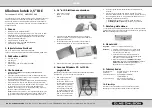
5. Installing a 2.5
″
IDE Device
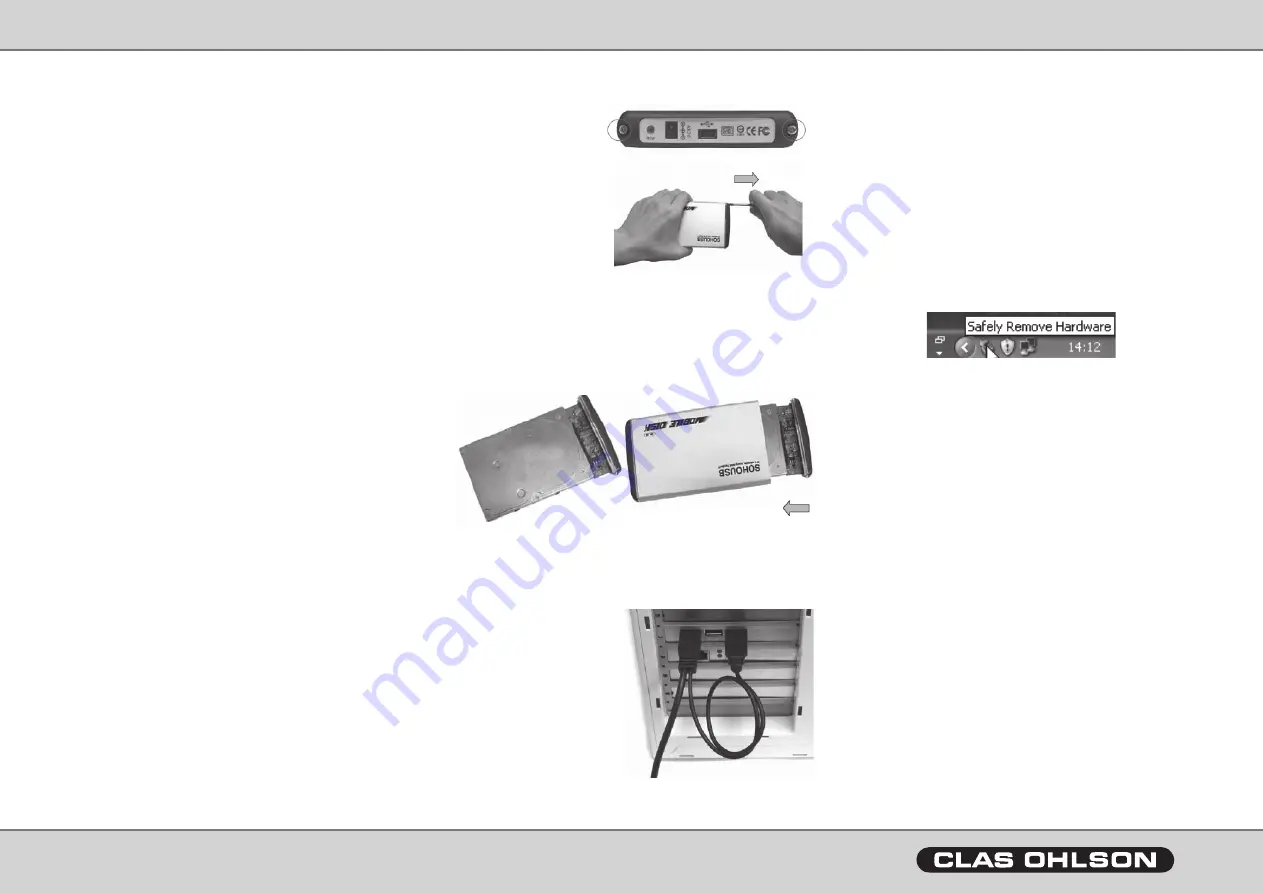
1. Loosen the screws
and remove the end
with USB port.
2. Connect the hard disks IDE connector to the matching connector
on the enclosure making sure that they are tightly connected.
3. Replace the circuit board with the installed hard drive as shown
(making sure the cover is replaced correctly. It only fits in one
direction).
4. Replace the two screws which hold the cover.
6. Installation using Windows XP or 2000
N.B.
The following installation instructions apply for Windows XP
with Service Pack 2 or later installed.
1. Connect the supplied
USB cable between the
enclosure and two of
your computer’s USB
ports (two ports are
used to provide the hard
drive with a better power
supply, the USB cable
with the thinner cable is
the only power supply,
the USB cable with the
thicker cable is for both
data transfer and power
supply).
2. The computer will locate the external case automatically; no
extra drive routines are needed.
3. Once connected, the new device will appear in ”My Computer”
as ”New Volume” (remember to partition and format the hard
disk before using it, otherwise it will not be shown under My
Computer).
4. The LEDs on the enclosure indicate the status:
•
Constant green light:
The hard disk is connected but passive.
•
Flashing green light:
Reading or writing to the hard drive is in
progress.
7. Removing the Enclosure
If you wish to remove the external cabinet without turning off your
computer, click on the icon in the activity window and select which
device is to removed and click on
OK
.
8. Troubleshooting
Problem:
The computer cannot locate the USB hard drive.
Solution:
1. Check that the hard disk has a partition that is
formatted.
2. Make sure the USB cable is correctly connected to the
computer and the external enclosure.
3. Make sure that the USB port/s is supplying the
external enclosure with power (try using another USB
device in the port).
4. Windows 98SE: Remove
USB Mass Storage Device
from
USB controller
under
System
in “Control
panel”, then click on [Refresh]. Re-install drivers.
9. Specifications
Interface:
Compatible with USB 2.0 &
USB1.1 standard.
Connection cable:
USB, length 80 cm
Transfer speed:
Up to 480 Mbs (USB 2.0) 12 Mbs (USB1.1)
Intended for hard disk: 2.5
″
hard disk (max. 12.5 mm thick with
IDE connector).
10. Disposal
Follow local ordinances when disposing of this product. If you are
unsure about how to dispose of this product contact your municipality.
ENGLISH

