7
EN
GL
IS
H
Charging
The battery needs to be charged fully before initial use.
Charge the battery for 1 hour the first time it is charged.
For maximum battery performance: Allow the battery to discharge completely the
first 5 or 6 times it is used, charge it for 1 hour on each occasion.
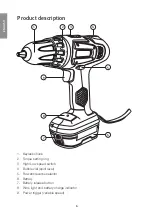
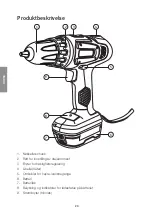
1. Remove the battery from the drill by pressing the battery release button (7)
and pulling out the battery.
2. Connect the charger to a wall socket. The green LED will then come on.
3. Insert the battery into the charger. The green LED will turn off and the red
LED will light during charging.
4. When the battery is fully charged the red LED will turn off and the green
LED will light.
5. Unplug the charger from the wall socket and remove the battery from the charger
when the charging process is complete.
Constant green light
Charger connected to mains/Charging complete.
Constant red light
Charging in progress.
Flashing red and green
Defect.
• Charging time is about 1 hour for normal use.
• The battery can become warm during charging. This is completely normal.
• The battery and charger work best at normal room temperature. Do not
charge in direct sunlight or colder temperatures. The temperature range
for charging is 5–40 °C.
• For long-term storage the battery should be fully charged.
Setup
Forward/reverse
Select forward or reverse using the selector (5). If the selector is not pushed in all
the way the drill will not start. The chuck must be completely motionless before
changing directions.
Torque
The machine has an adjustable clutch for setting the desired torque using the setting
ring (2). If set correctly, the clutch will disengage the drive at the preset torque set-
ting. This prevents screws from being driven in too far and prevents damage to the
machine. The setting selection should be based on the type and size of screw and
the material being screwed into. Always start at the lowest setting and increase in
increments if unsure.

