background image

10

Parts & Service: 020 8988 7400 / E-mail: [email protected] or [email protected]

STRIKING AN ARC

IMPORTANT: BEFORE YOU STRIKE AN ARC, ALWAYS BRING THE FACE SHIELD UP 
TO PROTECT YOUR EYES.

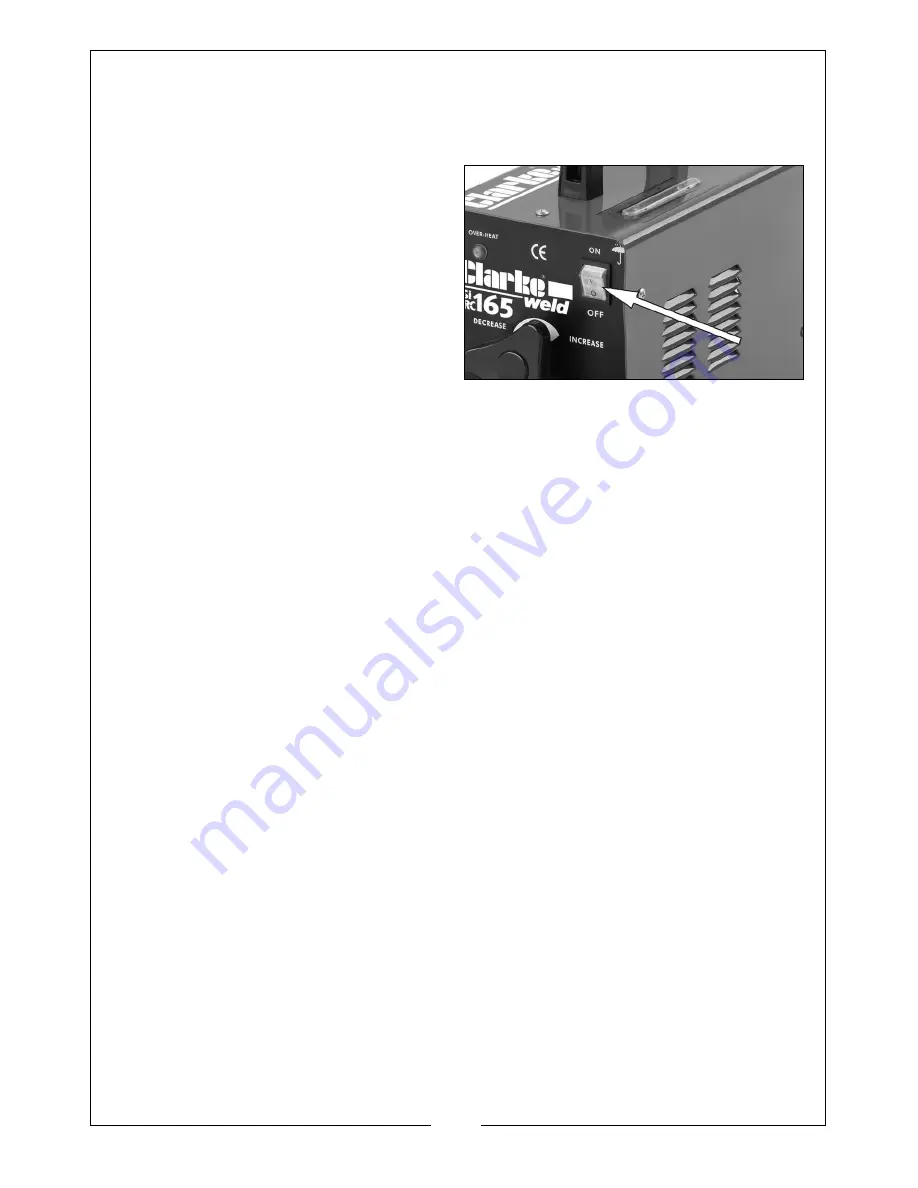
1. Switch ON the machine.

2. Line up the electrode exactly over 

the spot where you want to strike.

3. Position your shield in front of your 

face and tap the electrode down 
firmly. Once you tap down and 
contact is made, you must 
instantly raise the electrode to the 
required arc gap. 

• The arc gap should be roughly the same as the diameter of the 

electrode. 

• If you withdraw the electrode too far once the arc is struck, you will 

lose the arc and have to try again.

NOTE:

One thing that usually happens when you are striking an arc is that the 
electrode sticks to the work. It should come unstuck with a sharp tug. If 
it will not free easily, turn off the welder immediately as it will quickly 
overheat, then give the join a tap from the chipping hammer. As you 
get more experienced, this will happen less.

4. Once the arc is struck, move the electrode along its intended path, 

keeping the tip in the molten pool at all times.

• You must also get used to feeding down the electrode steadily as it 

burns away.

• An even crackling noise should be heard, which is an indication of a 

good weld.

5. Inspect the job carefully, the area of weld should be a complete fusion of 

the electrode and parent metal(s). 

• Any slag which forms on the surface should be chipped away with 

the hammer/brush supplied.

• If the resultant weld looks messy and irregular, this is an indication of 

porosity or slag contamination, and you have almost certainly failed 
to achieve the correct combination of speed and current. This is a 
common problem, so do not worry as practice will quickly cure this.

Содержание EASIARC 165

Страница 1: ...Read these instructions before using the machine WARNING A suitable welding headshield must be worn during use OPERATION MAINTENANCE INSTRUCTIONS LS0413 160 AMP ARC WELDER MODEL NO EASIARC 165 PART NO...

Страница 2: ...d against faulty manufacture for a period of 12 months from the date of purchase Please keep your receipt as proof of purchase This guarantee is invalid if the product is found to have been abused or...

Страница 3: ...g part of the welding circuit FUMES GASES The welding process generates hazardous fumes as a by product Inhalation of these fumes is hazardous to health Keep your head away from the weld to avoid brea...

Страница 4: ...e worn when others are working overhead Flammable hair sprays gels should not be used by persons intending to weld or cut PROTECTIVE CLOTHING Wear gauntlet gloves designed for use in welding Wear an a...

Страница 5: ...traction in the work area as the welding process gives off toxic fumes ALWAYS ensure there is a fire extinguisher on hand ALWAYS ensure that a medical supply is on hand and that treatment for burns is...

Страница 6: ...of this product do not correspond with the markings on the terminals of your plug proceed as follows The wire which is coloured Blue must be connected to the terminal which is marked N or coloured Bl...

Страница 7: ...ediately The components include the following 1 x 160 Amp AC Arc Welder 1 x Combination Wire Brush Hammer 1 x Clarke Instruction Manual 1 x Face Shield OVERVIEW NO DESCRIPTION NO DESCRIPTION 1 Handle...

Страница 8: ...s created from the flux within the welding rod electrode When using the welder outside you may need to take measures to erect a wind break to make sure the shielding gas is not blown away thereby leav...

Страница 9: ...TH CLAMP Attach the earth clamp firmly to the workpiece as close as possible to the point of weld IMPORTANT Ensure that the earth clamp is attached to clean solid metal If necessary thoroughly clean w...

Страница 10: ...should come unstuck with a sharp tug If it will not free easily turn off the welder immediately as it will quickly overheat then give the join a tap from the chipping hammer As you get more experience...

Страница 11: ...heavy deposit which overlaps at the sides It is wasteful both in terms of time and electrode use ELECTRODE MOVED TOO QUICKLY This causes poor penetration with a stringy and incomplete weld deposit Sla...

Страница 12: ...heres etc Always inspect the earth return and torch hose before use to ensure they are in perfect condition and that the earth clamp is clean and secured correctly to the cable As a general rule the p...

Страница 13: ...Address Of Manufacturer 12 Rated Welding Current Symbol 2 Model Number Part Number 13 Conventional Load Voltage Symbol 3 Serial Batch Number 14 Energy Supply Symbol 4 Welding Power Source 15 Rated Su...

Страница 14: ...me of the accessories available from your CLARKE dealer Please quote the part numbers shown below Model Easiarc165 Power Supply 230V 50Hz Rated Max Input Current I1Max I1eff 36 13 7 A Open Circuit Vol...

Страница 15: ...15 Parts Service 020 8988 7400 E mail Parts clarkeinternational com or Service clarkeinternational com DECLARATION OF CONFORMITY...

Страница 16: ......

Отзывы: