OPERATION & MAINTENANCE
INSTRUCTIONS
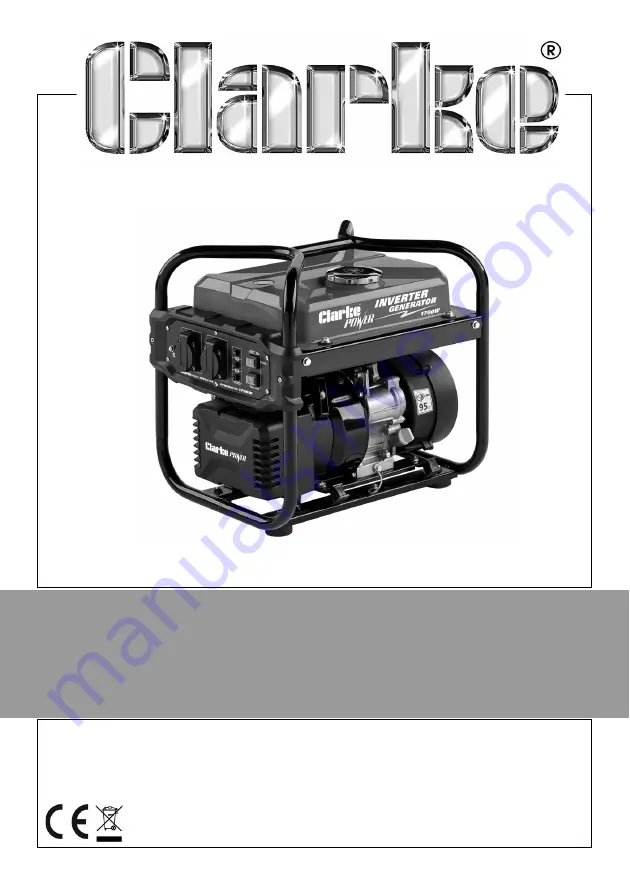
ORIGINAL INSTRUCTIONS GC0119 - ISS 1
INVERTER/GENERATOR
MODEL NO: IG1700F
PART NO: 8877095
Страница 1: ...OPERATION MAINTENANCE INSTRUCTIONS ORIGINAL INSTRUCTIONS GC0119 ISS 1 INVERTER GENERATOR MODEL NO IG1700F PART NO 8877095 ...
Страница 2: ...ase keep your receipt as proof of purchase This guarantee is invalid if the product is found to have been abused or tampered with in any way or not used for the purpose for which it was intended Faulty goods should be returned to their place of purchase no product can be returned to us without prior permission This guarantee does not effect your statutory rights ENVIRONMENTAL RECYCLING POLICY Thro...
Страница 3: ...gap between the generator and any surrounding building or structures 2 Always ensure the generator is on a solid flat surface 3 Always ensure the surrounding area is free from any material that could burn or be damaged by heat 4 Never move or tilt the generator whilst it is switched on FIRE PREVENTION 1 Always switch the engine OFF when refuelling 2 Always refuel away from any source of heat 3 Alw...
Страница 4: ...verloading the generator is dangerous and could cause serious damage 2 Always disconnect the generator when carrying out any maintenance 3 Always ensure the generator reaches operating speed before connecting a load 4 Never allow the generator to run out of fuel when a load is connected 5 Never transport the generator with fuel in the tank 6 Do Not connect to a commercial or residential power supp...
Страница 5: ...clarkeinternational com GENERATOR OVERVIEW NO DESCRIPTION NO DESCRIPTION 1 Fuel Supply Valve at the rear 7 Control Panel 2 Fuel Cap 8 Anti vibration Feet 3 Fuel Level Gauge 9 Oil Dipstick 4 Frame 10 Choke Lever at the rear 5 Air Filter at the rear 11 Earth Point 6 Starting Handle ...
Страница 6: ...nerator Before using your generator check that it is in good condition and free from damage clean and free from fuel or oil spillage correctly located for use See page 3 the fuel system is intact and there are no leaks NOTE Always use a funnel to fill the fuel tank to avoid accidental spillage If fuel is spilled it must be cleaned up before use Never start the engine if there is spilled fuel Any s...
Страница 7: ...ick back into the oil filler tube and then remove it again Do not screw in the oil filler cap dipstick when doing this 4 If the oil level is at or below the L mark on the dipstick add oil to the crankcase Fill until the oil reaches the threads in the oil fill tube Oil capacity is 0 36L We recommend the use of SAE15W40 oil in this generator available from your Clarke dealer 5 Replace the oil filler...
Страница 8: ...of any trapped debris 4 Slowly add fuel to the fuel tank maximum 10L watching the fuel level gauge as you do so NOTE Do not overfill the fuel tank RECOMMENDED FUEL We recommend the use of standard unleaded petrol 5 Replace the fuel filler cap securely WARNING ALWAYS REFUEL IN A WELL VENTILATED AREA AWAY FROM ANY HEAT SOURCES WARNING ALLOW THE UNIT TO COOL DOWN BEFORE REFUELLING WARNING DO NOT LEAV...
Страница 9: ...or a short circuit in the connected appliance If this happens proceed as follows 1 Turn off any connected electrical devices and stop the engine 2 Reduce the total wattage of connected electric devices to within the rated output of the generator 3 Check air inlet and around the control unit If any obstructions are found remove them 4 After checking restart the engine OIL ALERT The oil alert indica...
Страница 10: ...rkeinternational com or Service clarkeinternational com USING YOUR GENERATOR STARTING THE ENGINE 1 Remove all connections from the AC sockets 2 Set the ECON switch to OFF 3 Set the fuel valve to the ON position as shown 4 Set the engine switch to ON ...
Страница 11: ...esistance Then pull sharply to start the engine NOTE You may have to do this more than once NOTE When you first start the generator the overload indicator may light up for a few seconds which is normal If the overload indicator is still lit after 5 seconds stop the engine and contact your Clarke dealer 7 Once the engine has warmed up move the choke to the run position WARNING ONCE THE GENERATOR HA...
Страница 12: ...or Make sure the appliance is turned off before connecting it to the generator CAUTION THE ECONOMY CONTROL DOES NOT WORK EFFECTIVELY IF THE ELECTRICAL APPLIANCE REQUIRES BURSTS OF POWER CAUTION TURN THE ECONOMY CONTROL FEATURE OFF WHEN CONNECTING HIGH LOAD APPLIANCES CAUTION MAKE SURE THAT THE APPLIANCE BEING CONNECTED IS IN GOOD WORKING ORDER IF IT BEGINS TO ACT ABNORMALLY OR STOPS SUDDENLY DISCO...
Страница 13: ...e clarkeinternational com SHUTTING DOWN THE GENERATOR To stop the generator immediately simply set the engine switch to OFF 1 Turn off and disconnect any electric appliances 2 Set the engine switch to the 0 OFF position 3 Set the fuel valve to the OFF position shown on the panel ...
Страница 14: ...warm to ensure the oil flows out faster 4 Replace the drain plug 5 Fill the crankcase with engine oil Fill until the oil reaches the threads in the oil filler Total oil capacity 0 36L We recommend the use of SAE15W40 oil in this generator available from your Clarke dealer 6 Replace the cap dipstick ENVIRONMENTAL PROTECTION One of the most damaging sources of pollution is oil Do not throw away used...
Страница 15: ...ied to remove the spark plug 3 Remove any carbon that has accumulated around the electrode 4 Check the spark plug gap a it should be between 0 7 and 0 8 mm Adjust if necessary 5 Check the overall condition of the spark plug for erosion or pitting and replace if necessary 6 Reinstall the spark plug and reattach the spark plug cap and lead CAUTION ALLOW THE ENGINE TO COOL BEFORE REMOVING THE SPARK P...
Страница 16: ...e sure that the air filter is clean and not damaged If the air filter is damaged contact Clarke spare parts department for a replacement If the filter is dirty wash in a solution of warm water and mild detergent and rinse thoroughly Leave the filter to dry completely Once it is dry immerse in clean engine oil and squeeze to remove excess oil 4 Replace the filter to its original position and replac...
Страница 17: ...ch to on Not enough oil in the generator Add more oil See page 7 No fuel Add more fuel See page 8 Spark plug not working correctly Change the spark plug See page 15 The generator fails to generate electricity The device you are trying to power is faulty Make sure the device you want to power is working properly The AC breaker is switched off Switch the AC breaker on The generator is difficult to s...
Страница 18: ... Displacement cm3 119 Start system Hand recoil Fuel tank capacity L 10 Fuel consumption L hr 357g kw h Maximum run time h 75 Load 8 Engine oil type SAE15W40 Engine oil capacity L 0 36 Guaranteed sound power LWA dB 95 Generator Rated Frequency Hz 50 AC Output Voltage V 230 Rated Output A 7 01 Max Power W 1700 Dimensions Length mm 460 Width mm 380 Height mm 440 Unpacked Weight kg 21 5 ...
Страница 19: ...m PARTS LISTS AND DIAGRAMS ENGINE ASSEMBLY ITEM DESCRIPTION Qty ITEM DESCRIPTION Qty 1 Flange Bolt M6 3 7 Engine side shield 1 2 Recoil Starter Assembly 1 8 Nut M12 1 3 Bushing 11mm 4 9 Starter Drum 1 4 Flange Bolt M6 4 10 Ignition Coil fan 1 5 Engine wind shield 1 11 Flywheel 1 6 Engine front shield 1 ...
Страница 20: ...case 1 13 Alignment Pin 8mm 3 2 Oil drain plug 1 14 Gasket 1 3 Aluminium Washer 1 15 Crankcase Cover 1 4 Oil Sensor 1 16 Oil Dipstick Seal 1 5 Oil Seal 1 17 Dipstick 1 6 Bearing 1 18 Flange Bolt M6 6 7 Crankshaft 1 19 Heatshield 1 8 Connecting Rod 1 20 Circlip 2 9 Big end Bolt 2 21 Gudgeon Pin 1 10 Big end Cap 1 22 Piston 1 11 Camshaft 1 23 Piston Ring Set 1 12 Bearing 1 ...
Страница 21: ... Qty ITEM DESCRIPTION Qty 1 Tappet 2 11 Stud 2 2 Inlet Valve 1 12 Guide 2 3 Exhaust Valve 1 13 Nut 2 4 Cylinder Head 1 14 Head Gasket 1 5 Flange Bolt M8 4 15 Cylinder Head Cover 1 6 Cylinder Head Plate 1 16 Flange Bolt M6 4 7 Push Rod 2 17 Spark Plug 1 8 Valve Spring 2 18 High Voltage Lead 1 9 Valve Spring Seat 2 19 Flange Bolt M6 2 10 Base 1 ...
Страница 22: ...BLY ITEM DESCRIPTION Qty ITEM DESCRIPTION Qty 1 Gasket 2 9 Filter Sponge 1 2 Insulation Pad 1 10 Metal Mesh 1 3 Carburettor Assembly 1 11 Filter Backplate 1 4 Air Filter Gasket 1 12 Vent Pipe 1 5 Air Filter complete 1 13 Jointing cyl head 1 6 Wing Nut 1 14 Fixing 2 7 Filter Front Cover 1 15 Stepper Motor 1 8 Filter Pad 1 ...
Страница 23: ...rvice clarkeinternational com FUEL TANK ASSEMBLY ITEM DESCRIPTION Qty ITEM DESCRIPTION Qty 1 Left Frame 1 7 M6 Flange Bolt 4 2 Right Frame 1 8 Fuel Switch 1 3 Fuel Tank 1 9 Fuel Filter 1 4 Fuel Level Gauge 1 10 Flange Bolt 4 5 Filler Cap 1 11 Sealing Ring 4 6 Rubber Washer 4 ...
Страница 24: ...VER ITEM DESCRIPTION Qty ITEM DESCRIPTION Qty 1 Control Panel Box 1 5 3 pin Power Socket 2 2 Limit Speed Bar 1 6 Rocker Switch red black 2 3 M5 Nut 2 7 Indicator Light 3 4 Control Panel 1 8 Screw 4 ITEM DESCRIPTION Qty ITEM DESCRIPTION Qty 1 Rear Cover 1 4 Inverter Board Cover 1 2 Inverter Unit 1 5 Support 1 3 Wiring harness 1 6 Screw 4 ...
Страница 25: ...ational com FRAME ASSEMBLY ITEM DESCRIPTION Qty ITEM DESCRIPTION Qty 1 Engine Assembly 1 8 Flange Bolt M8 4 2 Fuel Pipe 1 9 Anti vibration Mount 4 3 Pipe Clip 1 10 Flange Bolt M6 4 4 Flange Bolt M6 8 11 Washer 4 5 Rear Panel 1 12 Flange Nut M6 4 6 Muffler 1 13 Rubber Foot 4 7 Nut 4 14 Frame 1 ...
Страница 26: ...om or Service clarkeinternational com ROTOR STATOR ITEM DESCRIPTION Qty ITEM DESCRIPTION Qty 1 Self Tapping Screws 4 7 Stator 1 2 Fan Cover 1 8 Rotor 1 3 Fan 1 9 Flange Bolt 4 4 Bolt 1 10 Sealing Ring 1 5 Washer 1 11 Rear Cover 1 6 Mounting Flange 1 12 Flange Bolt 4 ...
Страница 27: ...27 Parts Service 020 8988 7400 E mail Parts clarkeinternational com or Service clarkeinternational com DECLARATION OF CONFORMITY ...
Страница 28: ......