
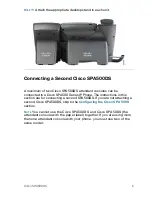


Cisco SPA500DS
7
S
TEP
8
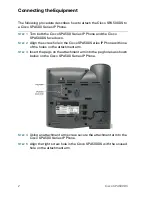
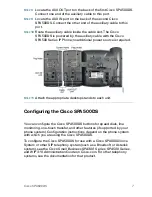
Locate the AUX OUT port on the back of the first Cisco SPA500DS.
Connect one end of the auxiliary cable to this port.
S
TEP
9
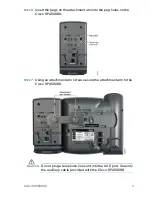
Locate the AUX IN port on the back of the second Cisco
SPA500DS. Connect the other end of the auxiliary cable to this
port.
S
TEP
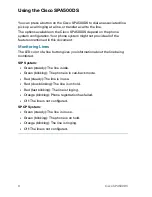
10
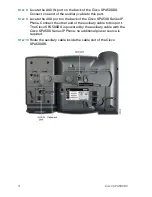
Route the auxiliary cable inside the cable slot. The Cisco
SPA500DS is powered by the auxiliary cable with the Cisco
SPA500 Series IP Phone; no additional power source is required.
S
TEP
11
Attach the appropriate desktop stands to each unit.
Configuring the Cisco SPA500DS
You can configure the Cisco SPA500DS buttons for speed dials, line
monitoring, one-touch transfer, and other features (if supported by your
phone system). Configuration instructions depend on the phone system
with which you are using the Cisco SPA500DS.
To configure the Cisco SPA500DS for use with a Cisco SPA9000 Voice
System or other SIP telephony system (such as a Broadsoft or Asterisk
system), see the
Cisco Small Business SPA300 Series, SPA500 Series,
and WIP310 Administration Guide
on Cisco.com. For other telephony
systems, see the documentation for that product.