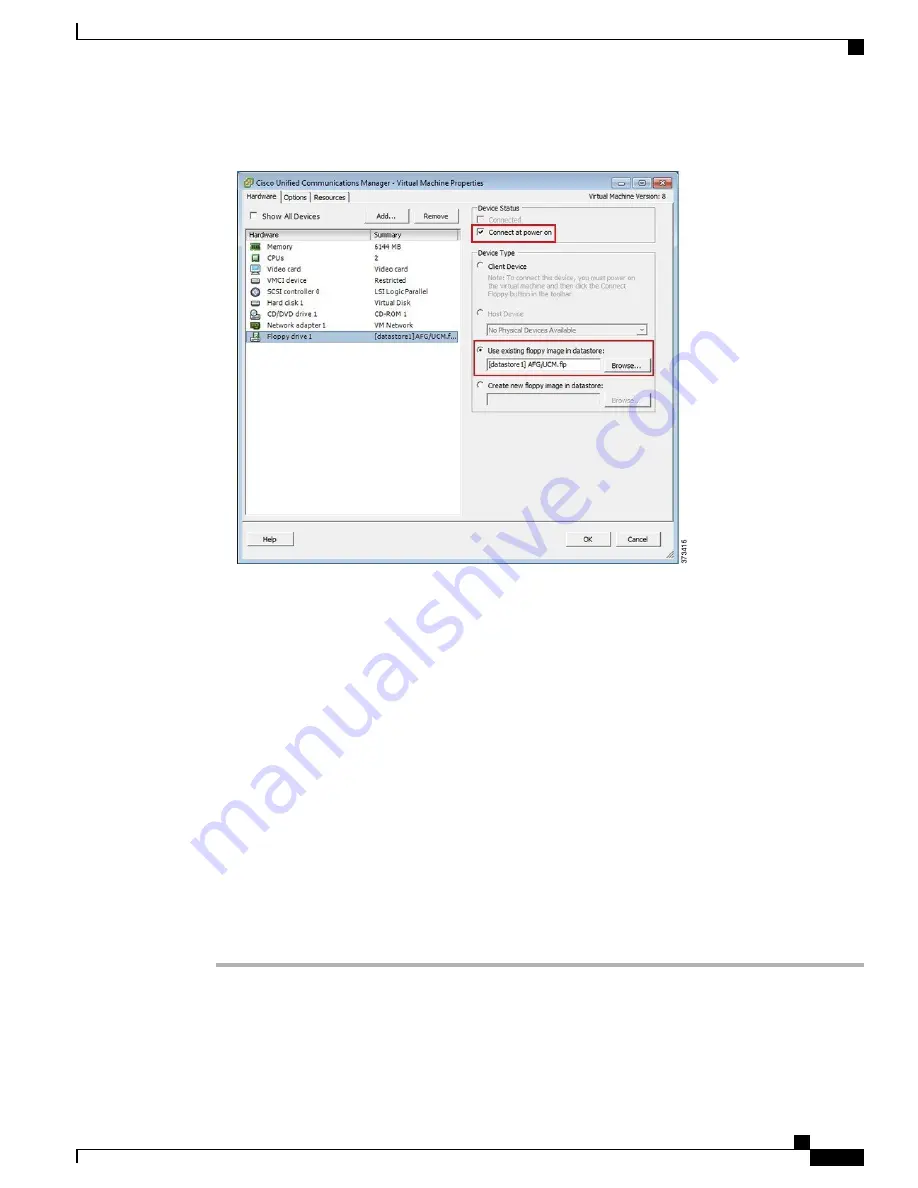
Figure 15: Edit Virtual Machine Settings to Connect Floppy Drive to Read Configuration Settings from FLP File
e) In the
Options
tab, choose
Advanced Settings
>
Boot Options
and select
Force BIOS Setup
.
f) When you boot the virtual machine later, select the
BIOS Boot
menu, and then use the
-
key to move
Removable Devices
down to the bottom of the boot list to ensure that the virtual machine boots from the
DVD drive.
Step 6
To begin installation of each application, follow these steps:
a) Power on the virtual machine, right click and choose
Open Console
as shown in Figure 13.
b) If you are not using installation answer files, follow the interactive installation procedure in the console.
Use the information that you collected in
Step 1, on page 15
.
c) Installation is complete and successful when you are able to successfully log in from the console.
•
For Prime Collaboration, type
setup
at the
“
localhost login:
”
prompt to configure the application and
complete installation. After that, the installation script asks for network information and various credentials
(passwords for admin, root, globaladmin) information.
•
For a VCS or Expressway server, set up the application by logging in using the default username (
admin
)
and password (
TANDBERG
). Type y when asked
“
Run install wizard [n]:
”
and continue with interactive
installation.
If you require detailed installation guidance, see the Installation Guide of the applications on the
Cisco Business Edition 7000 Support Documents website, listed in
For More Information
section.
Note
What to Do Next
After installing all required applications, access applications using a web browser. Add licenses and configure
features as required.
Cisco Business Edition 7000 Installation Guide, Release 11.6
17
Installation
Install Applications on Virtual Machines


