7
6
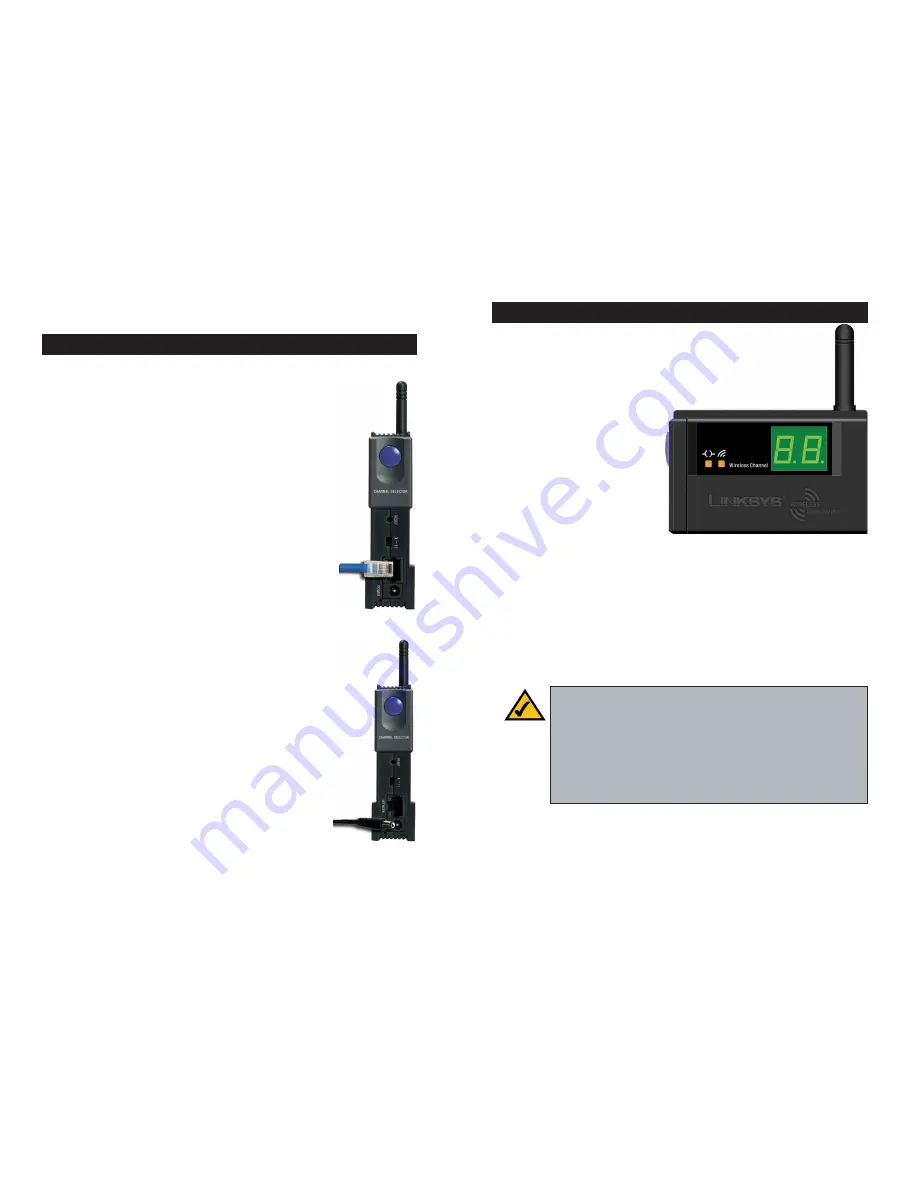
The Game Adapter can be set up
by clicking the Channel Selector
button once and then clicking the
button to cycle to the appropriate
setting on the LED display, as
shown in Figure 4-3.
When playing Head-to-Head
:
Set both Game Adapters to the same chan-
nel, 1-13.
When playing over the Internet
: Set the Game Adapter to IN when using a
simple wireless network with no WEP
encryption settings and SSID enabled.
Figure 4-3
Setting up the Game Adapter
Chapter 4: Simple SetUp
1. Plug the included Ethernet network cable into the Game Adapter’s LAN
port, as shown in Figure 4-1.
2. Plug the other end of the Ethernet network cable into your
game console’s RJ-45 port.
3. Verify that the Game Adapter’s crossover (X - II) switch
is set appropriately. If the Game Adapter is not transmit-
ting or receiving data appropriately, try flipping the
switch to its other setting.
4. Plug the supplied power cable into the Game Adapter’s
Power port, as shown in Figure 4-2. Then, plug the other
end into an electrical outlet, preferably a surge protector.
5. Start your game console.
Connecting the Game Adapter
Figure 4-1
Figure 4-2
Note:
If your wireless network uses WEP encryption and/or has
SSID disabled, the Game Adapter should be configured with its
Setup Wizard to use one of the three available profiles. Profiles
show up on the LED display as “P1”, “P2”, or “P3”. Once the
Game Adapter is configured with its Setup Wizard, select the
appropriate profile from the LED display. This is explained further
in “Chapter 5: Configuring the Wireless-B Game Adapter with the
Setup Wizard”.


