background image

Statement 1051—

Laser Radiation

Invisible laser radiation may be emitted from disconnected fibers or connectors. Do not stare into beams or
view directly with optical instruments.

Warning

Statement 1055—

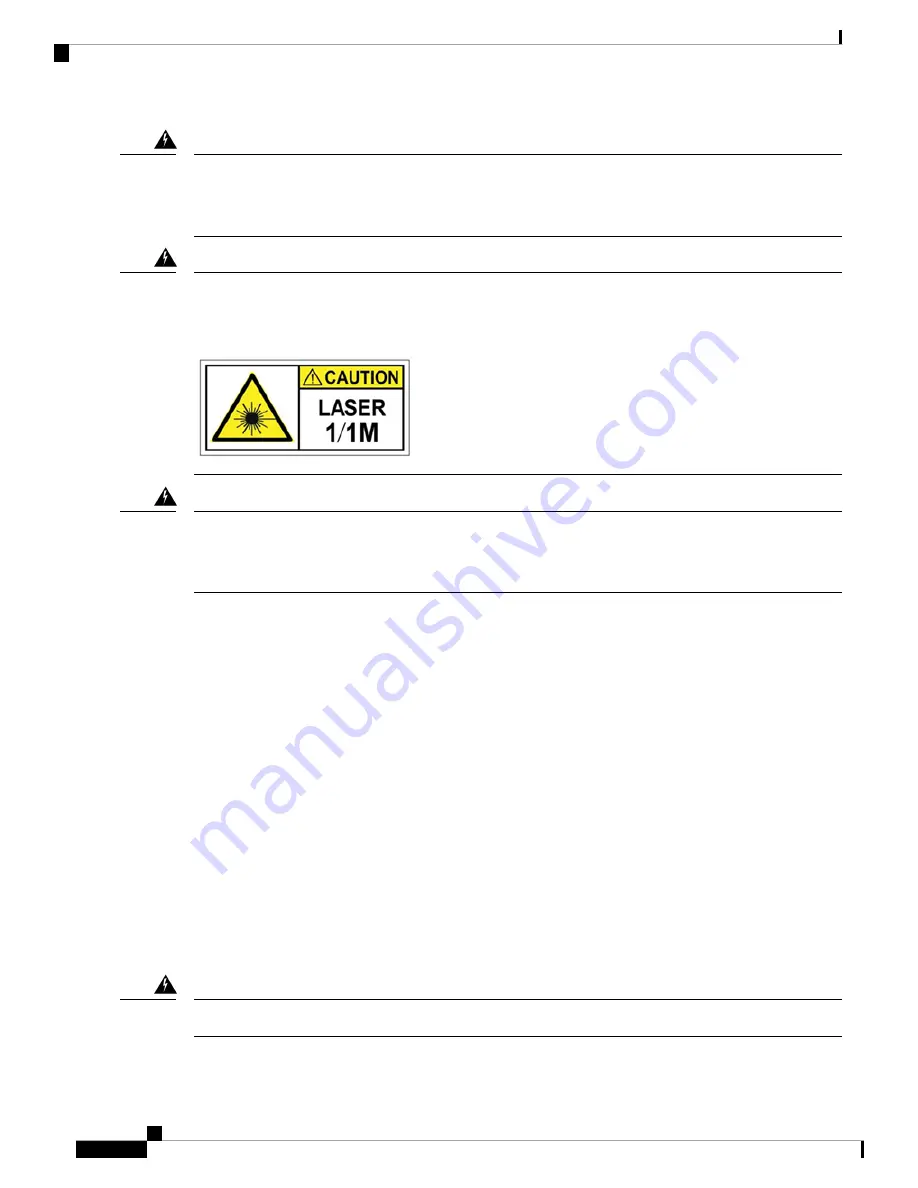
Class 1/1M Laser

Invisible laser radiation is present. Do not expose to users of telescopic optics. This applies to Class 1/1M
laser products.

Warning

Statement 1074—

Comply with Local and National Electrical Codes

To reduce risk of electric shock or fire, installation of the equipment must comply with local and national
electrical codes.

Warning

Safety Recommendations

Observe these safety guidelines:

• Keep the area clear and dust free before, during, and after installation.

• Keep tools away from walkways, where you and others might trip over them.

• Do not wear loose clothing or jewelry, such as earrings, bracelets, or chains that could get caught in the

chassis.

• Wear safety glasses if you are working under any conditions that might be hazardous to your eyes.

• Do not perform any action that creates a potential hazard to people or makes the equipment unsafe.

• Never attempt to lift an object that is too heavy for one person.

Maintain Safety with Electricity

Before working on a chassis, be sure the power cord is unplugged.

Warning

Cisco Firepower 1100 Series Hardware Installation Guide

22

Installation Preparation

Safety Recommendations

Содержание Firepower 1100 Series

Страница 1: ...are Installation Guide First Published 2019 06 13 Last Modified 2021 03 23 Americas Headquarters Cisco Systems Inc 170 West Tasman Drive San Jose CA 95134 1706 USA http www cisco com Tel 408 526 4000 800 553 NETS 6387 Fax 408 527 0883 ...

Страница 2: ... USAGE OR TRADE PRACTICE IN NO EVENT SHALL CISCO OR ITS SUPPLIERS BE LIABLE FOR ANY INDIRECT SPECIAL CONSEQUENTIAL OR INCIDENTAL DAMAGES INCLUDING WITHOUT LIMITATION LOST PROFITS OR LOSS OR DAMAGE TO DATA ARISING OUT OF THE USE OR INABILITY TO USE THIS MANUAL EVEN IF CISCO OR ITS SUPPLIERS HAVE BEEN ADVISED OF THE POSSIBILITY OF SUCH DAMAGES Any Internet Protocol IP addresses and phone numbers use...

Страница 3: ...ations 13 Installation Preparation 19 C H A P T E R 2 Installation Warnings 19 Safety Recommendations 22 Maintain Safety with Electricity 22 Prevent ESD Damage 23 Site Environment 23 Site Considerations 24 Power Supply Considerations 24 Rack Configuration Considerations 24 Mount the Chassis 27 C H A P T E R 3 Unpack and Inspect the Chassis 27 Rack Mount the Chassis 27 Cisco Firepower 1100 Series H...

Страница 4: ...indows 31 Connect to the Console Port with Mac OS X 32 Connect to the Console Port with Linux 33 Installation Maintenance and Upgrade 35 C H A P T E R 5 Replace the SSD 35 Install the FIPS Opacity Shield in a Two Post Rack 36 Cisco Firepower 1100 Series Hardware Installation Guide iv Contents ...

Страница 5: ...at the data center as a multiservice platform See Product ID Numbers on page 12 for a list of the product IDs PIDs associated with the Firepower 1100 series The Firepower 1000 series supports Cisco Firepower Threat Defense and Cisco ASA software See the Cisco Firepower Compatibility Guide and the Cisco ASA Compatibility guide which provide Cisco software and hardware compatibility including operat...

Страница 6: ...anel to rear panel cold aisle to hot aisle Airflow One 16 core Intel CPU One 12 core Intel CPU Processor 32 GB DDR4 DRAM 16 GB DDR4 DRAM Memory One Gigabit Ethernet RJ 45 10 100 1000 BaseT Restricted to network management access only Management port One RJ 45 or one USB Mini B Provides management access through an external system Console ports One USB 3 0 Type A Allows attachment of an external de...

Страница 7: ... power and operates as a soft notification switch that supports the graceful shutdown of the system Graceful shutdown reduces the risk of system software and data corruption Note Power switch A small recessed button that if pressed for longer than three seconds resets the chassis to its default state following the next reboot Configuration variables are reset to factory default However the flash i...

Страница 8: ...s you must download and install a USB driver available on software cisco com You can plug and unplug the USB cable from the console port without affecting Windows HyperTerminal operations We recommend shielded USB cables with properly terminated shields Baud rates for the USB console port are 1200 2400 4800 9600 19200 38400 57600 and 115200 bps For Windows operating systems you must install a Cisc...

Страница 9: ...sets of four screws that you can use to secure the chassis to your rack Chose the screws that fit your rack Note Figure 2 Firepower 1100 Package Contents USB console cable Type A to Mini Type B part number 53 1977 01 2 Chassis 1 Four 10 32x0 75 L Phillips screws part number 48 0441 01 for securing the chassis to your rack 4 Power cord 3 Four M6x1x19mmL Phillips screws part number 48 101022 01 for ...

Страница 10: ...d Guide 9 QR Code Sticker The QR code sticker on the front panel of the chassis points to the Firepower Easy Deployment Guide for Cisco Firepower 1000 or 2100 Firewalls that explains low touch provisioning LTP LTP allows anyone to connect a new Firepower 1100 to a network so that the IT department can onboard the device to CDO and configure it remotely CDO supports Firepower Threat Defense FTD ver...

Страница 11: ...r The following figure shows the placement of the QR code sticker on the front panel of the chassis Figure 4 QR Code on 1100 QR code sticker 1 Cisco Firepower 1100 Series Hardware Installation Guide 7 Overview QR Code Sticker ...

Страница 12: ... The following figure shows the front panel of the Firepower 1100 series Note that there are no connectors or LEDs on the front panel Figure 6 Firepower 1100 Series Front Panel Rear Panel The following figure shows the rear panel of the Firepower 1100 series See Rear Panel LEDs on page 9 for a description of the LEDs See Features on page 1 for a description of each feature Cisco Firepower 1100 Ser...

Страница 13: ... the power supply from the chassis Note 1 SFP ports numbered 9 through 12 4 Management port 3 USB Mini B console port 6 USB Type A port 5 Network data ports 8 RJ 45 8P8C console port 7 Reset button 10 Status LEDs 9 SSD bay 12 SSD LED 11 Rear Panel LEDs The following figure shows the LEDs on the rear panel of the Firepower 1100 series and describes their states Figure 8 Firepower 1100 Series Rear P...

Страница 14: ...s of the network ports Link status L Off No link or port is not in use Green Link established Green flashing Link activity 1 Power Power supply status Off Power supply off Green Power supply on 4 SFP Status of the SFP transceiver Link status L Off No SFP Amber SFP present but no link Green flashing Link established and transmitting 3 Cisco Firepower 1100 Series Hardware Installation Guide 10 Overv...

Страница 15: ...e component Over temperature condition Power voltage outside the tolerance range Green flashing slowly twice in 5 seconds Cloud connected Cisco Defense Orchestrator CDO is valid for FTD 6 7 and later Note Green and amber flashing Cloud connection failure Green Cloud disconnected The CDO LED pattern applies to low touch provisioning LTP See the Firepower Easy Deployment Guide for Cisco Firepower 10...

Страница 16: ...a sound pressure at maximum fan speed at 40C 31 7 dBa at room temperature Acoustic noise Product ID Numbers The following table lists the field replaceable PIDs associated with the Firepower 1100 series The spare components are ones that you can order and replace yourself If any internal components fail you must get a return material authorization RMA for the entire chassis See the Cisco Returns P...

Страница 17: ...er power cords are available for connection to the security appliance The jumper power cords for use in racks are available as an optional alternative to the standard power cords If you do not order the optional power cord with the system you are responsible for selecting the appropriate power cord for the product Using a incompatible power cord with this product may result in electrical safety ha...

Страница 18: ...or V1625 3 Figure 11 Brazil CAB C13 ACB 435710 Cord set rating 10 A 250 V 2 Plug NBR 14136 1 Connector EL 701B EN 60320 C13 3 Figure 12 China CAB ACC 435702 Cord set rating 10 A 250 V 2 Plug V3203C 1 Connector V1625 3 Cisco Firepower 1100 Series Hardware Installation Guide 14 Overview Power Cord Specifications ...

Страница 19: ... 3 Figure 14 India CAB IND 10A 435711 Cord set rating 16 A 250 V 2 Plug IA16A3 C 1 Connector V1625BS E 3 Figure 15 Italy CAB ACI 435705 Cord set rating 10 A 250 V 2 Plug IT10S3 1 Connector V1625 3 Cisco Firepower 1100 Series Hardware Installation Guide 15 Overview Power Cord Specifications ...

Страница 20: ...5 3 Figure 17 Korea CAB AC C13 KOR 435703 Cord set rating 10 A 250 V 2 Plug M2511 1 Connector V1625 3 Figure 18 North America CAB AC 435700 Cord set rating 10 A 250 V 2 Plug PS204 1 Connector V1625 3 Cisco Firepower 1100 Series Hardware Installation Guide 16 Overview Power Cord Specifications ...

Страница 21: ...igure 20 Switzerland CAB ACS 435707 Cord set rating 10 A 250 V 2 Plug SW10ZS3 1 Connector V1625 3 Figure 21 Taiwan CAB ACTW 435708 Cord set rating 10 A 125 V 2 Plug EL 302 CNS10917 1 Connector EL 701 EN 60320 C13 3 Cisco Firepower 1100 Series Hardware Installation Guide 17 Overview Power Cord Specifications ...

Страница 22: ...gure 22 United Kingdom CAB ACU 435709 Cord set rating 10 A 250 V 2 Plug 3P BS 1363 1 Connector IEC 60320 C13 3 Cisco Firepower 1100 Series Hardware Installation Guide 18 Overview Power Cord Specifications ...

Страница 23: ...lling the chassis Take note of the following warnings Statement 1071 Warning Definition IMPORTANT SAFETY INSTRUCTIONS Before you work on any equipment be aware of the hazards involved with electrical circuitry and be familiar with standard practices for preventing accidents Read the installation instructions before using installing or connecting the system to the power source Use the statement num...

Страница 24: ...u could shock yourself Warning Statement 1004 Installation Instructions Read the installation instructions before using installing or connecting the system to the power source Warning Statement 1005 Circuit Breaker This product relies on the building s installation for short circuit overcurrent protection Ensure that the protective device is rated not greater than 20 A 120 V and 16 A 250 V Warning...

Страница 25: ...lable Warning Statement 1029 Blank Faceplates and Cover Panels Blank faceplates and cover panels serve three important functions they reduce the risk of electric shock and fire they contain electromagnetic interference EMI that might disrupt other equipment and they direct the flow of cooling air through the chassis Do not operate the system unless all cards faceplates front covers and rear covers...

Страница 26: ...ions Observe these safety guidelines Keep the area clear and dust free before during and after installation Keep tools away from walkways where you and others might trip over them Do not wear loose clothing or jewelry such as earrings bracelets or chains that could get caught in the chassis Wear safety glasses if you are working under any conditions that might be hazardous to your eyes Do not perf...

Страница 27: ...ing type plug that fits into a grounding type power outlet only Do not circumvent this safety feature Equipment grounding should comply with local and national electrical codes Prevent ESD Damage ESD occurs when electronic components are improperly handled and it can damage equipment and impair electrical circuitry which can result in intermittent or complete failure of your equipment Always follo...

Страница 28: ...ply in the chassis When installing the chassis consider the following Check the power at the site before installing the chassis to ensure that it is free of spikes and noise Install a power conditioner if necessary to ensure proper voltages and power levels in the appliance input voltage Install proper grounding for the site to avoid damage from lightning and power surges The chassis does not have...

Страница 29: ...in the top heat generated by equipment near the bottom of the rack can be drawn upward and into the intake ports of the equipment above it in the rack Ensure that you provide adequate ventilation for equipment at the bottom of the rack Baffles can help to isolate exhaust air from intake air which also helps to draw cooling air through the chassis The best placement of the baffles depends on the ai...

Страница 30: ...Cisco Firepower 1100 Series Hardware Installation Guide 26 Installation Preparation Rack Configuration Considerations ...

Страница 31: ... the shipment to the equipment list provided by your customer service representative Verify that you have all items Step 3 Check for damage and report any discrepancies or damage to your customer service representative Have the following information ready Invoice number of shipper see the packing slip Model and serial number of the damaged unit Description of damage Effect of damage on the install...

Страница 32: ... your chassis After the brackets are secured to the chassis you can mount it in the rack Step 2 Attach the chassis to the rack using the screws that shipped with the chassis There are three sets of four screws that you can use to secure the chassis to your rack Chose the screws that fit your rack See Package Contents on page 5 for the list of rack screws Note We recommend that you install the chas...

Страница 33: ... 5 What to do next You can now install the cables and power cord as described in the Cisco Firepower 1100 Series Getting Started Guide Cisco Firepower 1100 Series Hardware Installation Guide 29 Mount the Chassis Rack Mount the Chassis ...

Страница 34: ...Cisco Firepower 1100 Series Hardware Installation Guide 30 Mount the Chassis Rack Mount the Chassis ...

Страница 35: ...rams utility or the Setup exe program Disconnect the console terminal before uninstalling the driver Note Step 1 Obtain the appropriate driver Cisco_usbconsole_driver_X_X_zip where X is a revision number for your model from the Cisco Download Software site USB Console Software category The download site redirects you to a router download section where the drivers are also applicable to Firepower p...

Страница 36: ...llation Step 6 To communicate with the chassis start a terminal emulator application This software should be configured with the following parameters 9600 baud 8 data bits no parity 1 stop bit no flow control Connect to the Console Port with Mac OS X Follow these steps to connect a Mac OS X system USB port to the console using the built in OS X Terminal utility or alternatively you can use a separ...

Страница 37: ... the built in Linux Terminal utility Step 1 Open the Linux Terminal window Step 2 Connect the Linux USB port to the chassis Step 3 Enter the following commands to find the Linux USB port number Example root usb suse cd dev root usb suse dev ls ltr ACM crw r r 1 root root 188 0 Jan 14 18 02 ttyACM0 root usb suse dev Step 4 Connect to the USB port with the following command followed by the chassis U...

Страница 38: ...Cisco Firepower 1100 Series Hardware Installation Guide 34 Connect to the Console Port Connect to the Console Port with Linux ...

Страница 39: ...ust power off the chassis by pressing the power switch on the rear panel You will lose your configuration after you replace the existing SSD with a new SSD Caution Follow these steps to replace an SSD in the chassis Step 1 Loosen the thumb screws on both sides of the SSD bay and pull the existing SSD out of the bay Step 2 Insert the new SSD into the bay and push it in until it is seated Figure 25 ...

Страница 40: ...e management brackets Ten Tamper Evidence Labels TEL part number 47 25553 01 The TELs are made of a special thin gauge vinyl with self adhesive backing Once the CO attaches them on the chassis any attempt to open the chassis damages the TELs or the chassis cover Because the TELs have nonrepeated serial numbers the CO can inspect them for damage and compare them against the applied serial numbers t...

Страница 41: ...urning power back ON Note Step 4 Route the cables through the openings in the cable management brackets as shown in the figure below Step 5 Attach the FIPS opacity shield to the cable management brackets using four of the 8 32x0 375 L Phillips screws provided in the FIPS kit as shown in the figure below Figure 26 Installing the FIPS Cover 8 32x0 375 L Phillips screws two per side 2 FIPS opacity sh...

Страница 42: ... towards the right side of the chassis 7 Step 8 Attach the power cable to the chassis and connect it to an electrical outlet Step 9 Press the power switch on the rear panel Step 10 Check the power LED on the front panel See Rear Panel LEDs on page 9 for a description of the power LED Solid green indicates that the chassis is powered on Step 11 Place the chassis in FIPS mode See the following proce...

Страница 43: ... See the Cisco Firepower 1100 Getting Started Guide for further configuration information Cisco Firepower 1100 Series Hardware Installation Guide 39 Installation Maintenance and Upgrade Install the FIPS Opacity Shield in a Two Post Rack ...

Страница 44: ...Cisco Firepower 1100 Series Hardware Installation Guide 40 Installation Maintenance and Upgrade Install the FIPS Opacity Shield in a Two Post Rack ...

Отзывы: