


a) Enter a
Name
up to 48 characters in length.
For example, name the interface
outside
.
b) Check the
Enabled
check box.
c) Leave the
Mode
set to
None
.
d) From the
Security Zone
drop-down list, choose an existing outside security zone or add a new one by
clicking
New
.
For example, add a zone called
outside_zone
.
e) Click the
IPv4
and/or
IPv6
tab.
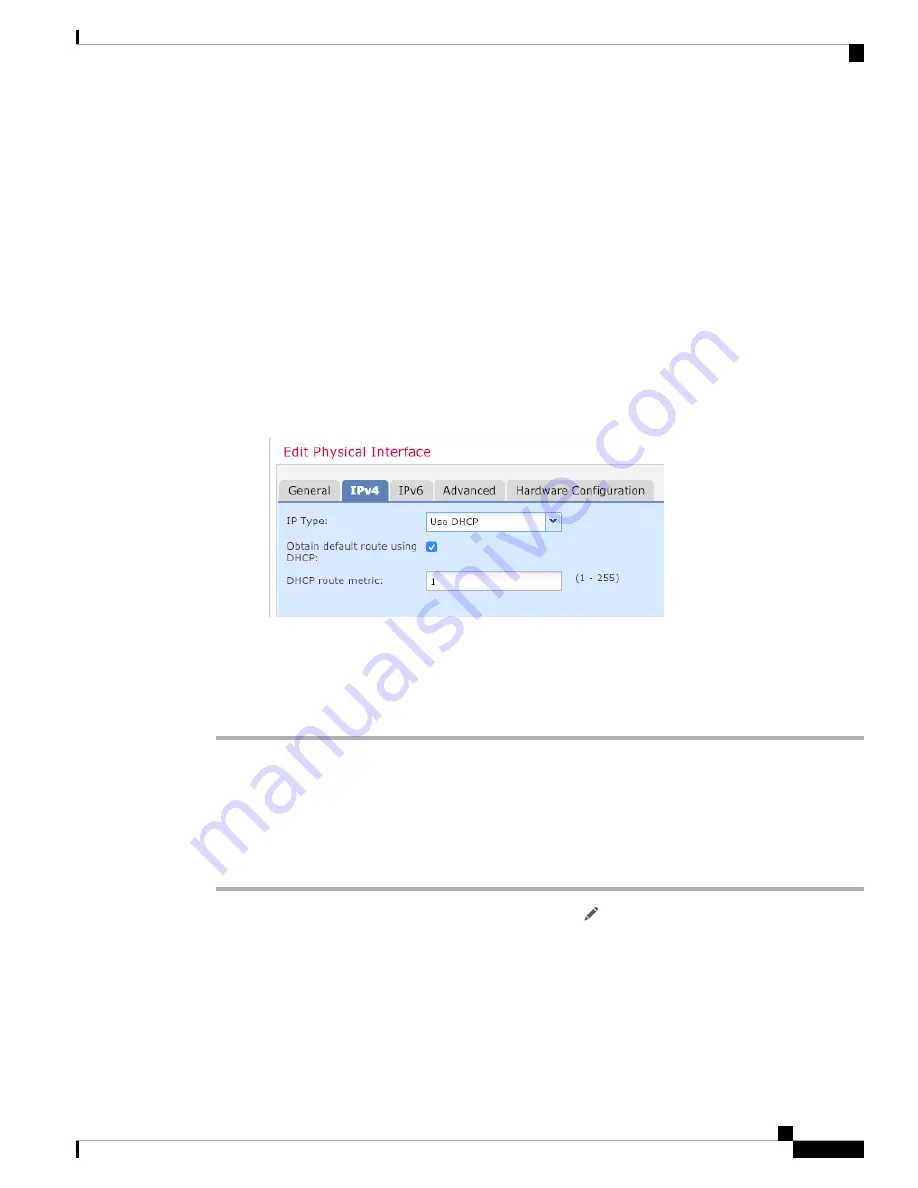
•
IPv4
—Choose
Use DHCP
, and configure the following optional parameters:
•
Obtain default route using DHCP
—Obtains the default route from the DHCP server.
•
DHCP route metric
—Assigns an administrative distance to the learned route, between 1 and
255. The default administrative distance for the learned routes is 1.
•
IPv6
—Check the
Autoconfiguration
check box for stateless autoconfiguration.
f)
Click
OK
.
Step 5
Click
Save
.
Configure the DHCP Server
Enable the DHCP server if you want clients to use DHCP to obtain IP addresses from the threat defense.
Procedure
Step 1
Choose
Devices
>
Device Management
, and click the
Edit
(
) for the device.
Step 2
Choose
DHCP
>
DHCP Server
.
Step 3
On the
Server
page, click
Add
, and configure the following options:
Cisco Firepower 1010 Getting Started Guide
35
Threat Defense Deployment with the Management Center
Configure the DHCP Server
Содержание Firepower 1010
Страница 2: ......
Страница 48: ...Cisco Firepower 1010 Getting Started Guide 46 Threat Defense Deployment with the Management Center What s Next ...
Страница 118: ...Cisco Firepower 1010 Getting Started Guide 116 Threat Defense Deployment with the Device Manager What s Next ...
Страница 168: ...Cisco Firepower 1010 Getting Started Guide 166 Threat Defense Deployment with CDO What s Next ...
Страница 189: ... 2022 Cisco Systems Inc All rights reserved ...
Страница 190: ......


