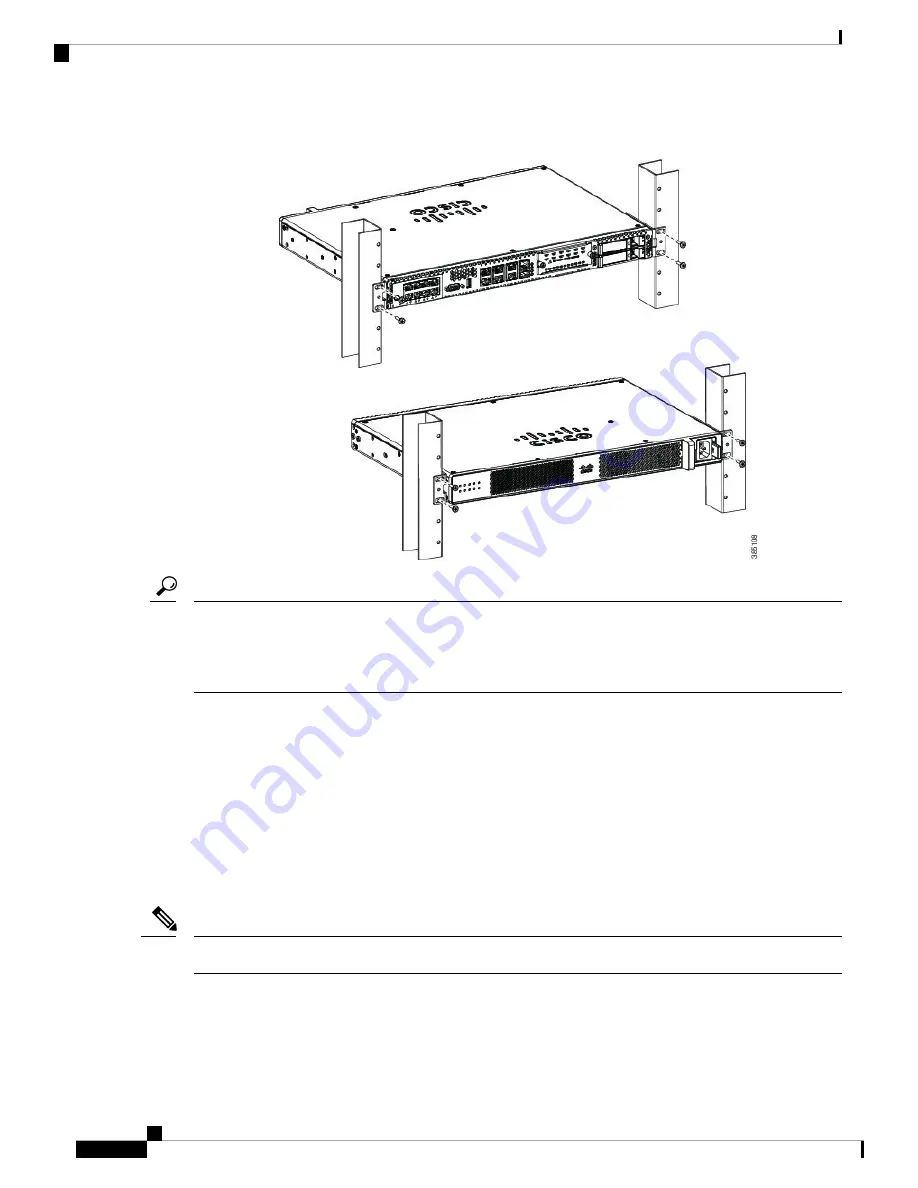
Figure 4: Mounting the Chassis on the Rack - Front and Back
The screw slots in the brackets are spaced to line up with every
second
pair of screw holes in the rack. When
the correct screw holes are used, the small threaded holes in the brackets line up with unused screw holes in
the rack. If the small holes do not line up with the rack holes, you must raise or lower the brackets to the next
rack hole.
Tip
Wall-Mounting the Chassis
These are the steps to wall mount the chassis:
1.
Attach the brackets to the device using the screws and plastic spacers provided with the mounting kit. As
shown in Figure 9, two screws and two plastic spaces should be used to attach each bracket to the chassis.
2.
Fix the router to the wall using the brackets that you attached to the device. The screws for attaching the
device to the wall are not provided with the kit. Depending on the type of wall (wood, brick, stone etc),
use appropriate screws to fix the device to the wall.
Route the cables so that they do not put a strain on the connectors or mounting hardware.
Note
Installing the Device
4
Installing the Device
Wall-Mounting the Chassis


