2-14
Catalyst 3560 Switch Hardware Installation Guide
OL-6337-07
Chapter 2 Switch Installation (24- and 48-Port Switches)
Installing the Switch
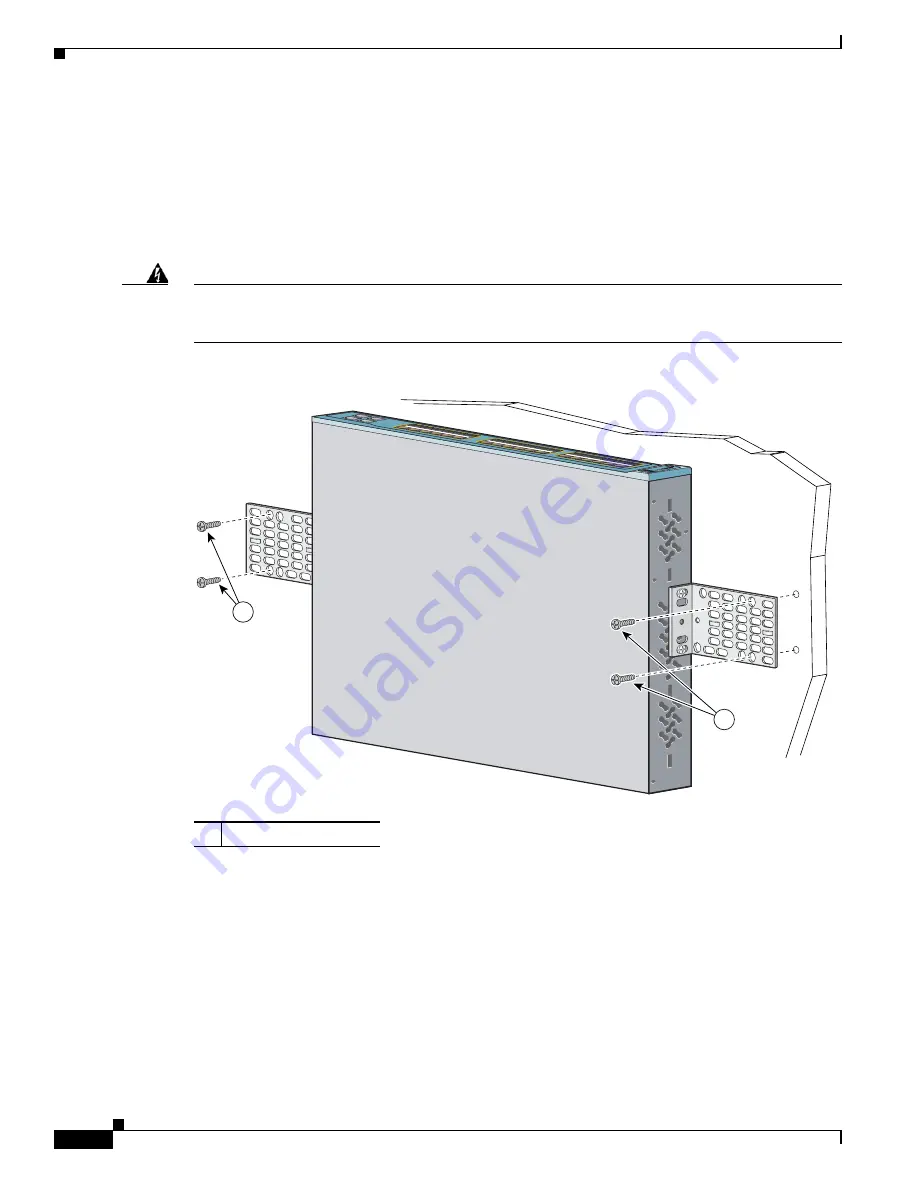
Mounting the Switch on a Wall
For the best support of the switch and cables, make sure the switch is attached securely to wall studs or
to a firmly attached plywood mounting backboard. Mount the switch with the front panel facing up, as
shown in
Figure 2-12
.
See the
“Wall-Mounting” section on page 2-12
for the switches that can also mount with the front panel
facing down.
Warning
Read the wall-mounting instructions carefully before beginning installation. Failure to use the
correct hardware or to follow the correct procedures could result in a hazardous situation to people
and damage to the system.
Statement 378
Figure 2-12
Mounting the Switch on a Wall
After the switch is mounted in the rack:
1.
Power on the switch. See the
“Verifying Switch Operation” section on page 2-6
.
2.
Connect to a 10/100 or 10/100/1000 port, and run Express Setup. See the
Catalyst 3560 Switch
Getting Started Guide
for instructions. To use the CLI setup program, see
Appendix D,
“Configuring the Switch with the CLI-Based Setup Program.”
3.
Connect to the front-panel ports.
1
User-supplied screws
97927
Cat
aly
st
37
50
SE
RIE
S
13
X
14
X
SY
ST
RP
S
MA
ST
R
ST
AT
DU
PL
X
SP
EE
D
ST
AC
K
MO
DE
2X
2X
2X
1
1


