6-45
Cisco Wireless LAN Controller Configuration Guide
OL-17037-01
Chapter 6 Configuring WLANsWireless Device Access
Configuring WLANs
Note
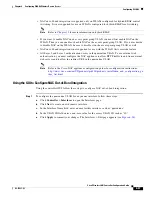
When you upgrade to controller software release 5.2, the controller creates the default-group
access point group and automatically populates it with the first 16 WLANs (WLANs with IDs 1
through 16, or fewer if 16 WLANs are not configured). This default group cannot be modified
(you cannot add WLANs to it nor delete WLANs from it). It is dynamically updated whenever
the first 16 WLANs are added or deleted. If an access point does not belong to an access point
group, it is assigned to the default group and uses the WLANs in that group. If an access point
joins the controller with an undefined access point group name, the access point keeps its group
name but uses the WLANs in the default-group access point group.
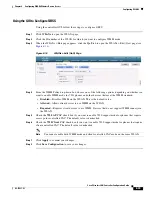
Step 2
Click
Add Group
to create a new access point group. The Add New AP Group section appears at the
top of the page.
Step 3
In the AP Group Name
field, enter the group’s name.
Step 4
In the Description field, enter the group’s description.
Step 5
Click
Add
. The newly created access point group appears in the list of access point groups on the AP
Groups page.
Note
If you ever want to delete this group, hover your cursor over the blue drop-down arrow for the
group and choose
Remove
. A message appears asking you to confirm your decision. If you
proceed, any access points assigned to this access point group are moved to the default-group
access point group.
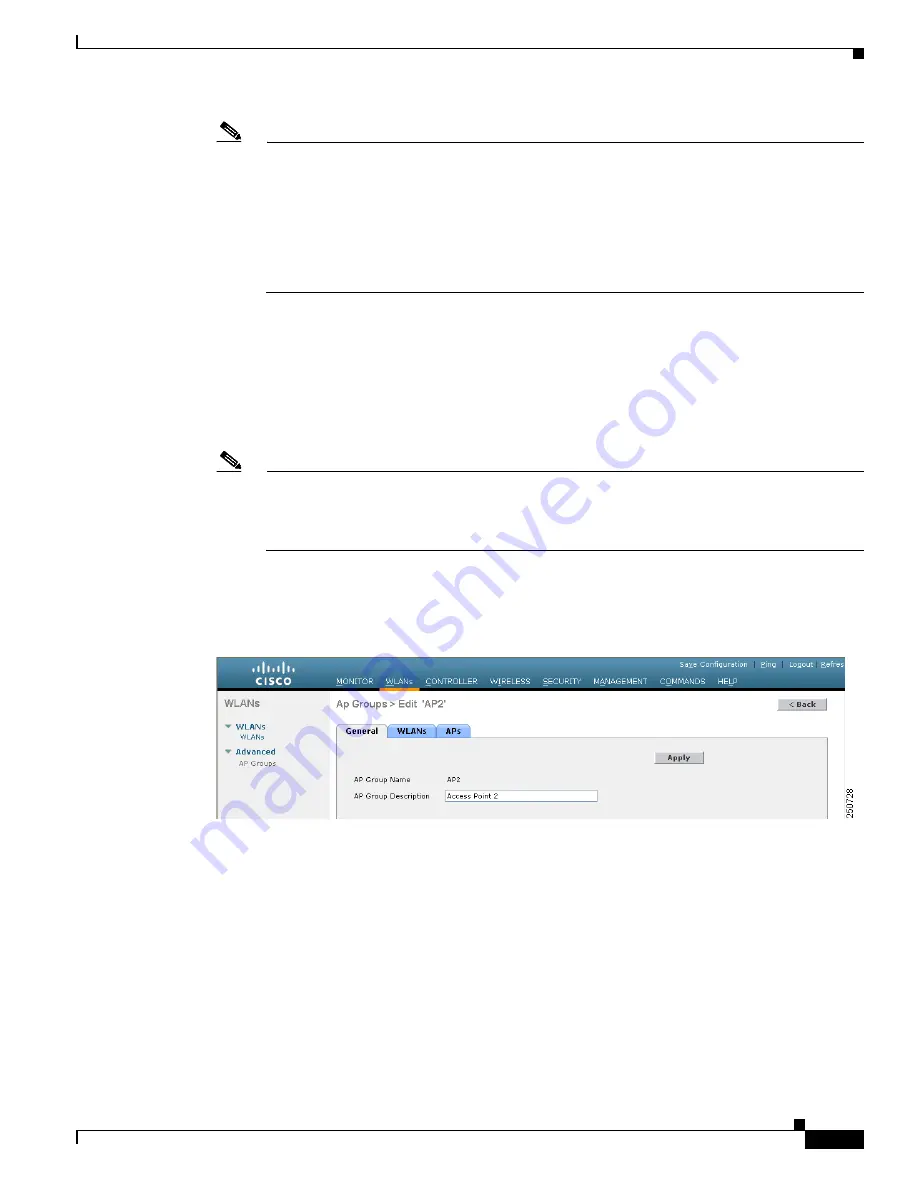
Step 6
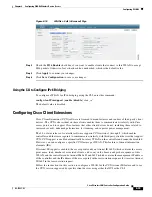
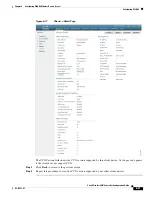
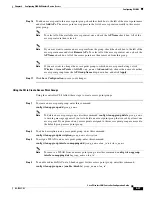
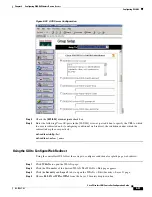
To edit this new group, click the name of the group. The AP Groups > Edit (General) page appears (see
Figure 6-20 AP Groups > Edit (General) Page
Step 7
To change the description of this access point group, enter the new text in the AP Group Description field
and click
Apply
.
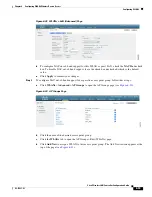
Step 8
Click the
WLANs
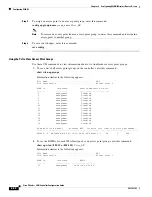
tab to open the AP Groups > Edit (WLANs) page. This page lists the WLANs that are
currently assigned to this access point group.
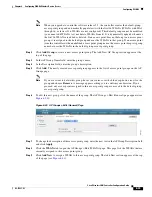
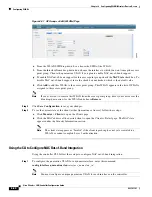
Step 9
Click
Add New
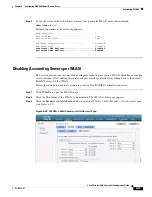
to assign a WLAN to this access point group. The Add New section appears at the top
of the page (see
).

