


17 |
P a g e
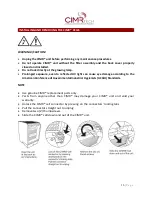
WARNING!
•
Unplug the CIMR® unit before performing any maintenance procedures.
•
Do not operate the CIMR® unit without the filter assembly and the back cover properly
closed and installed.
•
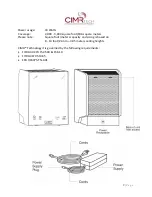
Slide the CIMR® cell up and into the CIMR® unit.
•
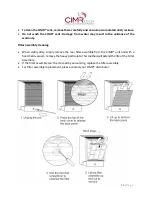
Be sure the back lip of the cell engages the two (2) slotted protrusions at the rear of
the CIMR® unit and that the angle brackets and studs are correctly aligned.
•
Insert the two (2) thumbscrews and tighten. Insert the CIMR® cell connector into the
plug at the rear of the CIMR® unit.
•
Press the connector firmly until the two (2) tabs lock into place.
•
Replace the filter assembly, inserting the bottom of the filter assembly first.
•
Replace the back cover by inserting the bottom in and snapping into place.
TROUBLESHOOTING
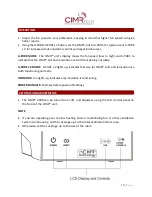
Indicators of operation
When the CIMR® unit is on, the LCD display will show either the fan setting as A-PURE, A-PURE x
2, or ION.
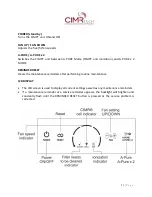
What to look for first
I have plugged in the CIMR® unit, pressed the ON button on the CIMR® 2000, and nothing
happens. What’s wrong?
•
Make sure the power cord is inserted completely into the receptacle on the back of the
CIMR® unit.
•
Make sure the electrical outlet is capable of providing power to the CIMR® unit.
If you are operating your central heating and air conditioning fan, or other ventilation system
continuously, set the coverage up to the total ventilated indoor area. Otherwise, set the coverage
up to the size of the room.
The UV lamp is not functioning/I am getting a “Replace Cell” message.
•
Check CIMR® cell for proper installation.
•
Replace the CIMR® cell.
Содержание 2000
Страница 1: ......